Tritt folgender Fehler nach der Anmeldung in Shobboleth auf: "Potential CSRF attack detected" löschen Sie bitte die Cookies und den Browser-Cache Ihres Webbrowsers, schließen diesen und versuchen erneut eine Verbindung mit dem VPN-Netzwerk herzustellen.
VPN - Installation of the Cisco Secure Client
To establish a VPN connection to the University Network, please install the Cisco Secure Client by using the download links below depending on your operating system. You have to login using your student or employee account.
Please note: We have reports of occasional problems downloading the installer when using Microsoft Edge as your browser. If the download fails with Edge, please try another browser instead, such as Firefox or Chrome.
Please note: If you are using Firefox and receive an empty white page after initial authentication: Please deactivate "Delete cookies and site data when Firefox is closed" (Privacy&Security preferences) or add an exception for vpngate.uni-koeln.de. This change can be reverted after successful installation of the AnyConnect client.
Installationsdateien
Cisco Secure Client für Windows mit ARM-Prozessoren
Installation of the Cisco Secure Client
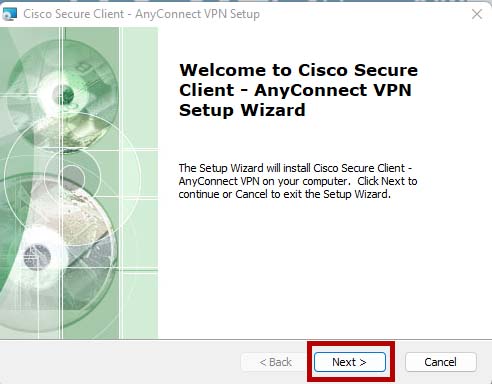
- Click on one of the links above and enter your username and password to download the setup file.
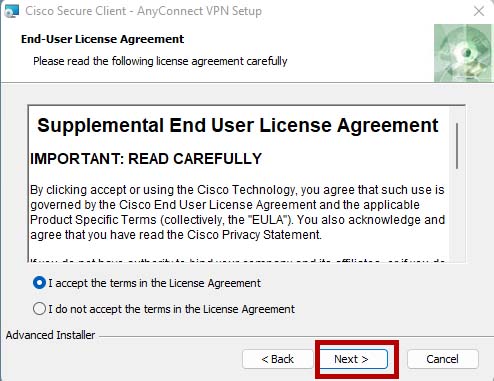
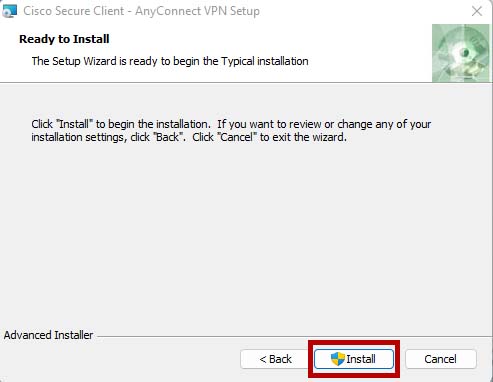
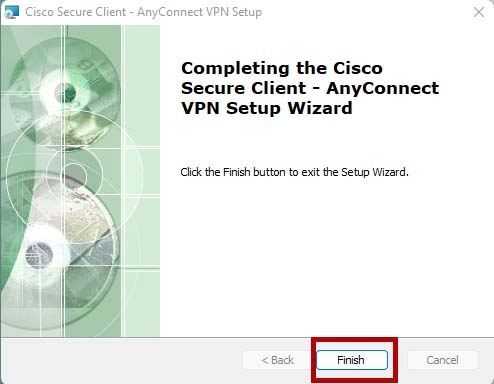
- Run the installation, accept the license agreement, and install the Cisco Secure Client.
Configuration & use of the Cisco Secure Client


- Open the Cisco Secure Client on your operating system and enter "vpngate.uni-koeln.de" in the input window. Then click on "Connect".
- You will be redirected to the Shibboleth login via your standard browser. If you want to change the tunnel type, minimize the browser window and select the tunnel type in the Cisco Secure Client dialog box.
- Then log in to Shibboleth with your user name and password.
- If the login was successful, you will receive a message in your browser. You can now close it. If you use the mulit-factor-authentification (MFA), you will be forwarded to Cisco Duo. Instructions to configurate and use Cisco Duo you can find here.
Probleme bei der Installation/Konfiguration
Sollten bei Ihnen Probleme bei der Installation oder Einrichtung auftreten, so werfen Sie auch einen Blick auf unserer Hilfeseite:
Contact
If you have any questions or problems, please contact the ITCC-Helpdesk