Cisco Secure Client für macOS
Wichtige Hinweis zur Zeitanzeige des Socket-Filter im Menüreiter oben rechts!
Bitte beachten Sie, dass die Zeitanzeige im Socket-Filter KEINE Informationen darüber liefert, ob Sie mit dem VPN verbunden sind. Diese Zeit läuft unabhängig von Ihrer VPN-Verbindung und wurde aus technischen Gründen nicht anders umgesetzt!
Wir empfehlen Ihnen, die VPN-Verbindung separat zu überprüfen, um sicherzustellen, dass Sie verbunden sind. (Programme > Cisco > Cisco Secure Client)
Vielen Dank für Ihr Verständnis!
Um die Zeitanzeige auszublenden drücken Sie auf das Symbol neben der Zeit und entfernen Sie das Häkchen bei “Verbindungsdauer einblenden”.
VPN - Installation of the Cisco Secure Client
Install the Cisco Secure Client to establish a VPN connection to the university network. To do this, download the installation package. You will need to log in with your University-Account. After that please follow the instructions down below.
Please make sure that you have at least one of the three latest macOS versions installed!
Wichtiger Hinweis zur Deinstallation des Cisco Secure Clienten
Bitte deinstallieren Sie den Cisco Secure Client ausschließlich über das Deinstalltionstool vom Hersteller, zu finden im Finder->Programme->Cisco->Deinstaller.
Sollten Sie dies nicht vorgenommen haben, achten Sie bitte unsere Hinweise zur Problemlösung.
Installing the Cisco Secure Client
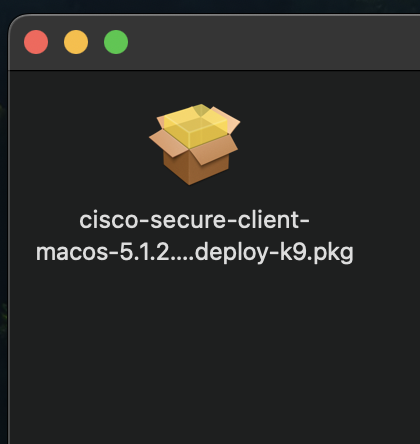
- Double-click on the downloaded file to start the installation of the Cisco Secure Client.
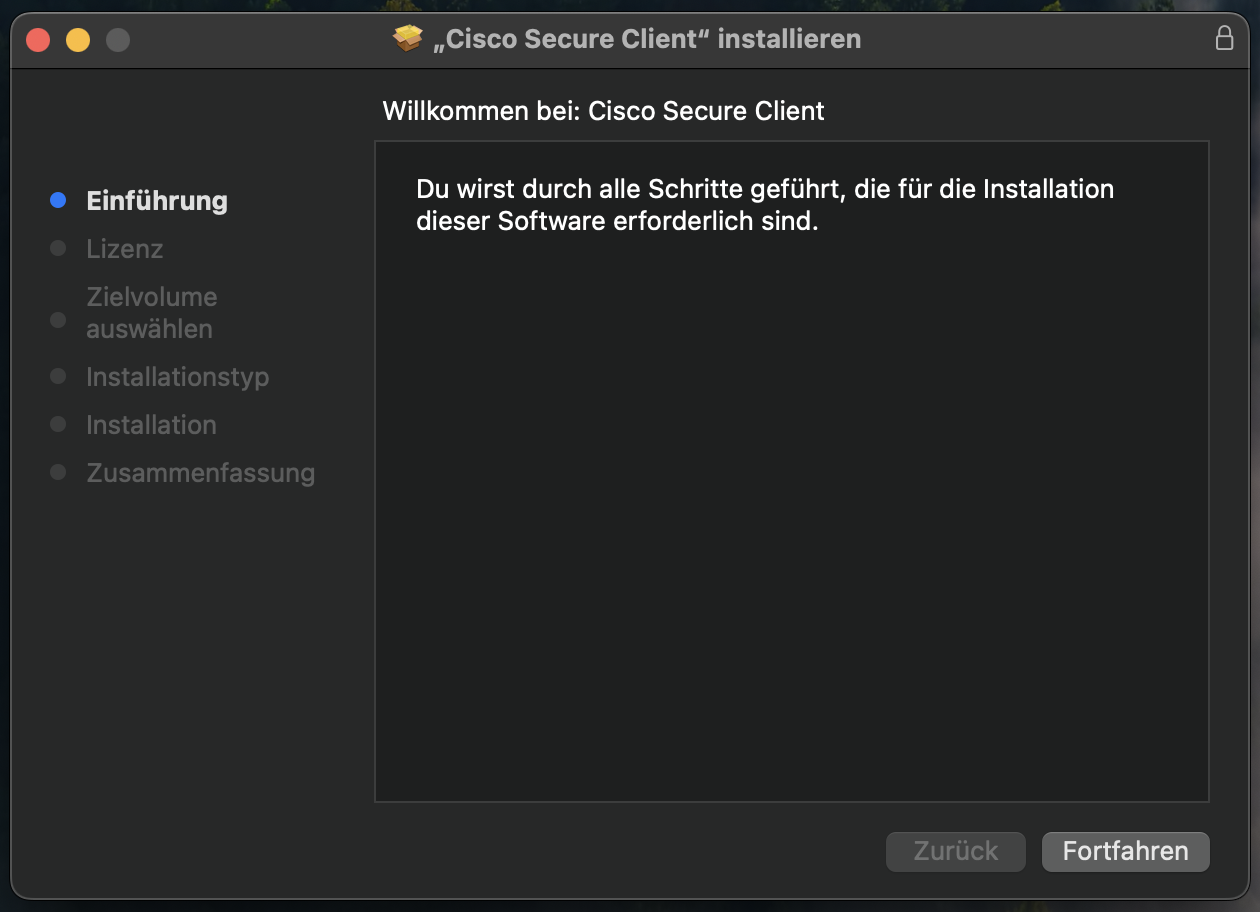
- Follow the installation instructions and install the program.
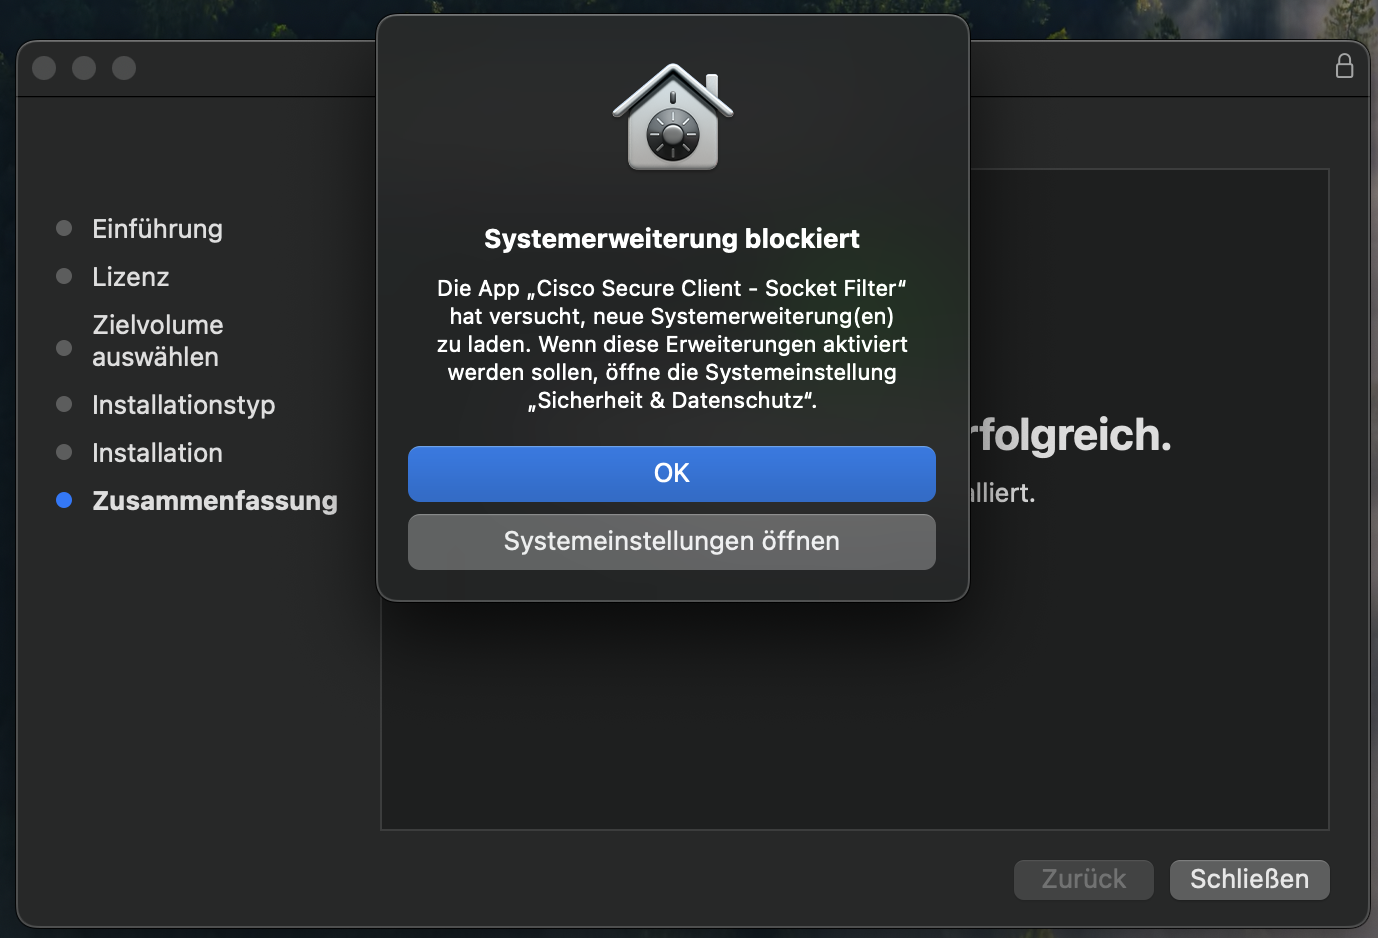
- At the end of the installation, your Mac will display a message. Click on "Open System Preferences" to activate the "Cisco Secure Client - Socket Filter" extension.
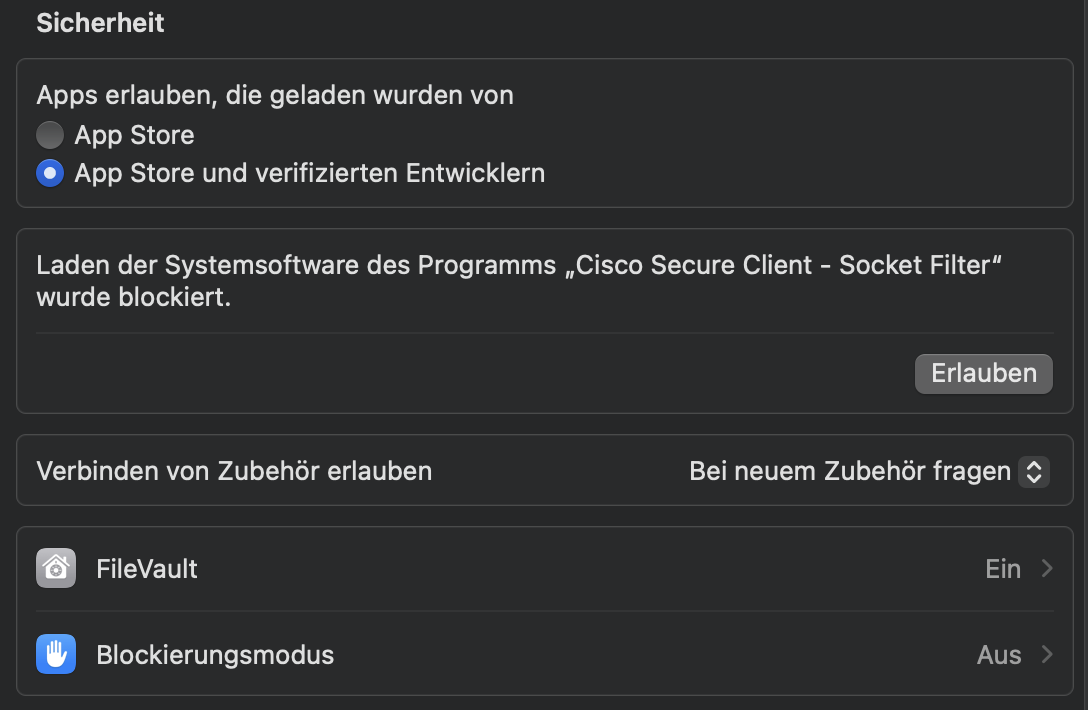
- You will be redirected to the system settings. Click on "Allow" under "Loading the system software of the "Cisco Secure Client - Socket Filter" program has been blocked".
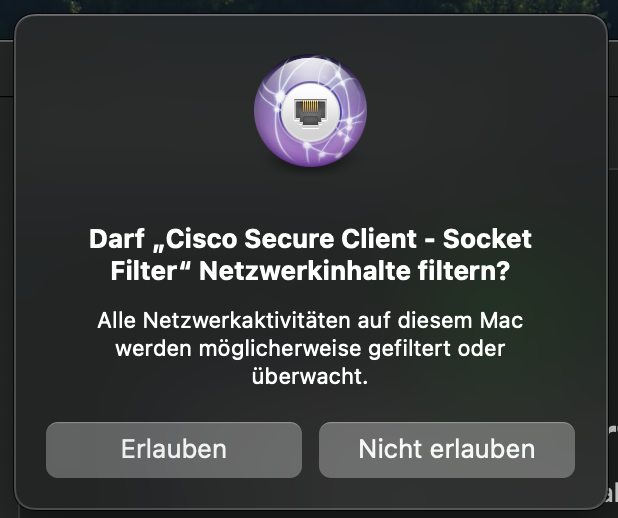
- In the next message, click on Allow.
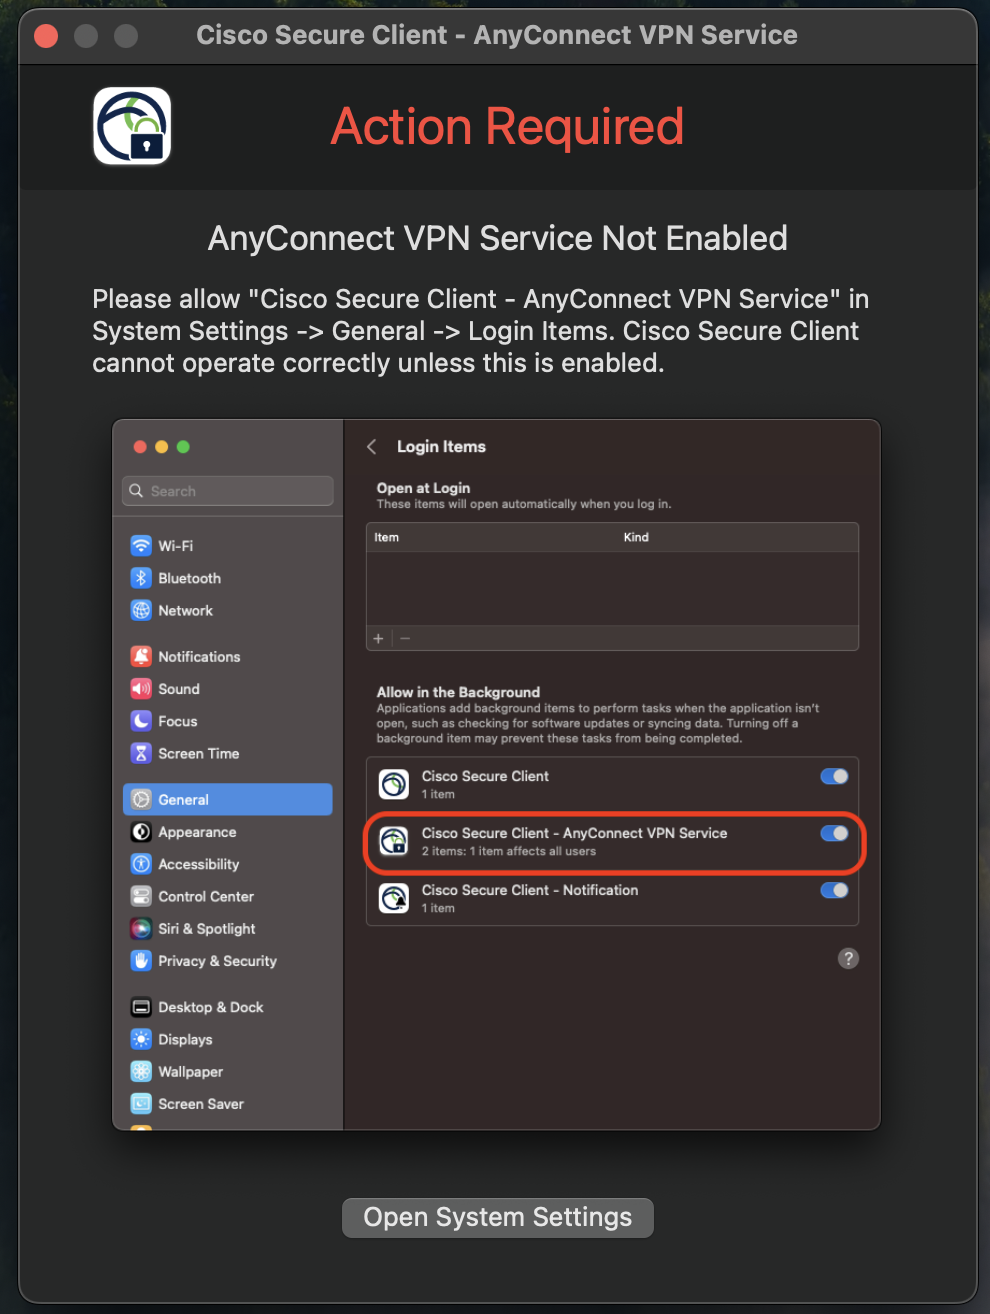
- Another message will appear asking you to open the system settings to activate the "Any Connect VPN Service". Follow the instructions in the message and click on "Open System Settings"
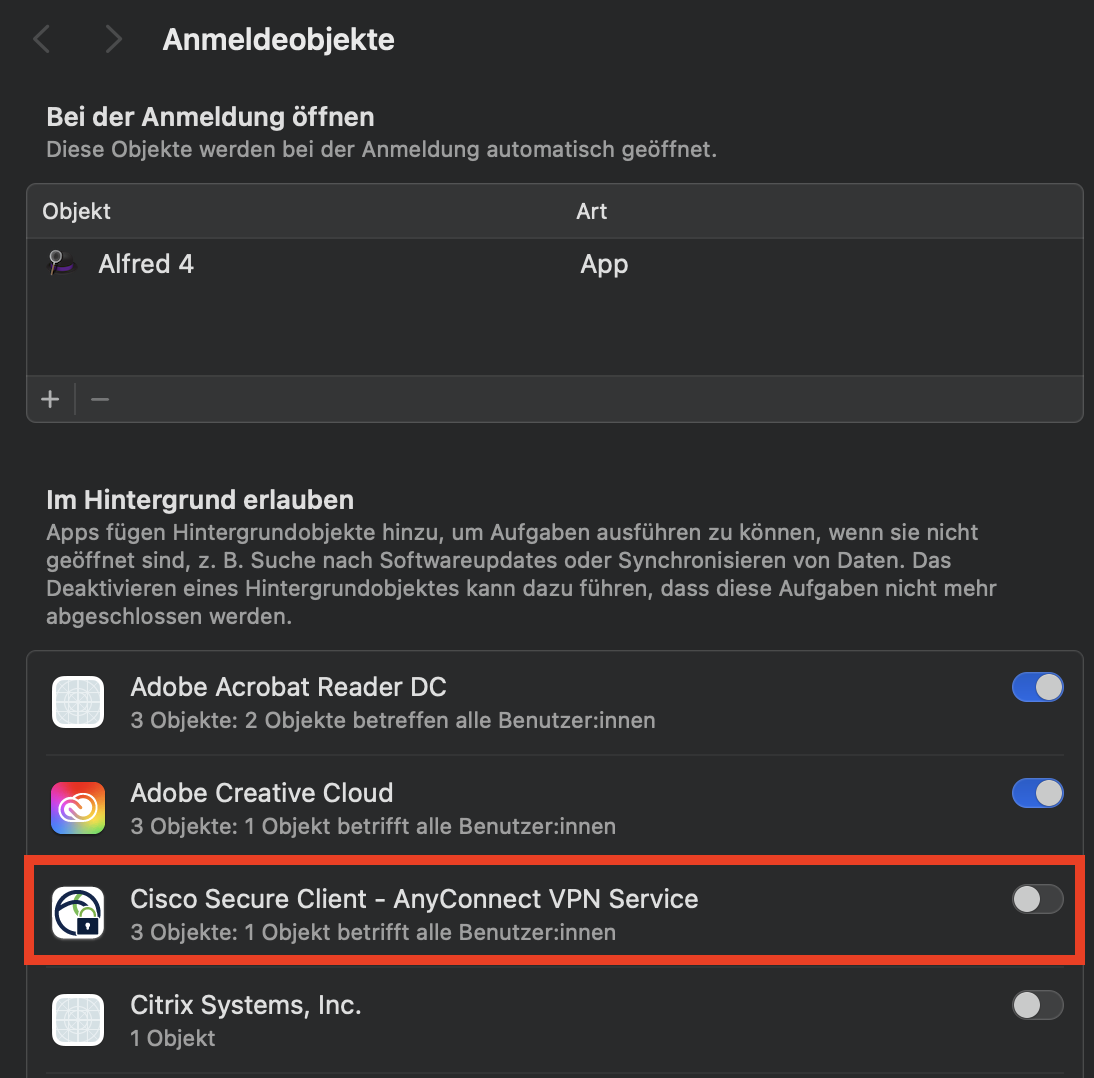
- Now click on the "Cisco Secure Client - AnyConnect VPN Service" slider under Login items to activate it.
- The installation is now complete.
Configuration of the Cisco Secure Client
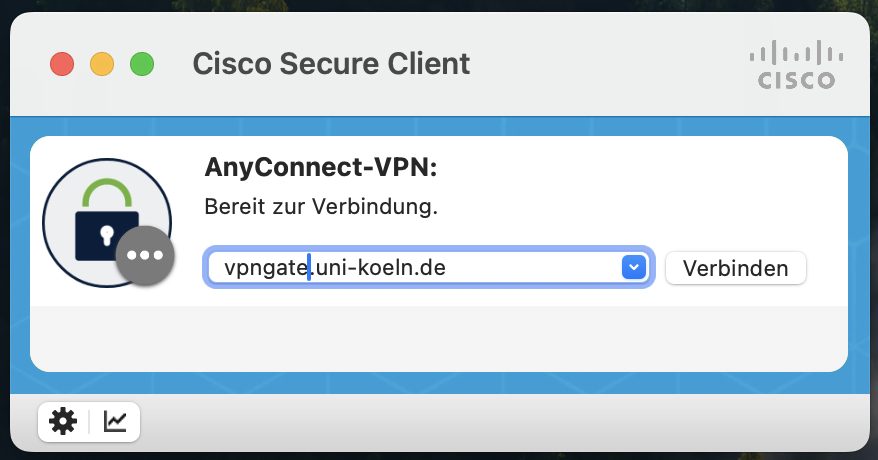
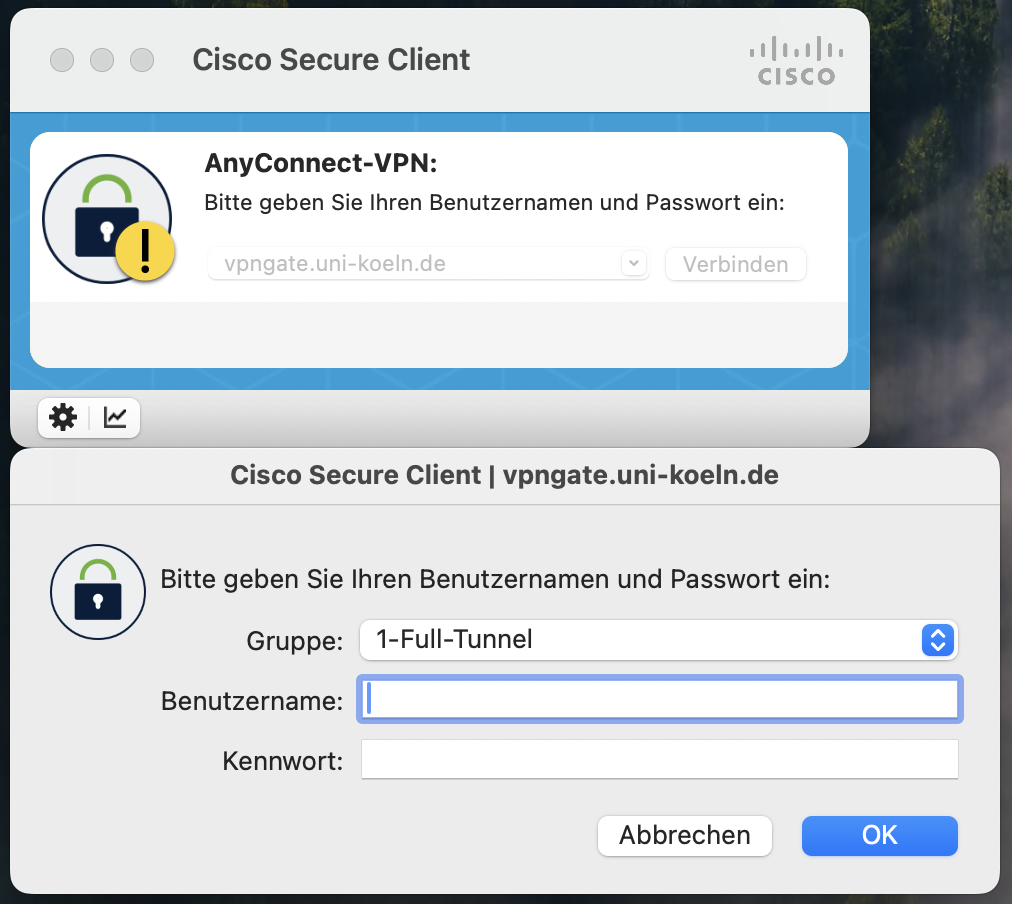
- Open the Cisco Secure Client on your Mac. Enter the following server address: vpngate.uni-koeln.de and click on "Connect".
- You will be redirected to the Shibboleth login via your standard browser. If you want to change the tunnel type, minimize the browser window and select the tunnel type in the Cisco Secure Client dialog box.
- Then log in to Shibboleth with your user name and password.
- If the login was successful, you will receive a message in your browser. You can now close it. If you are using multi-factor authentication (MFA), you will first be redirected to Cisco Duo. You can find help and instructions for using Cisco Duo here.
Probleme bei der Installation/Konfiguration
Sollten bei Ihnen Probleme bei der Installation oder Einrichtung auf Ihrem Gerät auftreten, schauen Sie auf unserer Hilfeseite nach:
Contact
If you have any questions or problems, please contact the ITCC-Helpdesk
