Setting up Apple Mail in Mac OS 10.12 (Sierra) and newer
Apple Mail software is an integrated part of the MacOS operating system and does not need to be installed separately. In the newer versions, an RSS reader is also integrated. (What is RSS).
We only document the variant with the outgoing mail server smtp-auth.uni-koeln.de, as it can be used inside and outside the UKLAN and works with encrypted transmission. If you do not want to save your password of the student or personnel account in the system, do not enter your password in the configuration dialog. However, you must re-enter the password for each mail session.
An Apple Mail account, simply called an account for Apple Mail, is assigned to the local user and is used to work with Mail via a mail provider, here the University of Cologne.
Please note: Your e-mail address on the Apple device is not your account with the mail provider (your personal or student account).
Set up a new Apple Mail account
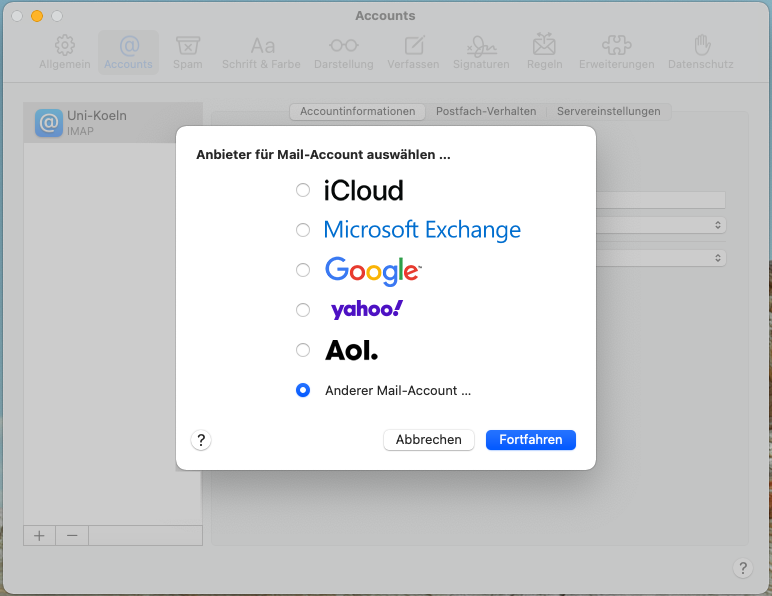
If you start Mail for the first time, the settings window "Select provider for mail account" opens automatically. Click on "Other mail account...". Select "Continue" and then enter your personal details.
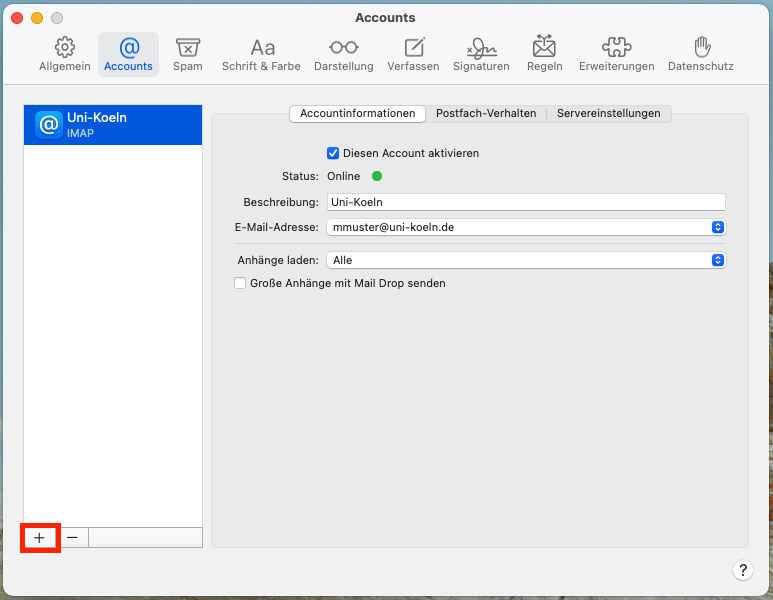
If you have already set up accounts in Mail and want to add a new account, start Mail and click on the small "+" icon under the menu item Mail -> Settings -> Accounts, on the left below the account list. Now the window "Add account" opens, in which you can start entering your personal data.
Add an account
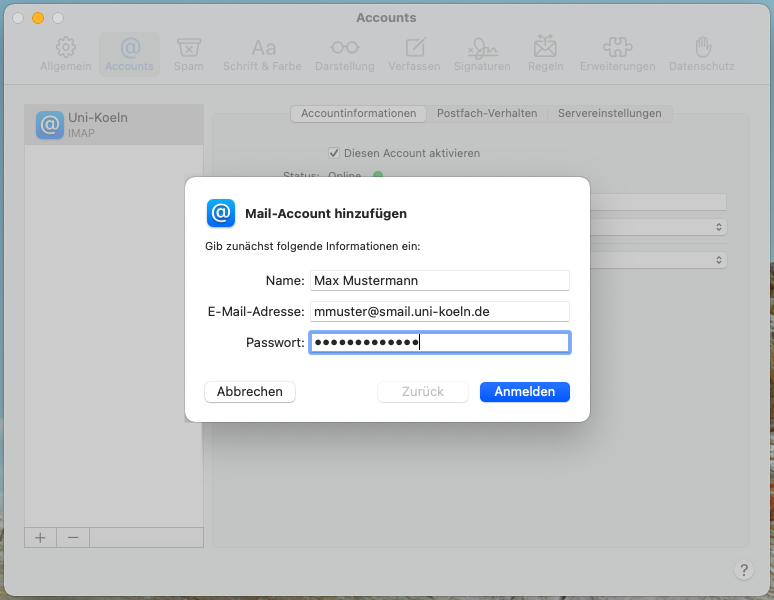
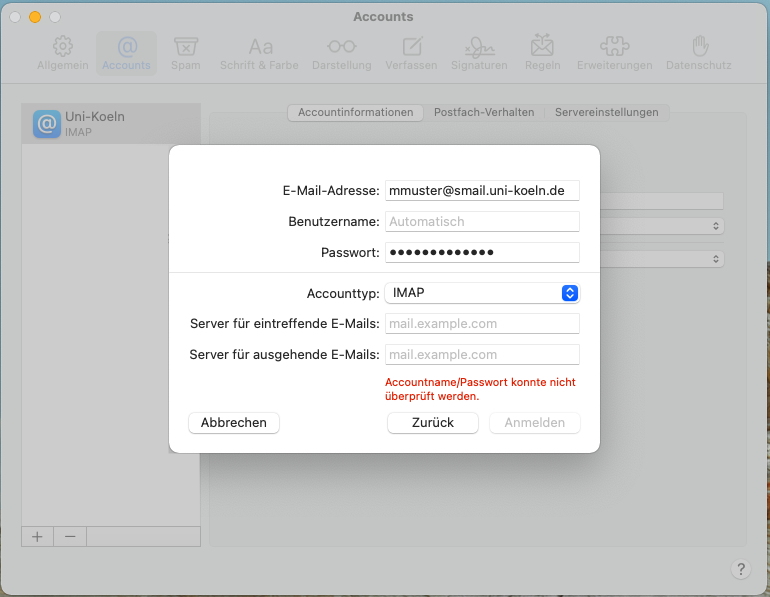
Under Full Name, enter your name as you want it to appear in the submission field of your emails.
Under "E-mail address" enter your university e-mail address in the form Account-Name@smail.uni-koeln.de as student or Account-Name@uni-koeln.de as employee. The password is the associated account password.
Then confirm by "Login". You will then be taken to a new window in which you will have to make further settings. Ignore the message that the account name/password could not be verified.
Servers for incoming and outcoming e-mails
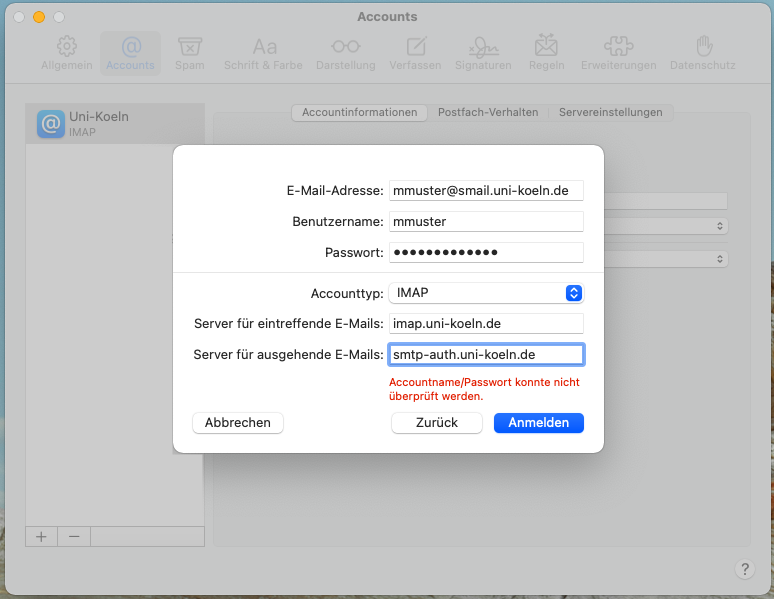
Now enter your user information as well as the information for the incoming and outcoming mail server.
Please make sure, that you e-mail address is entered correctly and add your student or work account as well as the corresponding password in the sections "Username" and "Password". Since Apple Mail does not automatically search the Adresses of the incoming and outcoming mail servers of the university, further settings have to be set. First you need to set you mail server type, POP or IMAP (further Information about POP/IMAP can be found in the box below). We recommend to use IMAP. If you have chosen IMAP, navigate to "Incoming mail server settings" and enter the host name imap.uni-koeln.de. If you have chosen POP, enter the host name pop.uni-koeln.de.
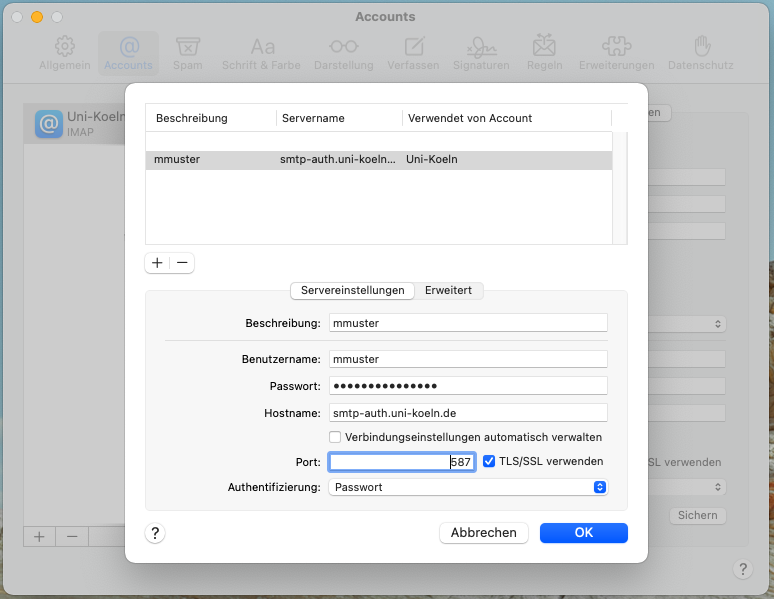
In the outgoing mail (smtp) server settings enter smtp-auth.uni-koeln.de for the host name.
After that click on sign in to confirm everything.
It is possible that a small window will open, that asks you to choose Apps, for which the account should be used. Confirm your selection with "Done". Your e-mail account has been succesfully set up. Please keep in mind, that the steps below are needed, in order to be able to send Mails succesfully.
What is POP and IMAP?
Editing an existing mail account
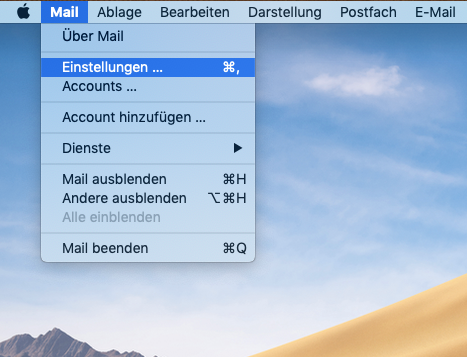
You can navigate to the preferences via Mail -> Preferences -> Accounts. Or by pressing "cmd ,"
- Choose the concerning account
- In the different sections, for example "Accountinformation" or "Mailbox behaviour", you can change the description or set further settings regarding the sorting of mails.
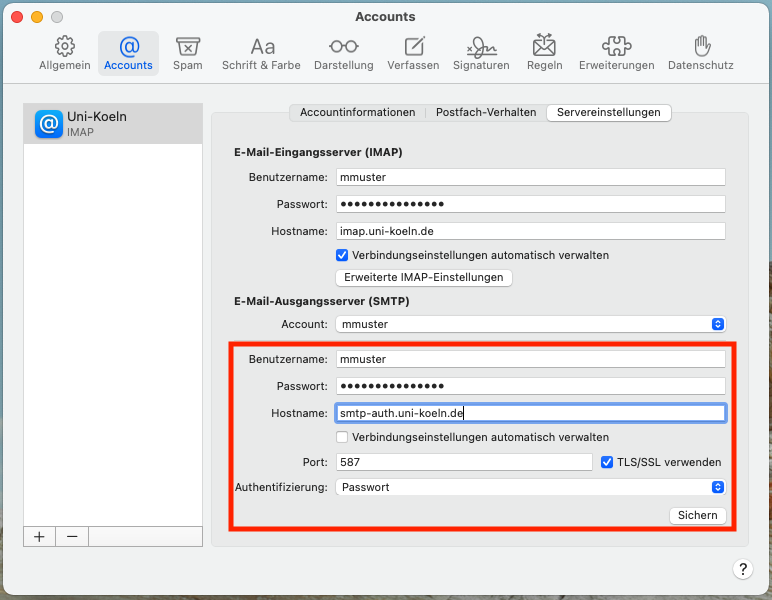
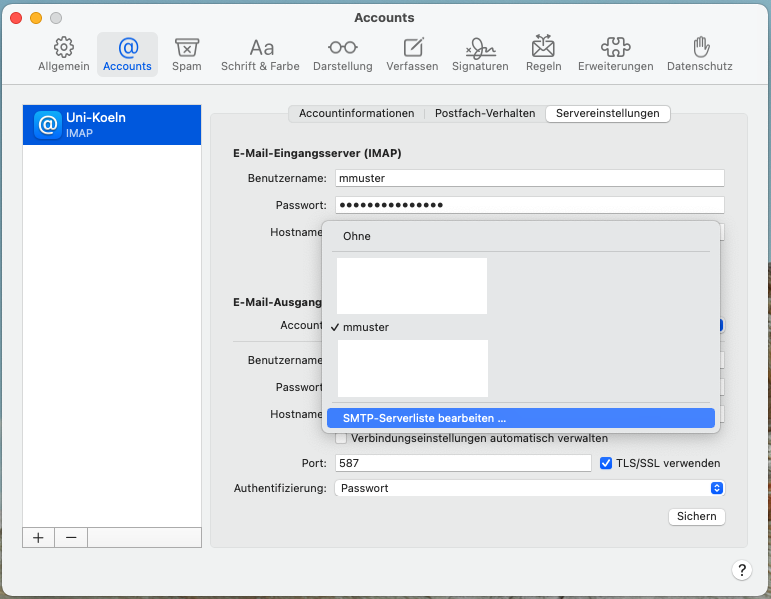
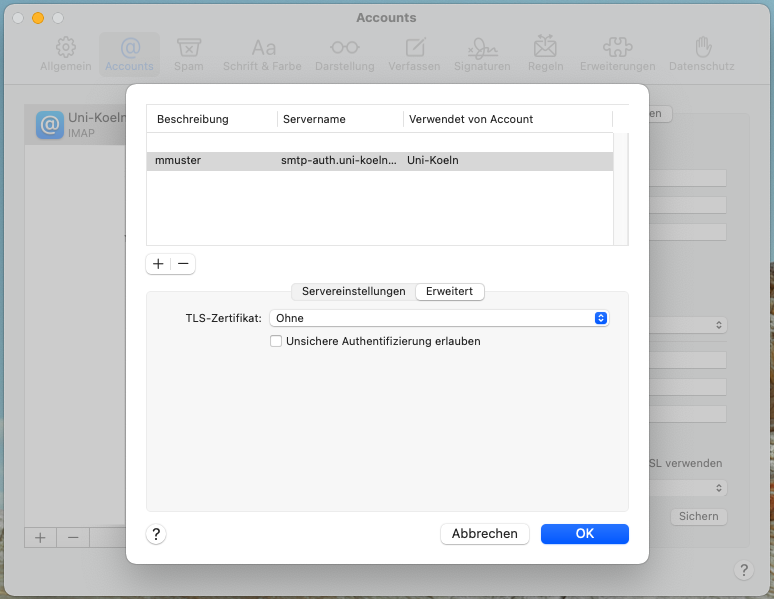
- For editing an account that already exists, the section "Server Settings" is very important. Here you can edit the username, the password or the server address. In order to change the outgoing server you must first click on the drop down menu and choose the corresponding account. After that you can also edit the username, password and server address here.
- At this point it is to say, that it is not possible to change an Account from POP to IMAP just by editing the incoming server address. See the box below on how to do to it properly.
Important notices:
- To change the server type, for example from POP to IMAP, you need to delete the existing account by pressing the little "-" below the list, and then add a new account by clicking the "+" and proceeding as described at the top.
- Attention: When deleting an account not only the account will be deleted but also all of its contents (e.g. all the e-mails of the account) will be irreversebly deleted.
- To avoid deleting all the e-mails, we recommend to simply deactivate the account via Preferences -> Accounts -> uncheck the box at the top to deactivate the account. This way the Account will not be used anymore but all the data will be preserved and you have the possibility to import your e-mails afterwards.
- You can set up multiple Accounts, for example for mails from different mail providers. However you can not use POP and IMAP for the same mail provider.
- For further questions, especially when you want to archive your data, please contact us.
Congratulations
Your e-mail address is now set up in Apple Mail. In case you have multiple e-mail addresses, you can set them up in Apple Mail with the same procedure. For this, navigate to the section "Accounts" an click on the small "+" symbol to add an account. Please keep in mind, that the term "Account" in Apple Mail is not directly corresponding to a student account. Every account is representing a configurated e-mail address in Apple Mail, for example from GMX, Gmail or from the Uni zu Köln. Other e-mail applications may use different terms like "user account" or "profile".
Contact
If you have any questions or problems, please contact the RRZK-Helpdesk