Calendar synchronization with Android
Synchronize your Webmail calendar comfortably with your Android devices. You can use two systems.
- In most cases, it makes sense to use the paid app CalDAV-Sync. It is available in the app stores and offers various personalized adjustment options.
- The calendar synchronization with the free app DAVDroid with F-Droid offers more adjustment options and can be modified individually.
Configure CalDAV-Sync
1. Start the App CalDAV-Sync.
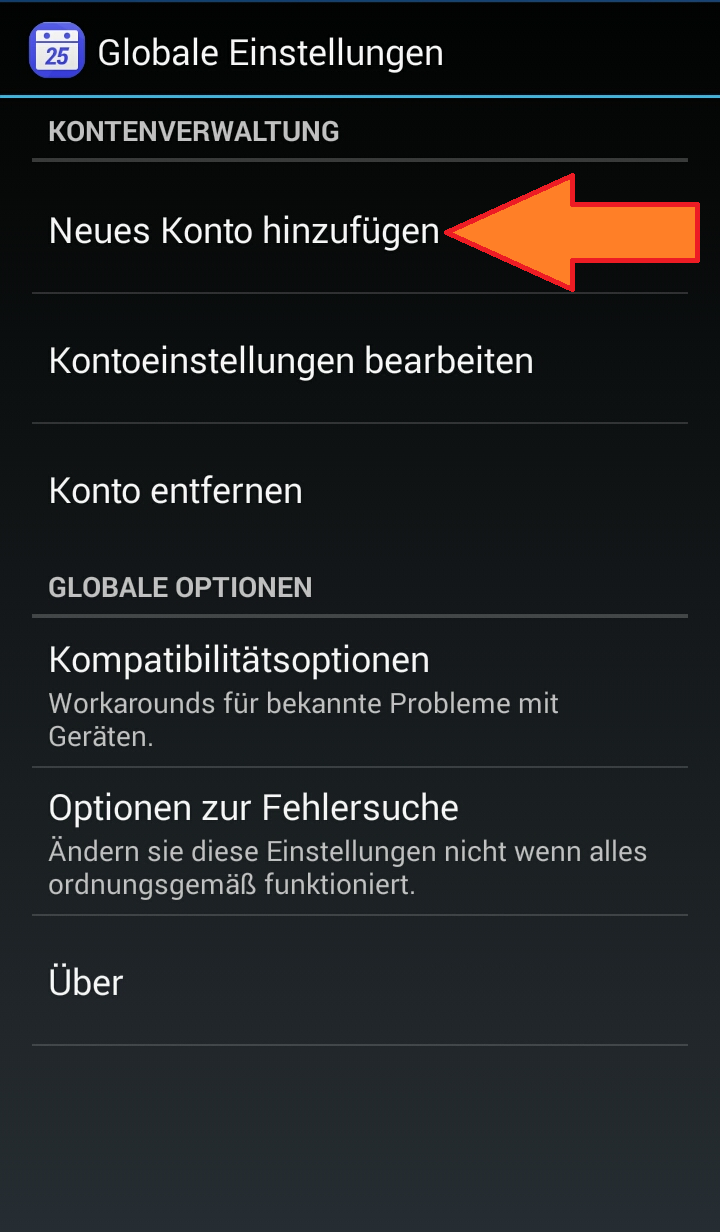
2. Click on "Add new account".
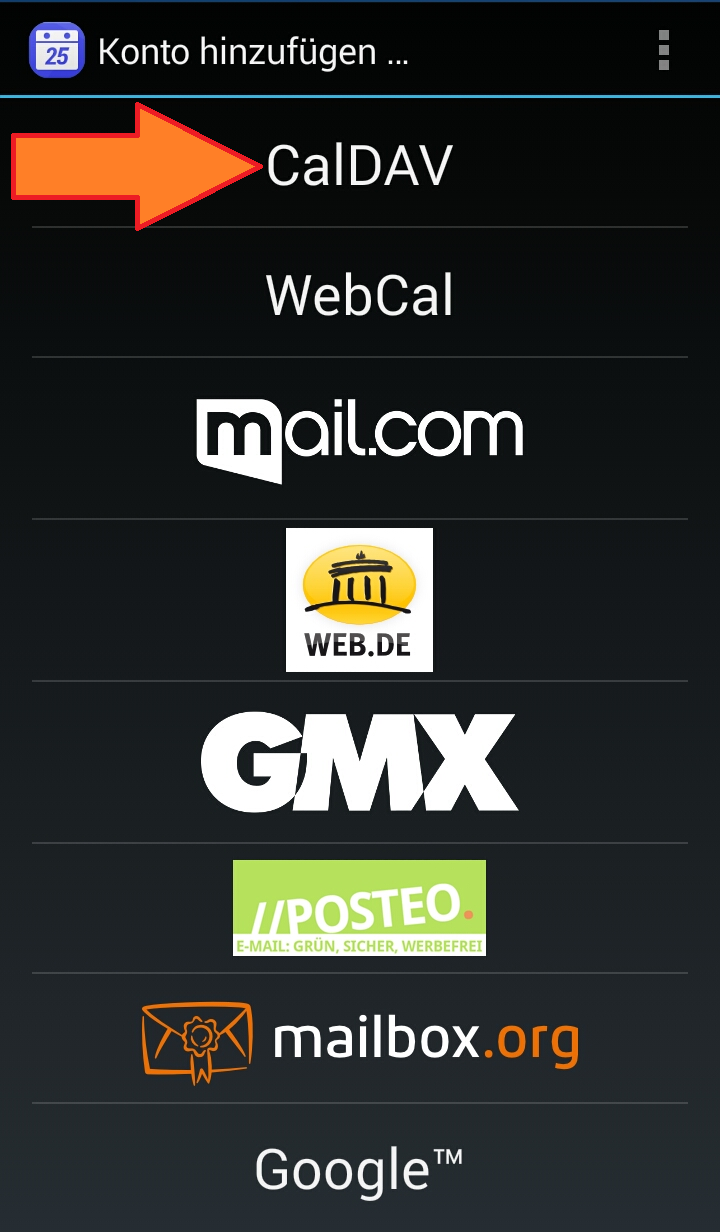
3. Select the account type "CalDAV".
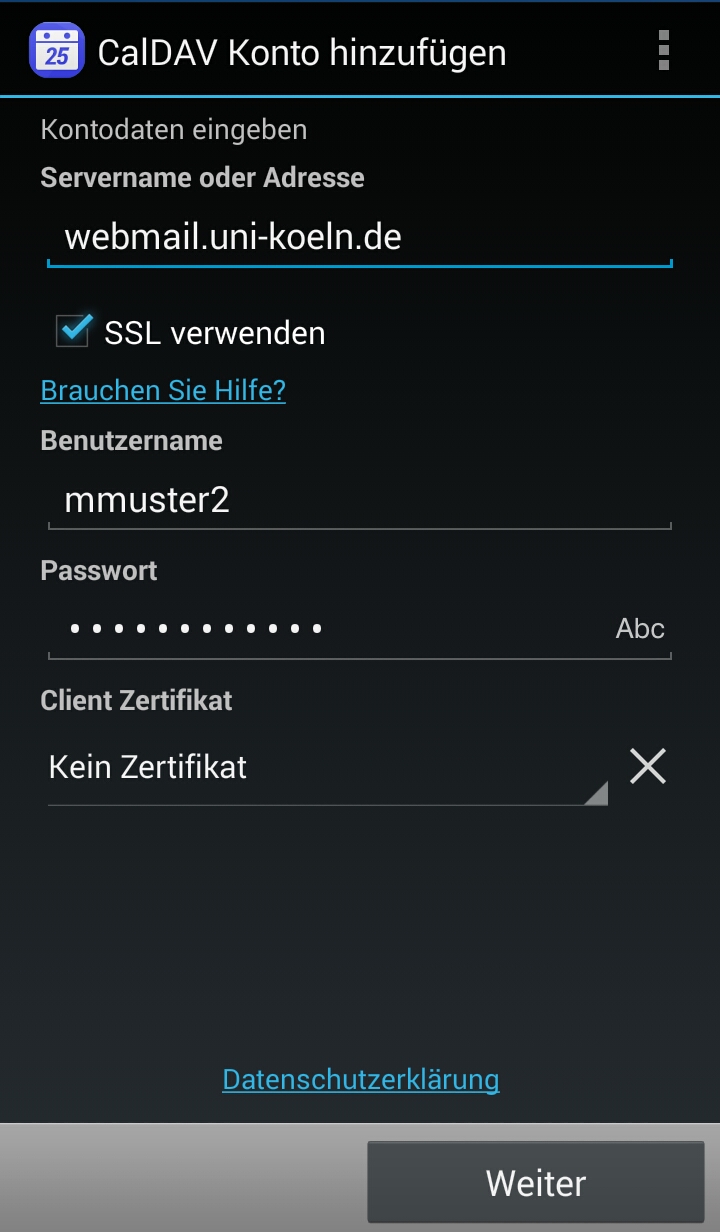
4. Fill in the following fields:
- Server name or address: webmail.uni-koeln.de
- Use SSL: the box has to be ticked.
- User name: name of your student or employee account.
- Password: the corresponding password.
Click on the "Next" button.
5. Next, you will see a list of available calendars.
6. Tick the box next to all calendars that you want to synchronize with your Android device and click on „Next“.
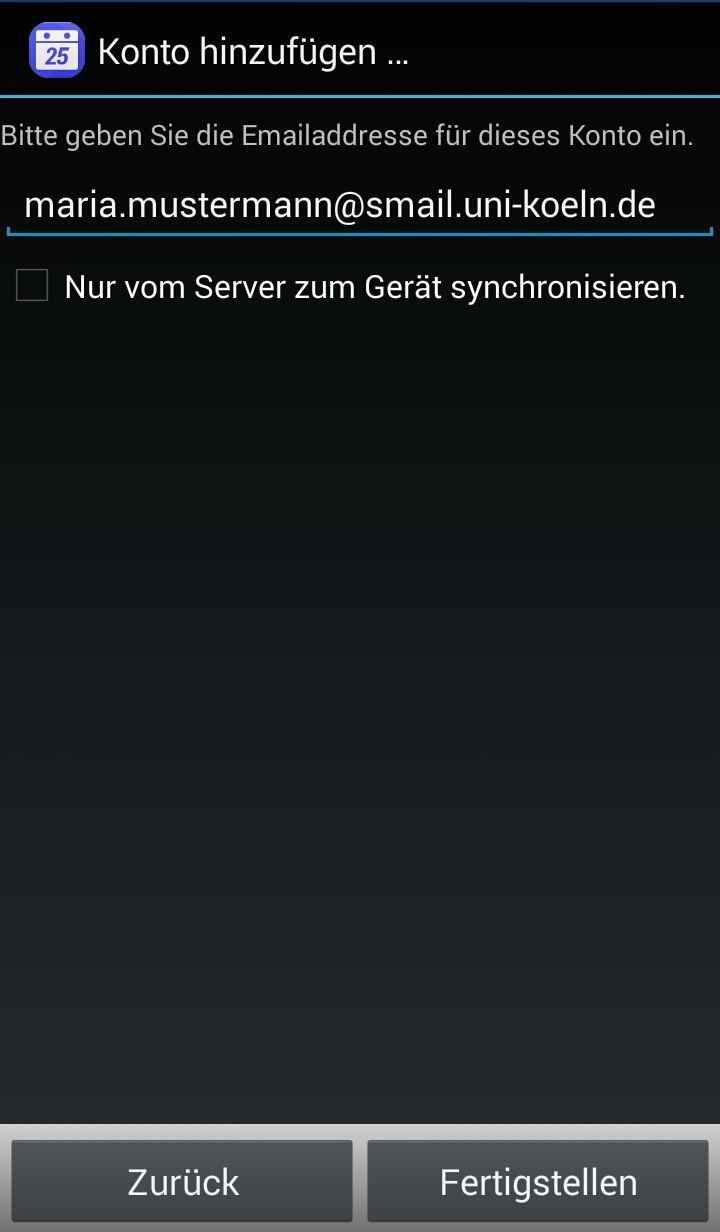
7. Double-check if the displayed e-mail address is correct and click on “Finish” in order to finalize the configuration.
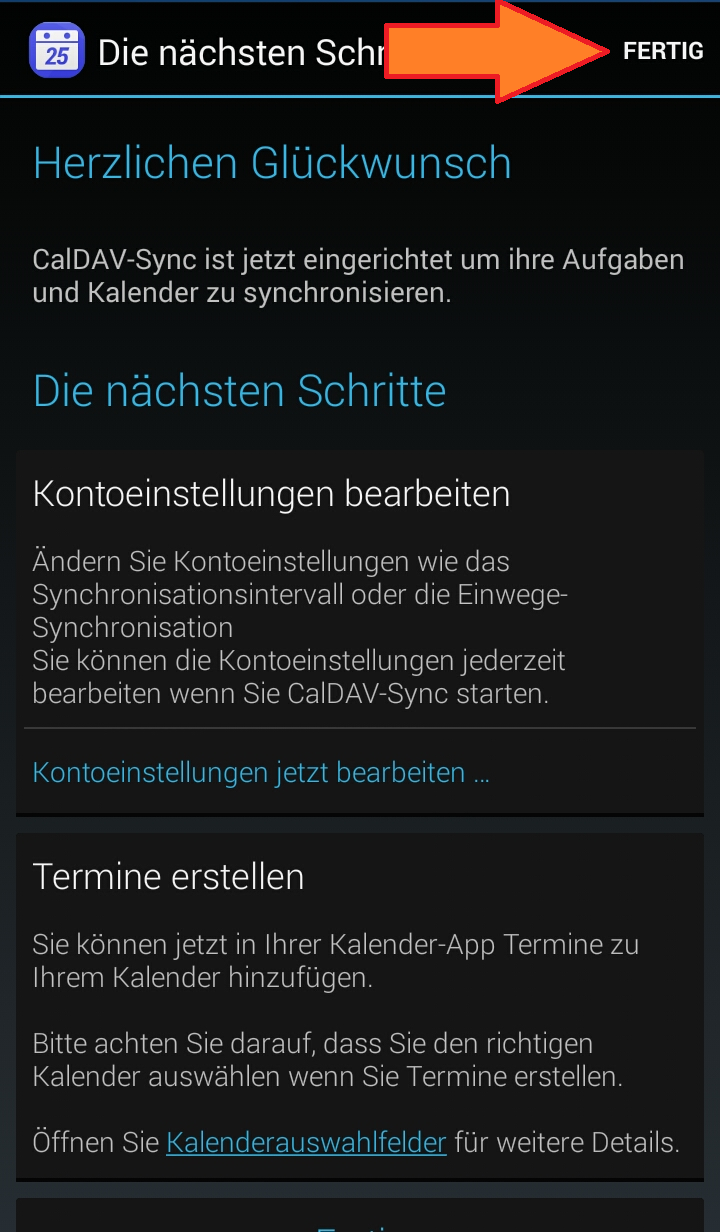
8. Click on „Done“ in order to finish the account configuration in CalDAV-Sync with standard settings. The synchronization can take some time depending on the amount of data in your calendar. Afterwards, the program is ready for use.
Alternatively, you can click on „edit account settings“ in order to define adjustments such as the frequency of synchronization and the time intervals of events you wish to synchronize. Thus, you can minimize the amount of data transferred.
Attention:
Use the Webmail calendar when creating events in order to synchronize them. Events created on your Android device will not be transferred during synchronization. You have to create events in a calendar that is provided by the Webmail system.
Contact
If you have any questions or problems, please contact the RRZK-Helpdesk