Calender synchronisation with Android and F-Droid / DAVx5
The free app DAVx5 synchronises the webmail system with your android device. DAVx5 is free and can be downloaded from the alternative App-Store F-Droid. While the app is avaiable from the Google Play Store, it cannot be downloaded from there for free.
Installation of F-Droid and DAVx5
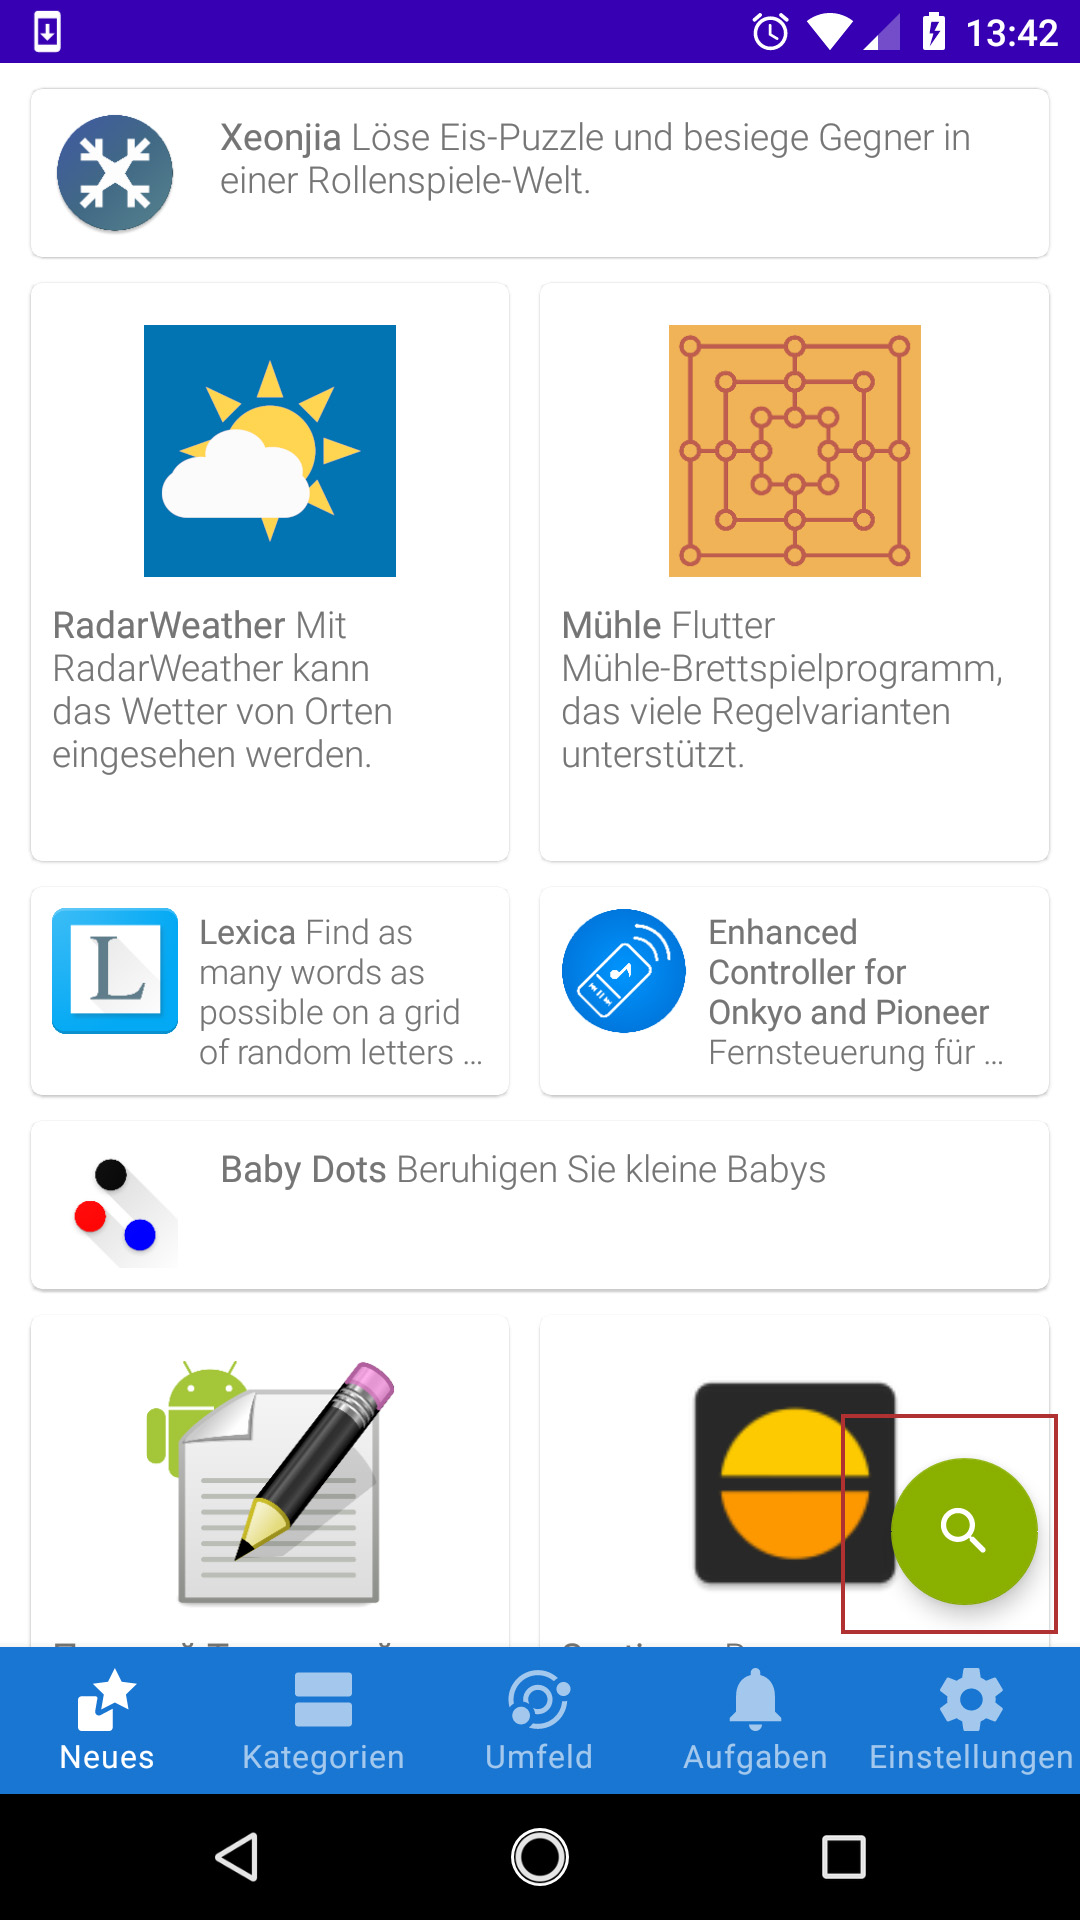
- Open the website of F-Droid with your browser on your android device and download the F-Droid. Allow the installation of apps from outside the Google Play Store.
- Install the F-Droid app.
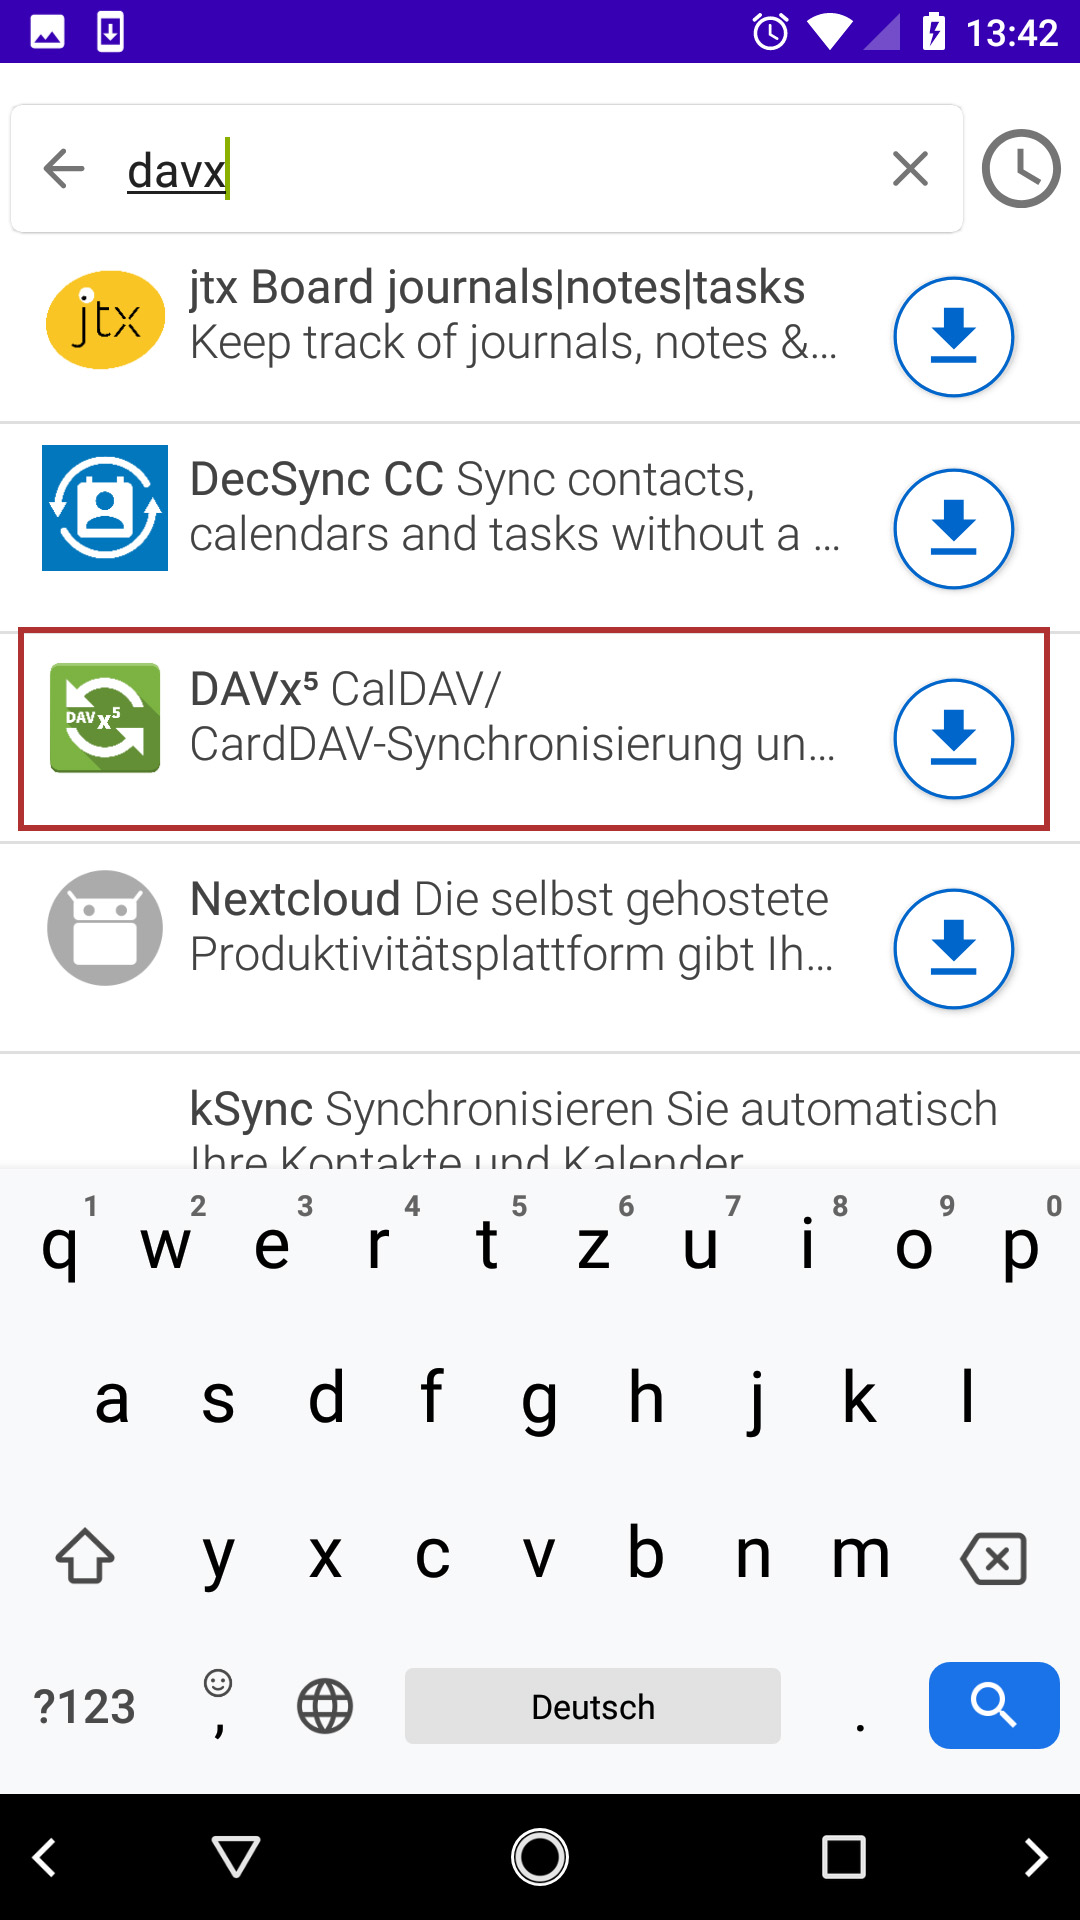
- In F-Droid, search for the App DAVx5 without using the number 5. Type "DAVx".
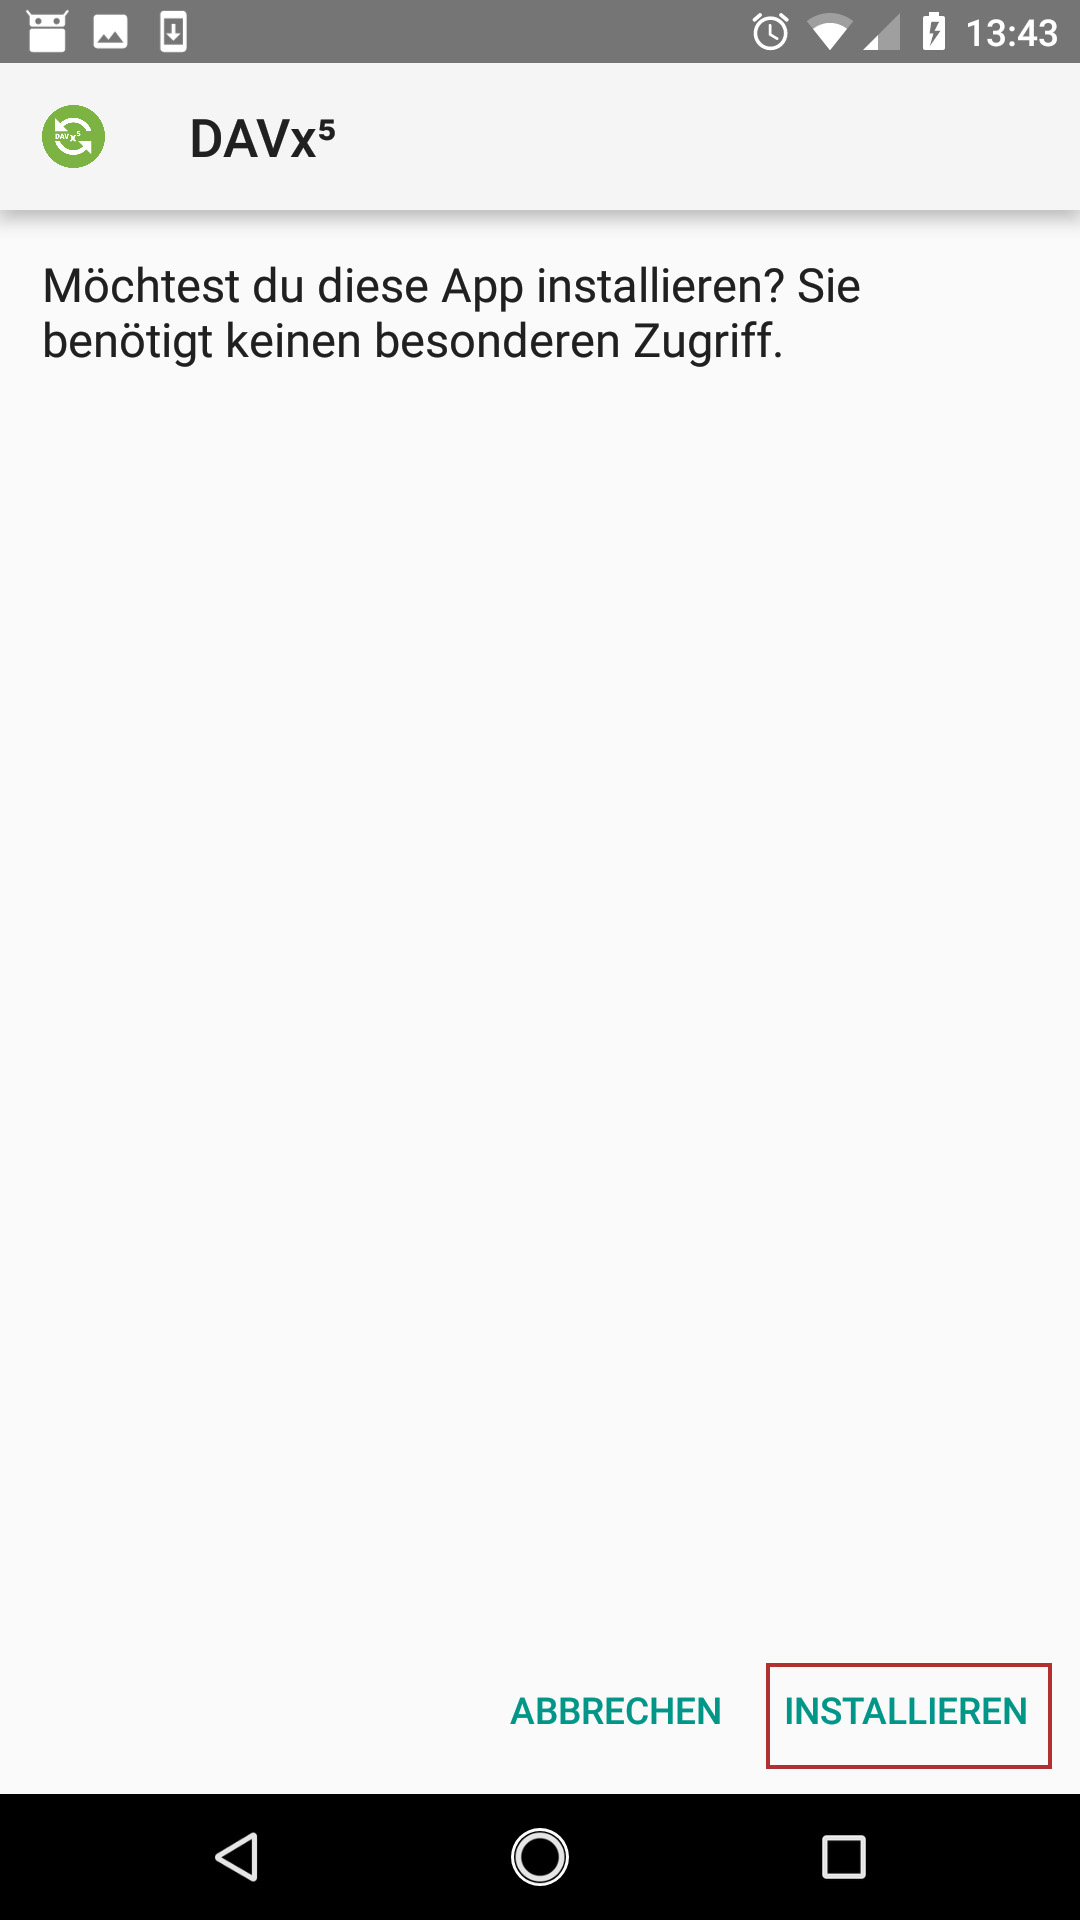
- Install DAVx5.
First configuration of DAVx5
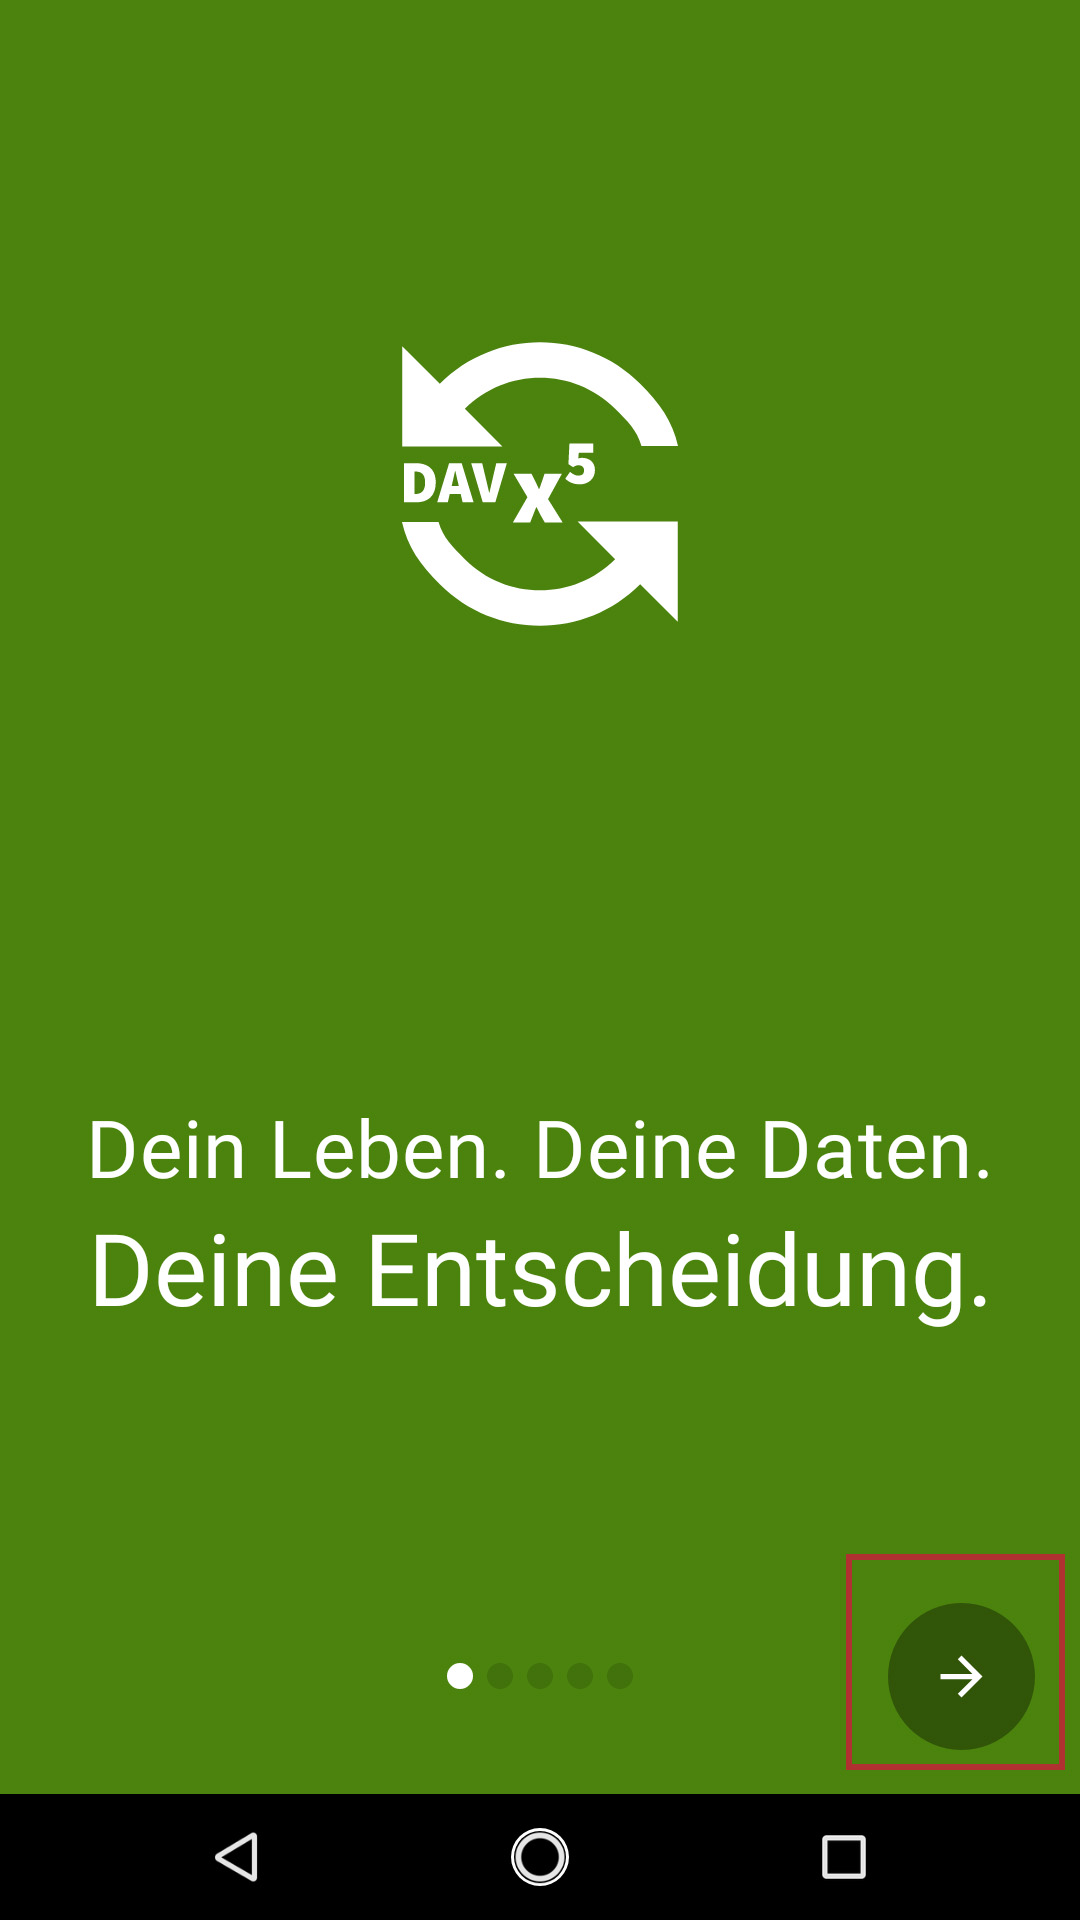
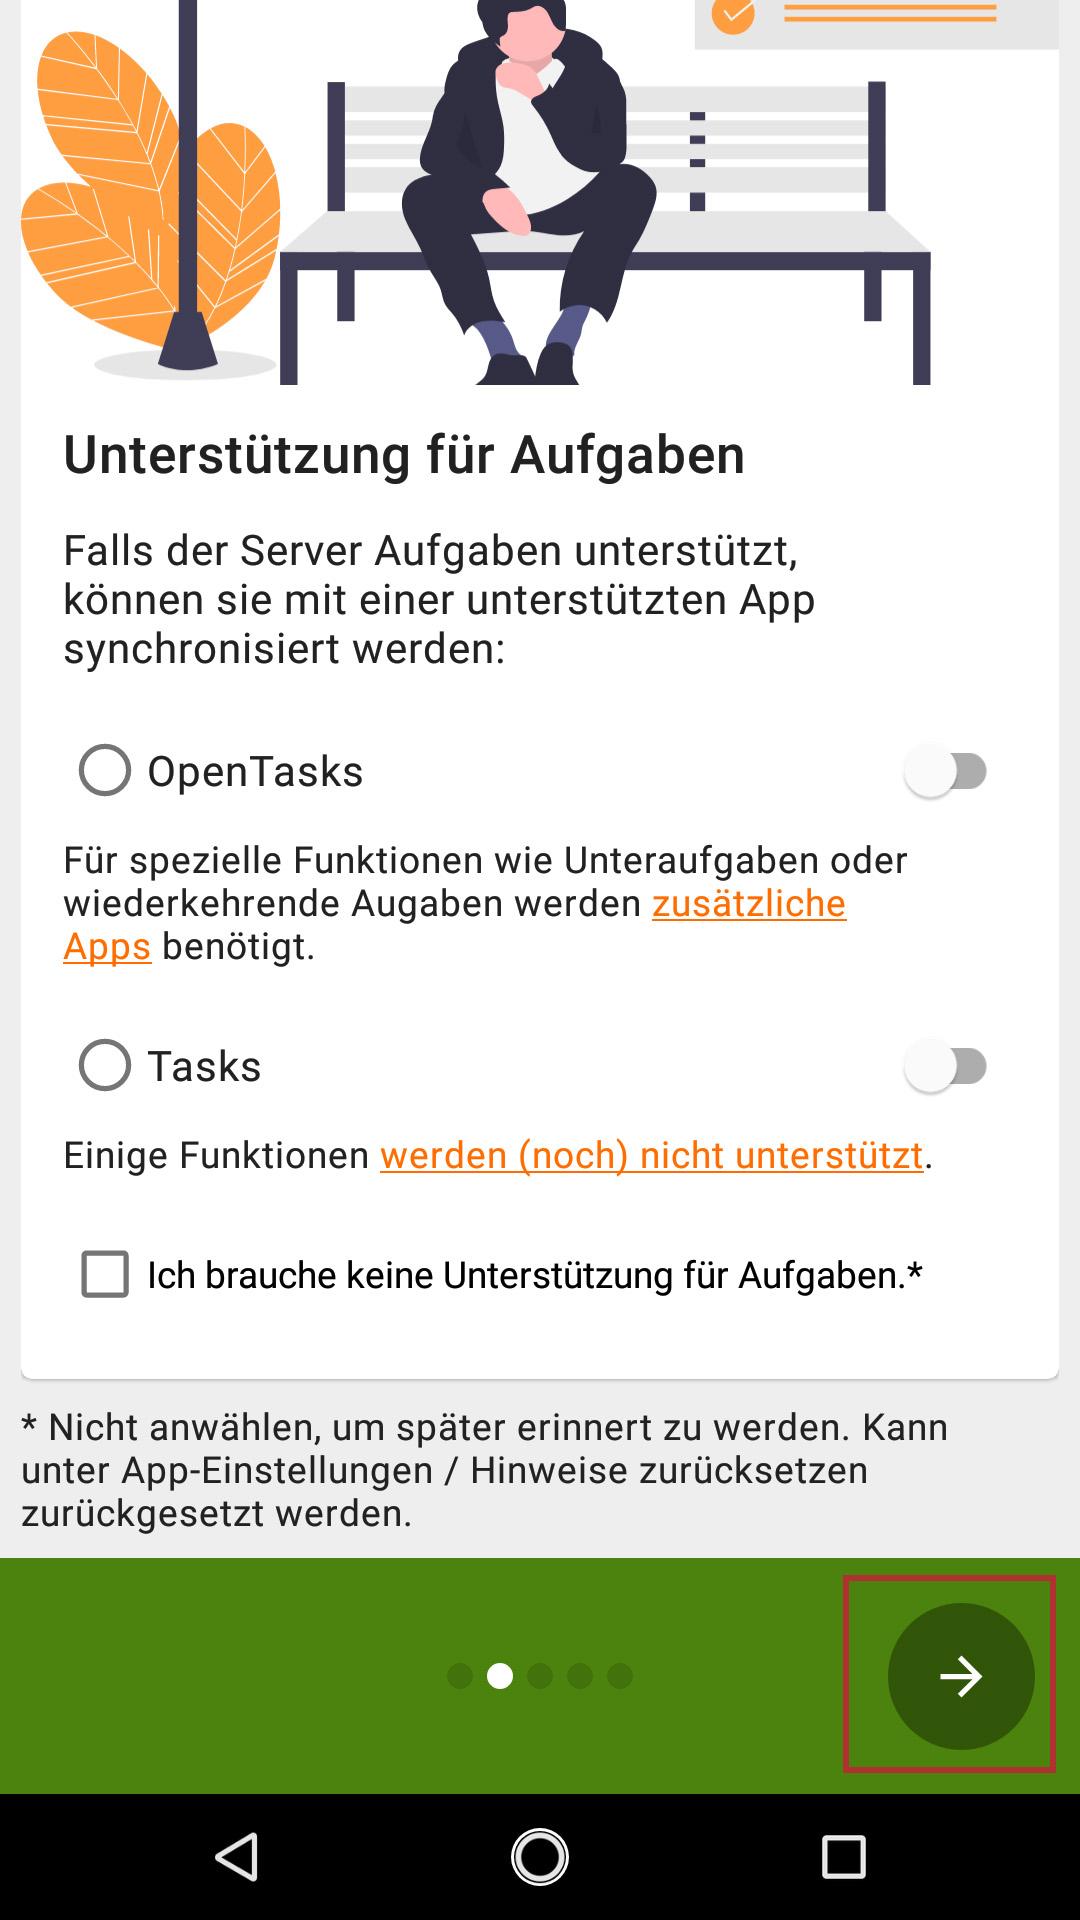
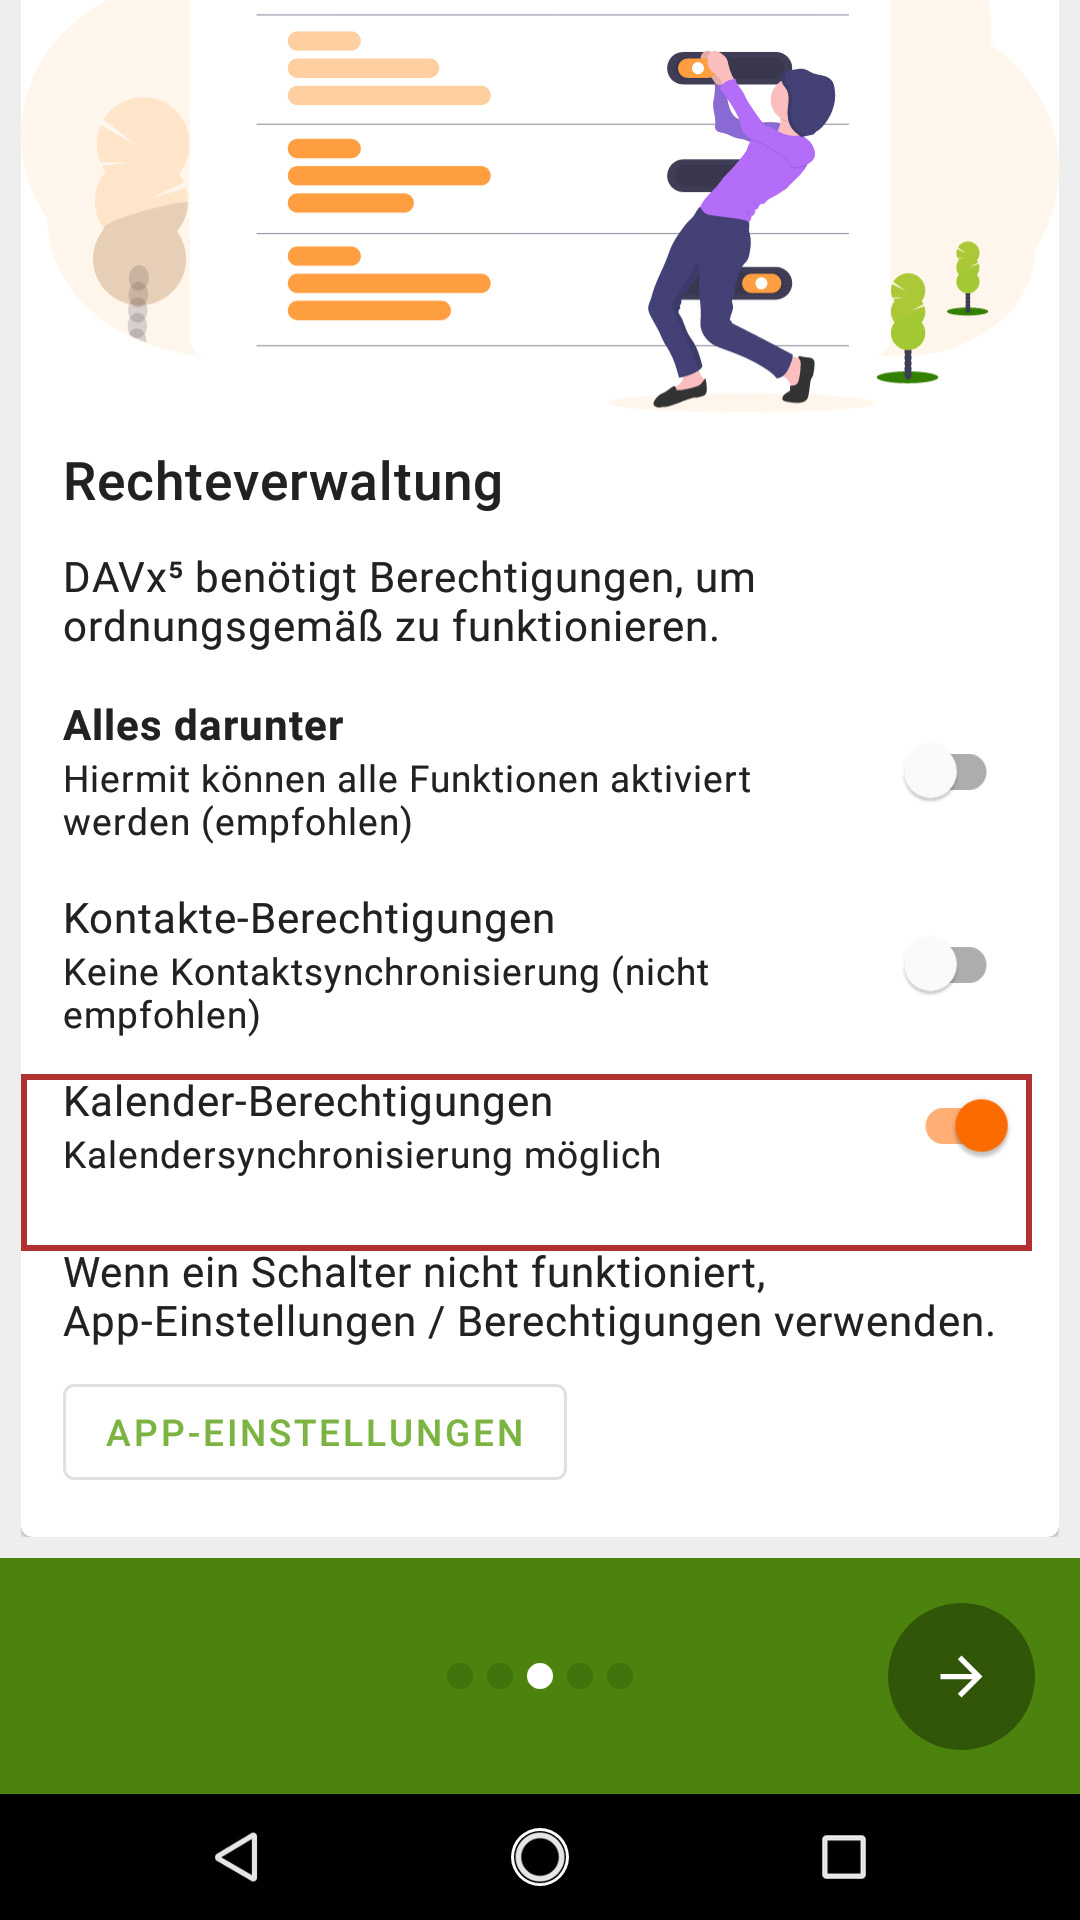
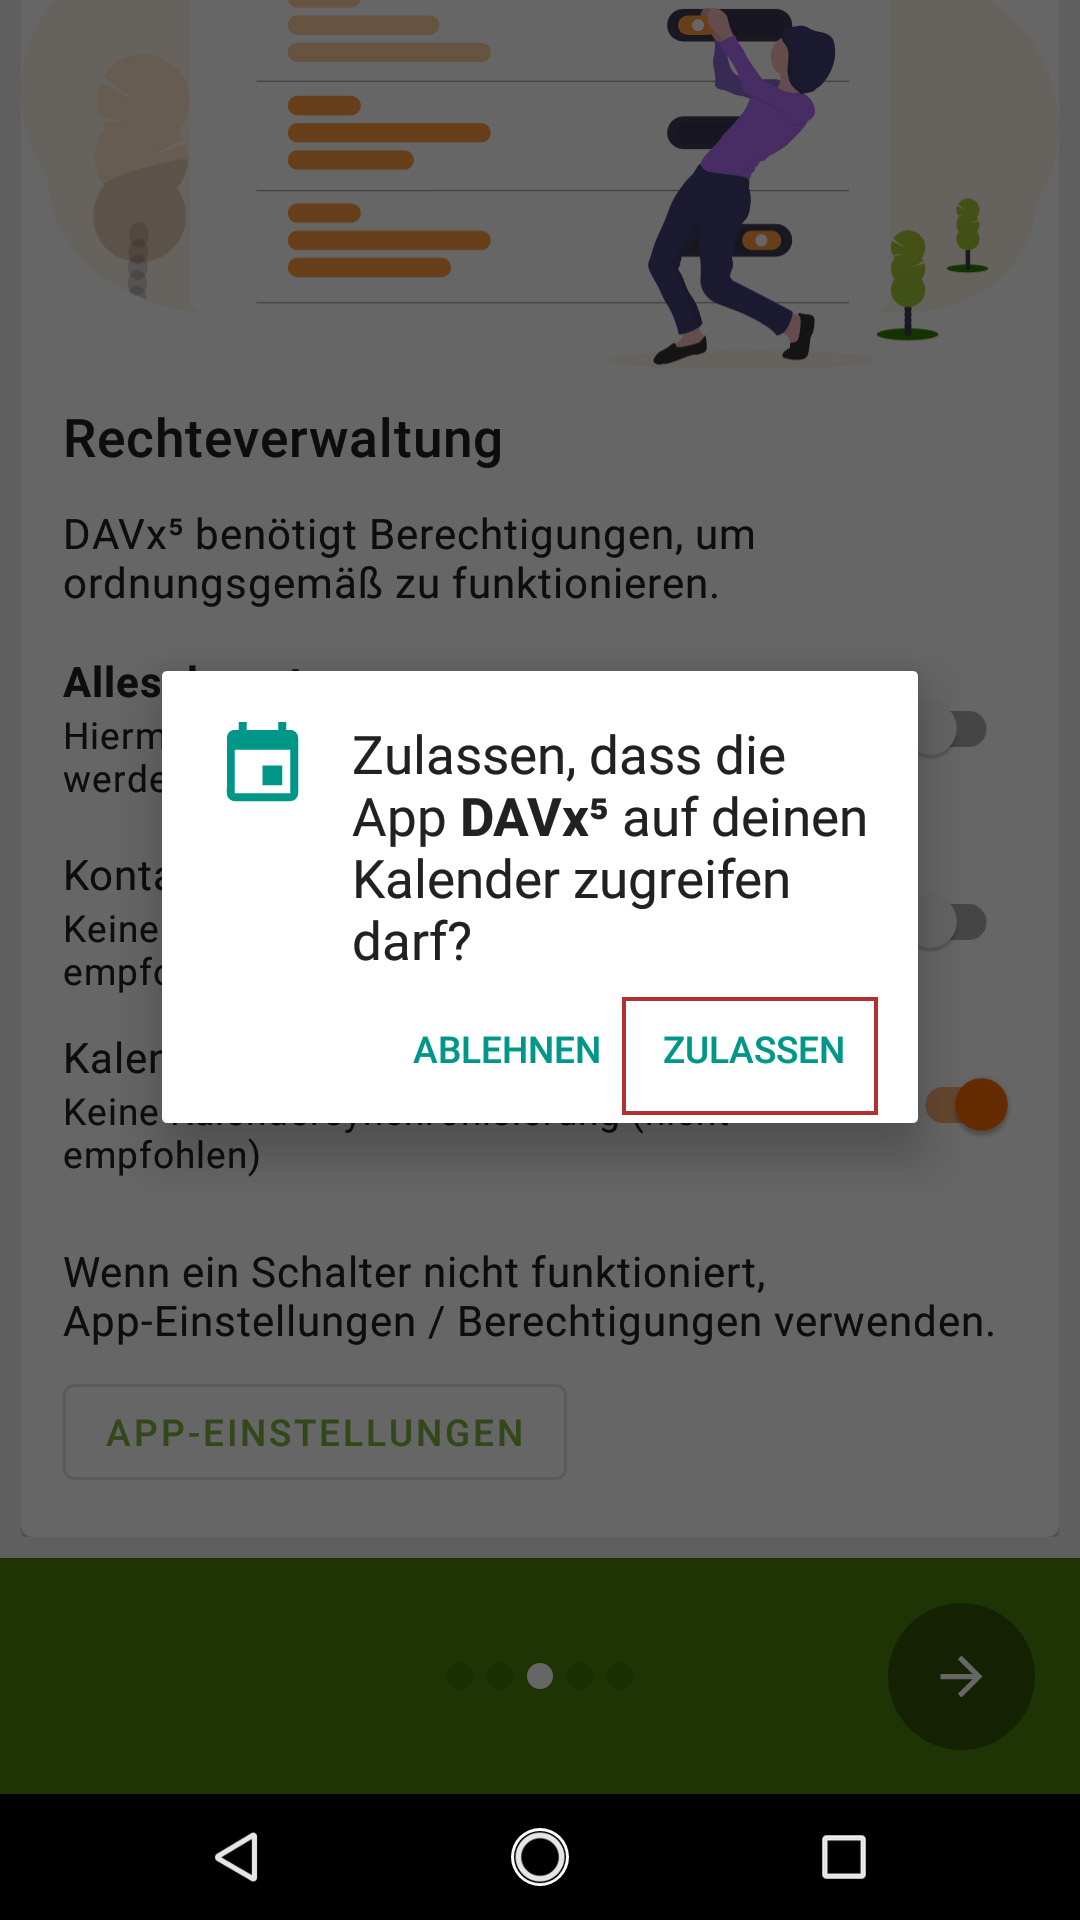
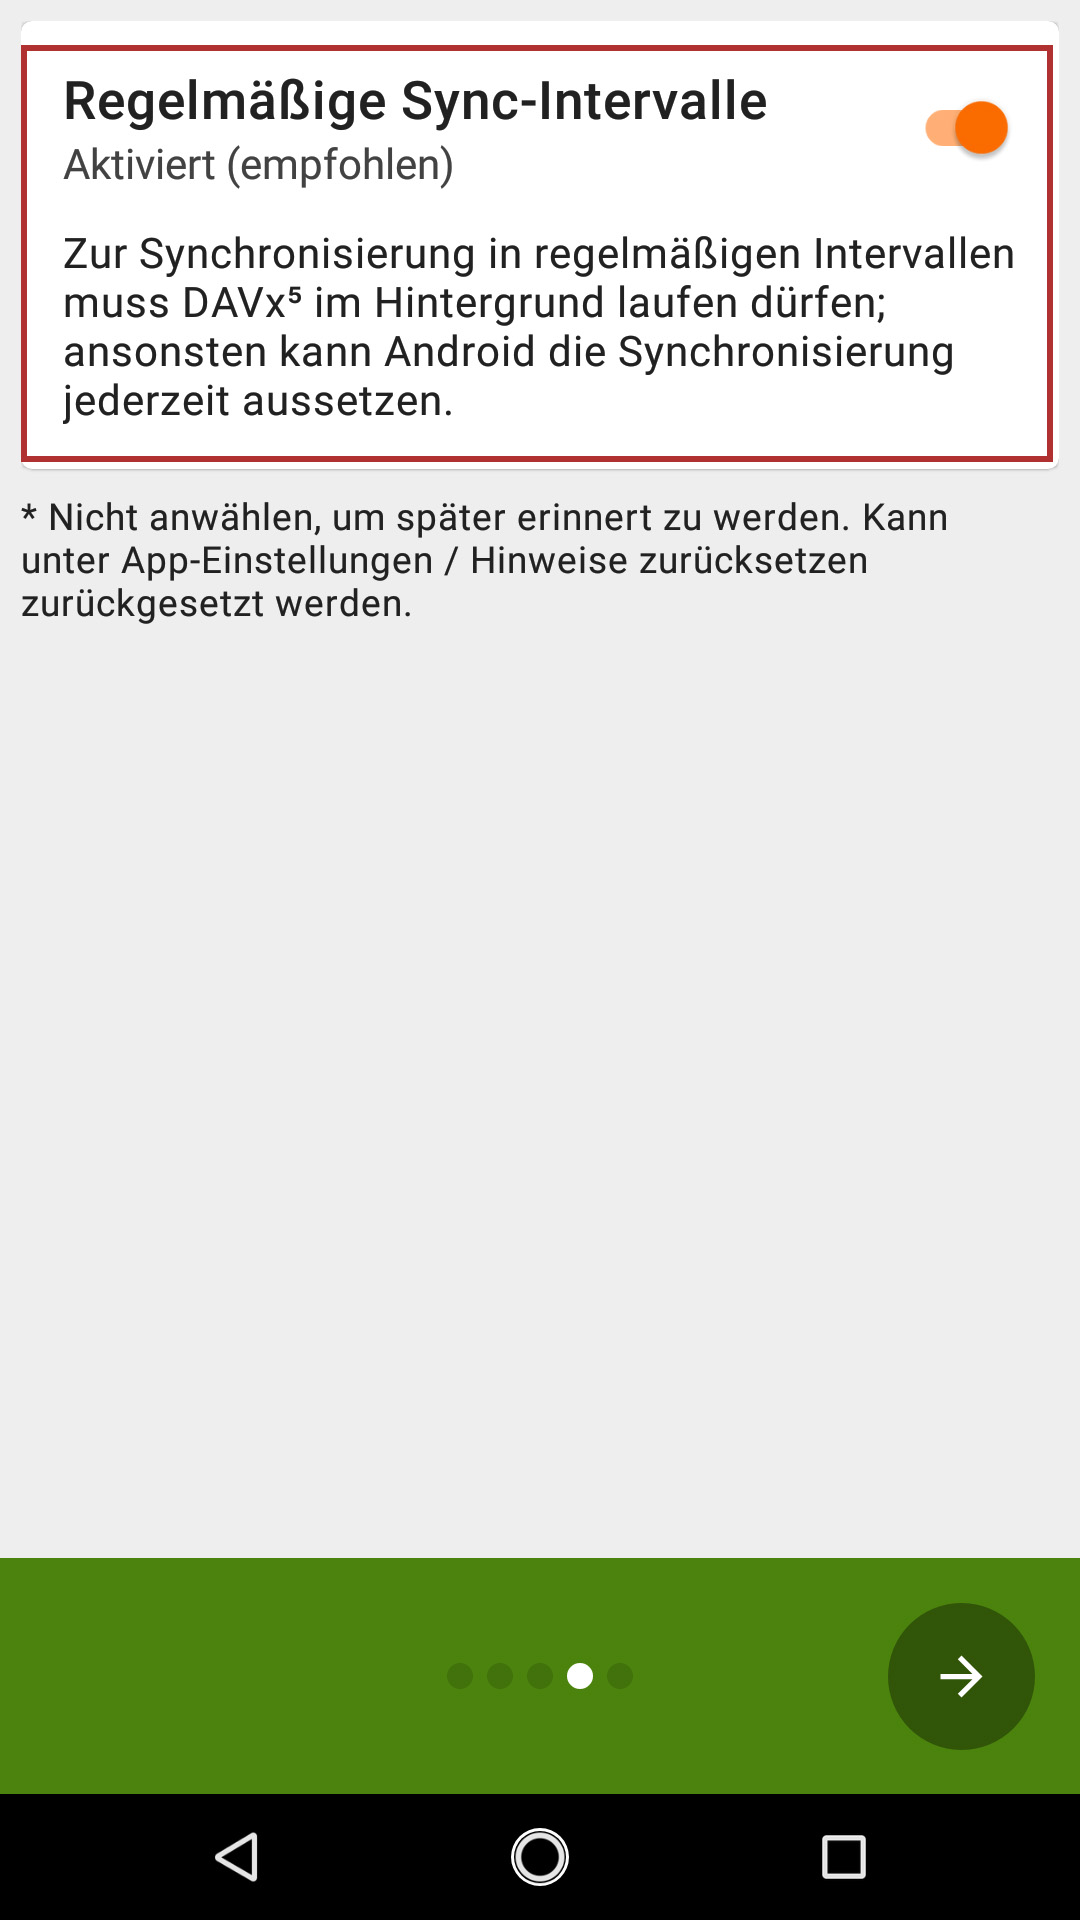
5. After installing and starting the app, you have to give permissions for some services. If you use DAVx5 for services other than calender synchronization, such as synchronizing tasks, please bear that in mind when setting the preferences in the following, as more steps than the ones documented here may be required. The following steps of the configuration only set up calendar synchronization. In this case you have to activate the permission for the calendar and regular sync-intervals (please see images).
Configuration of your calendar in DAVx5
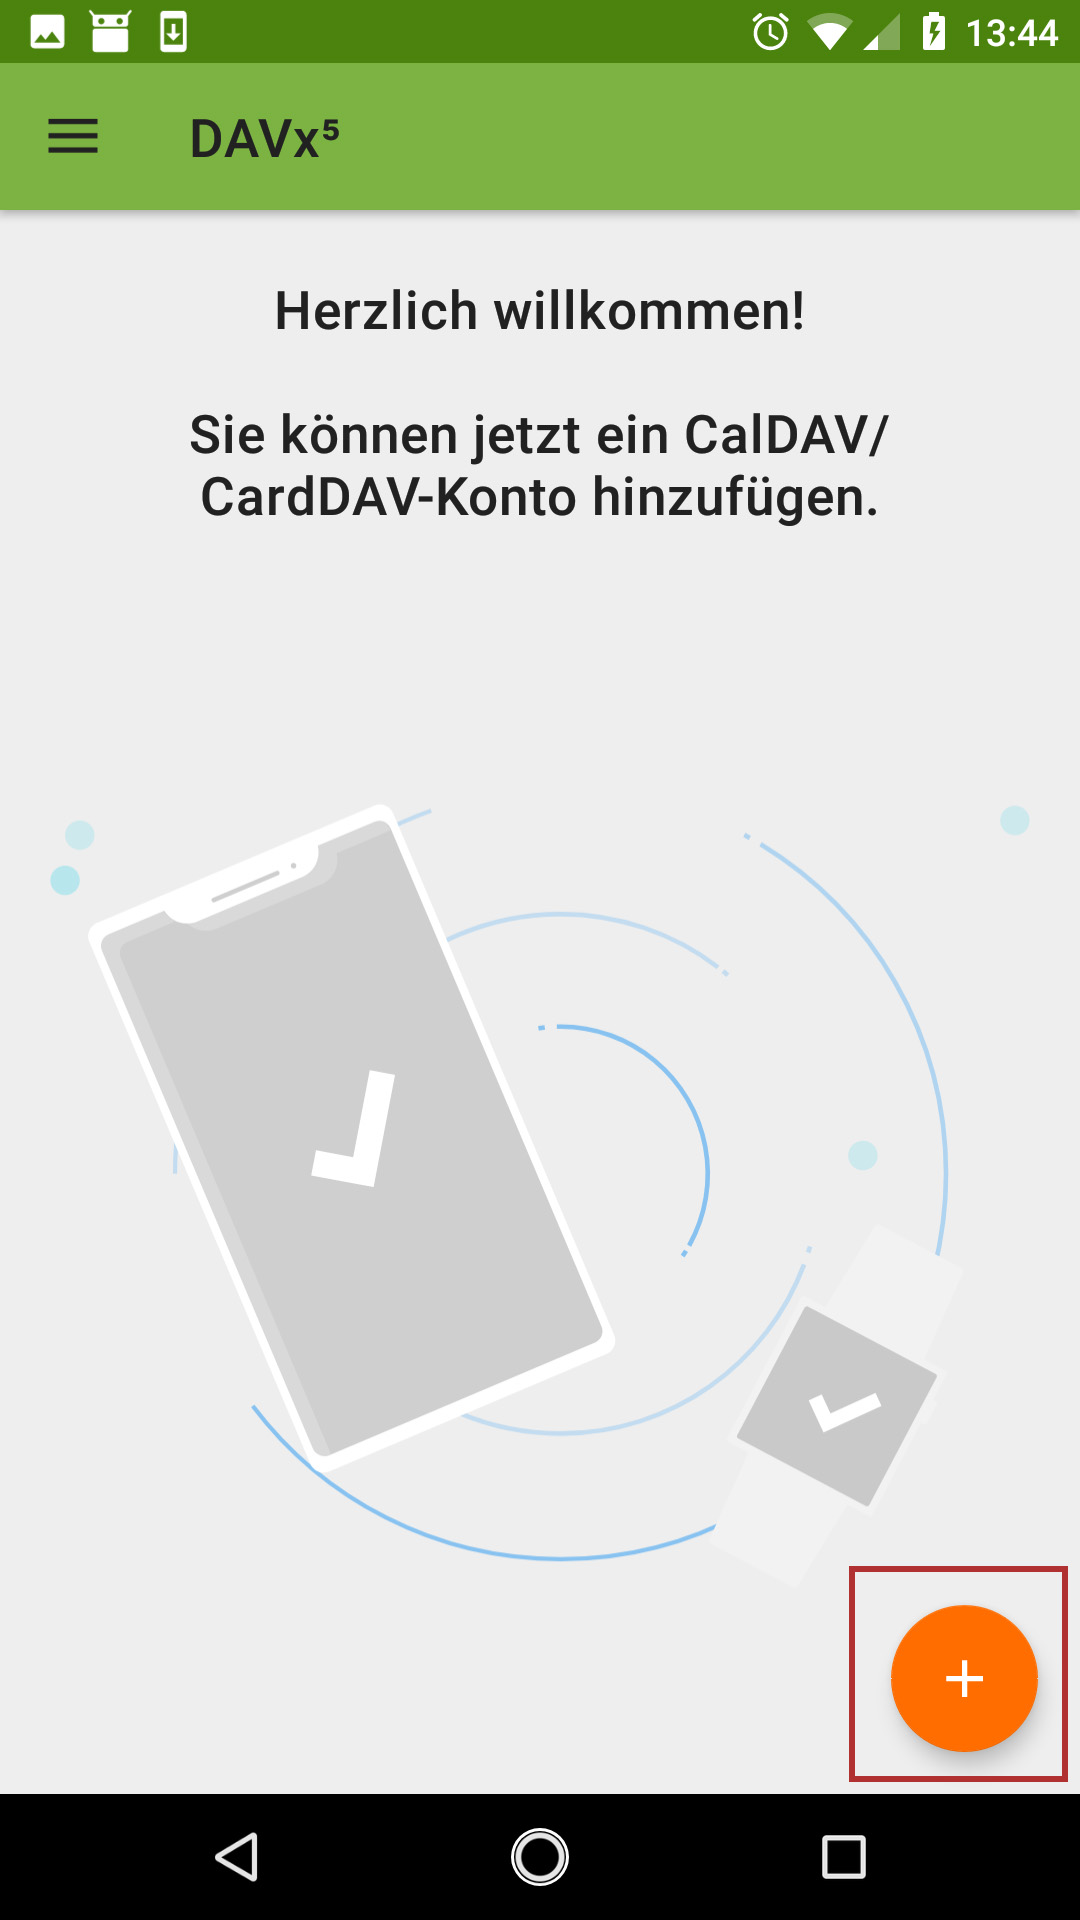
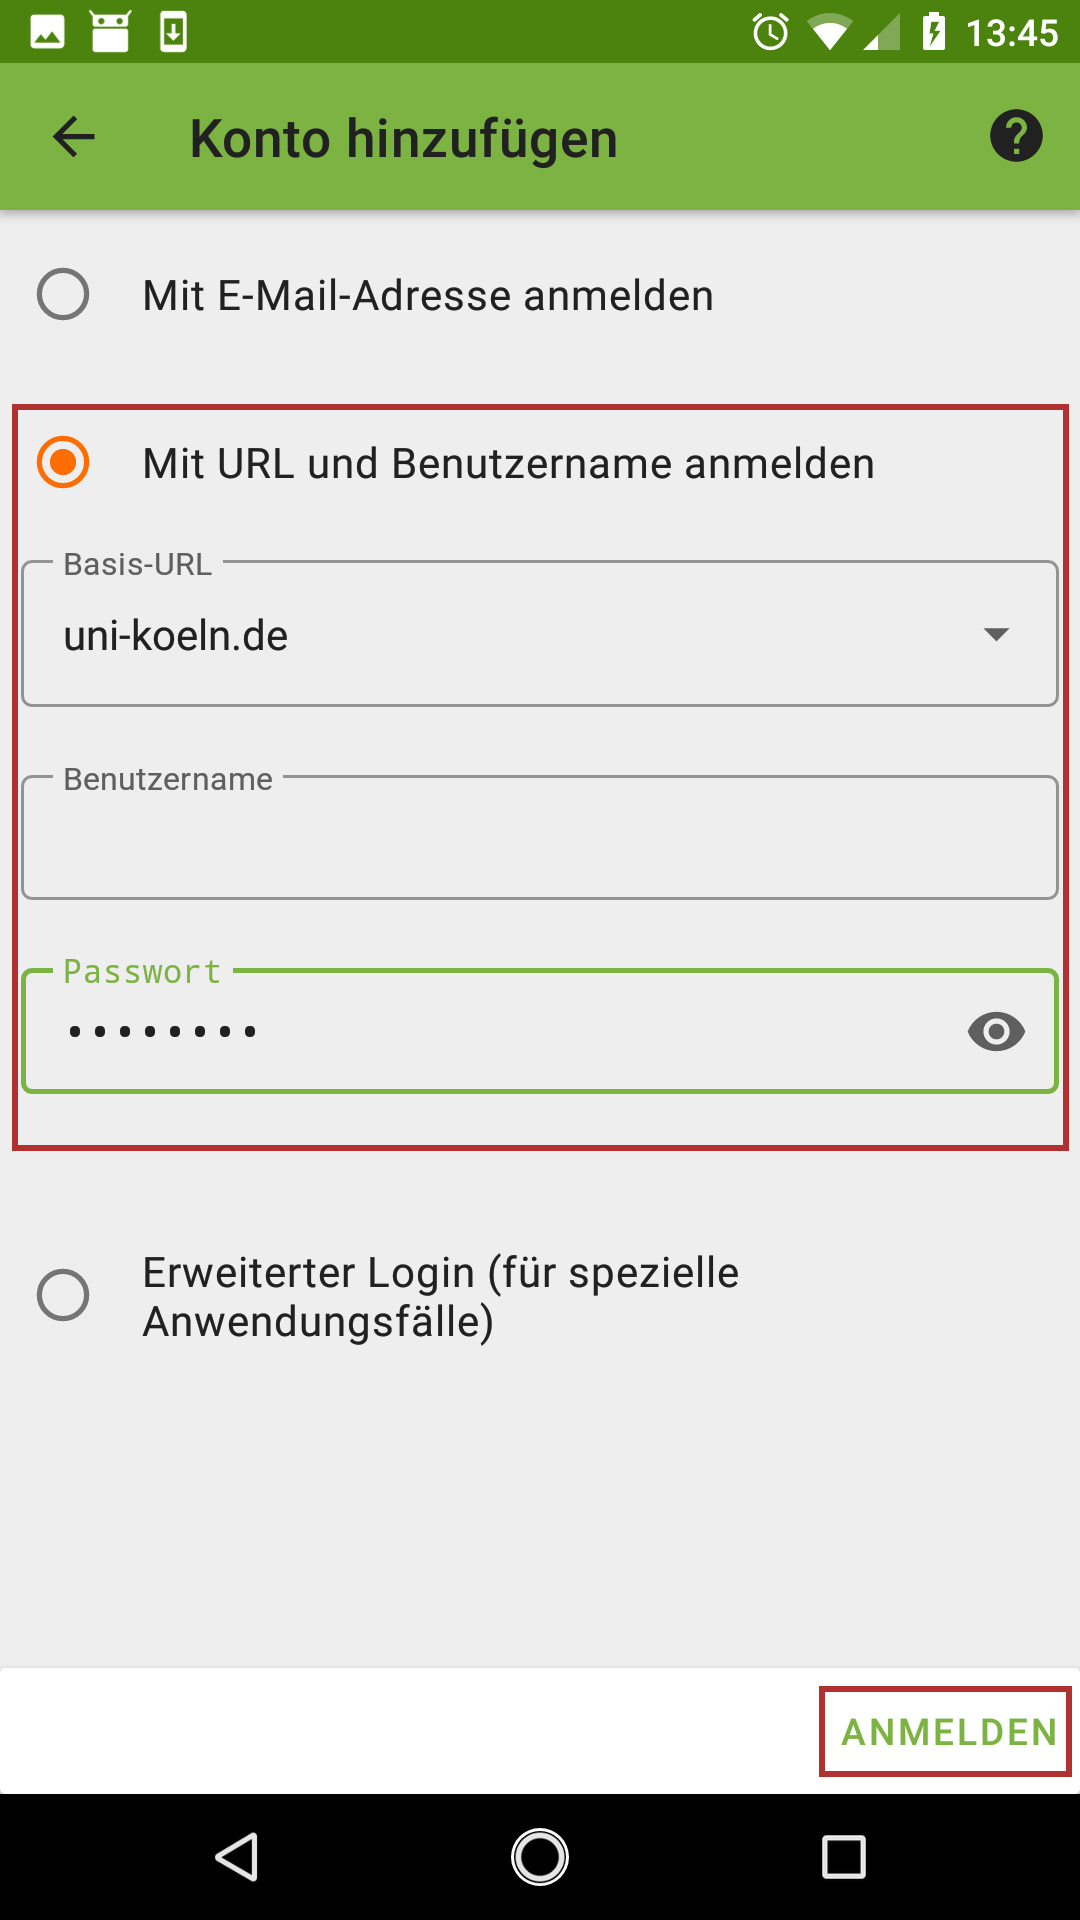
6. After the initial setup, you can add your calendar to DAVx5. To do this, tap on the plus symbol in the bottom right-hand corner. After that, you will be given a choice of how you would like to add the account. Select "Log in with URL and user name" and enter "uni-koeln.de" as the basic URL as well as your user name and password.
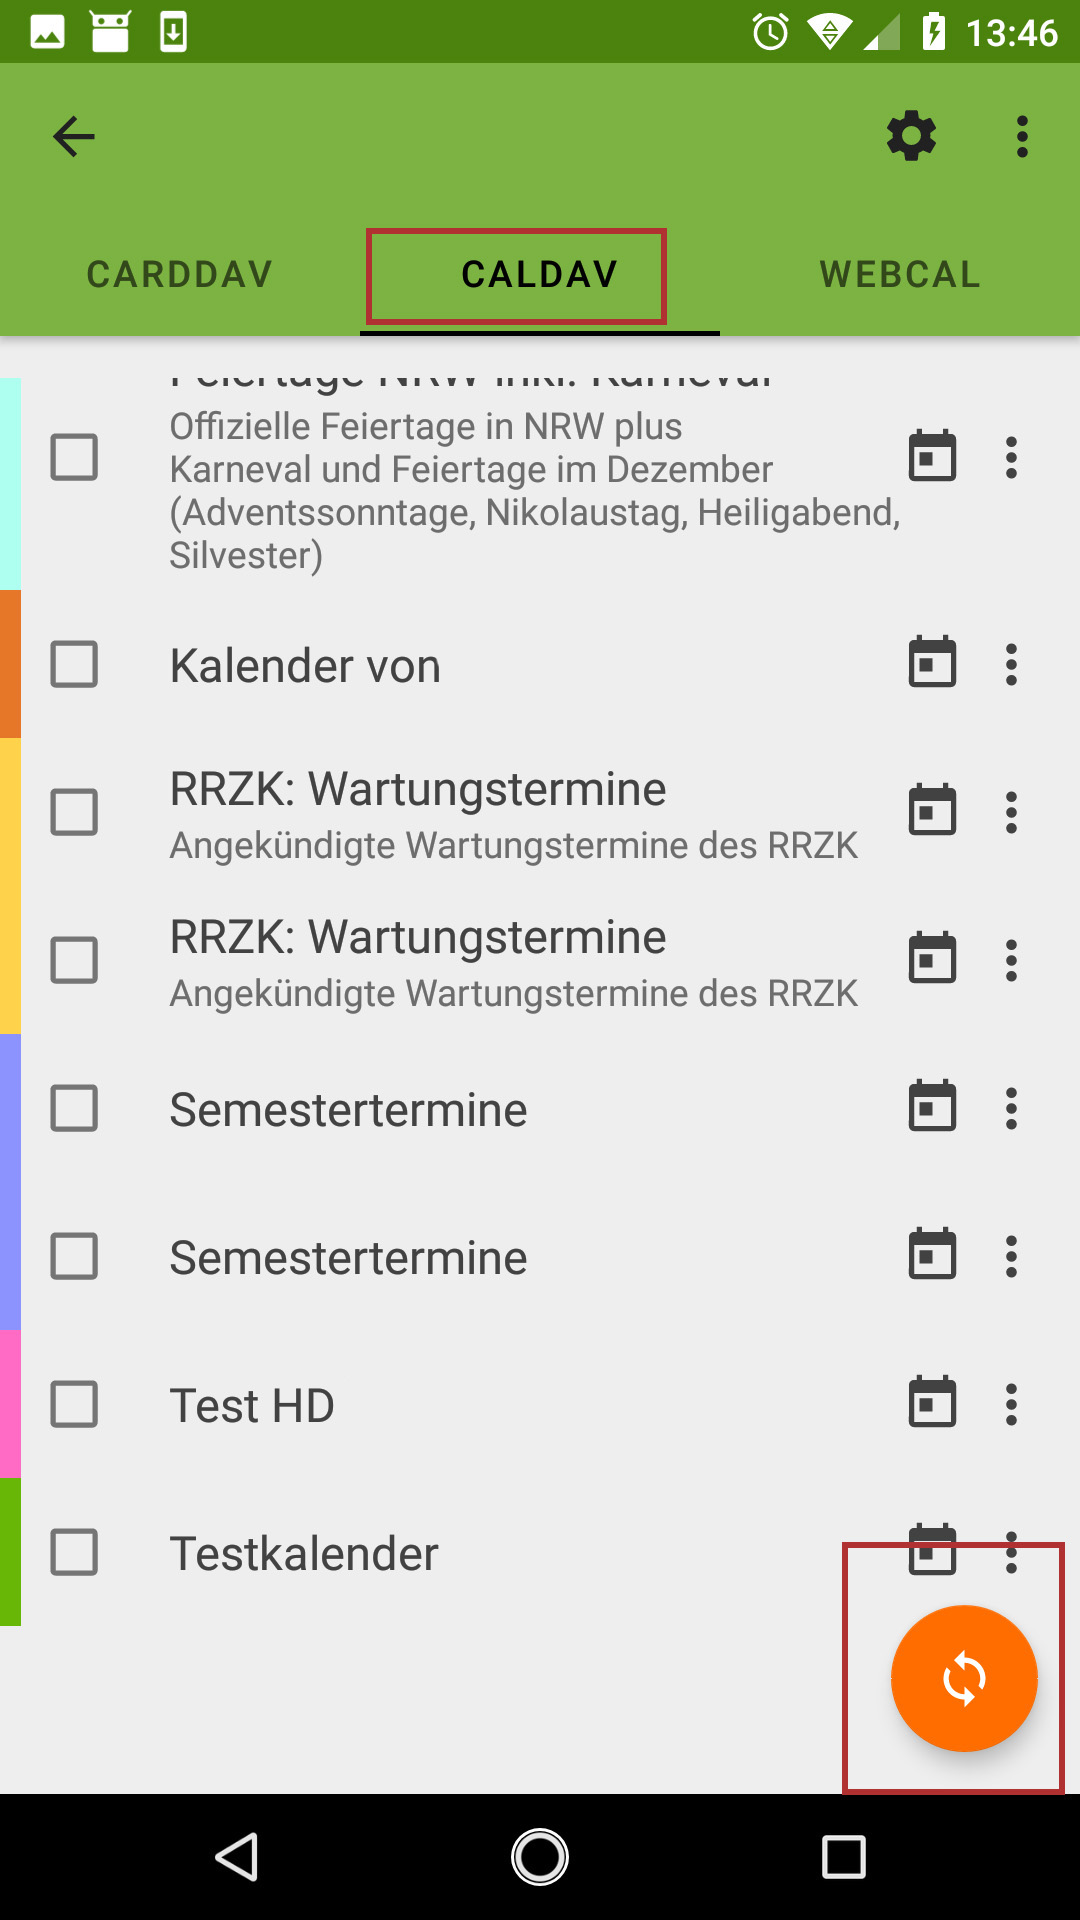
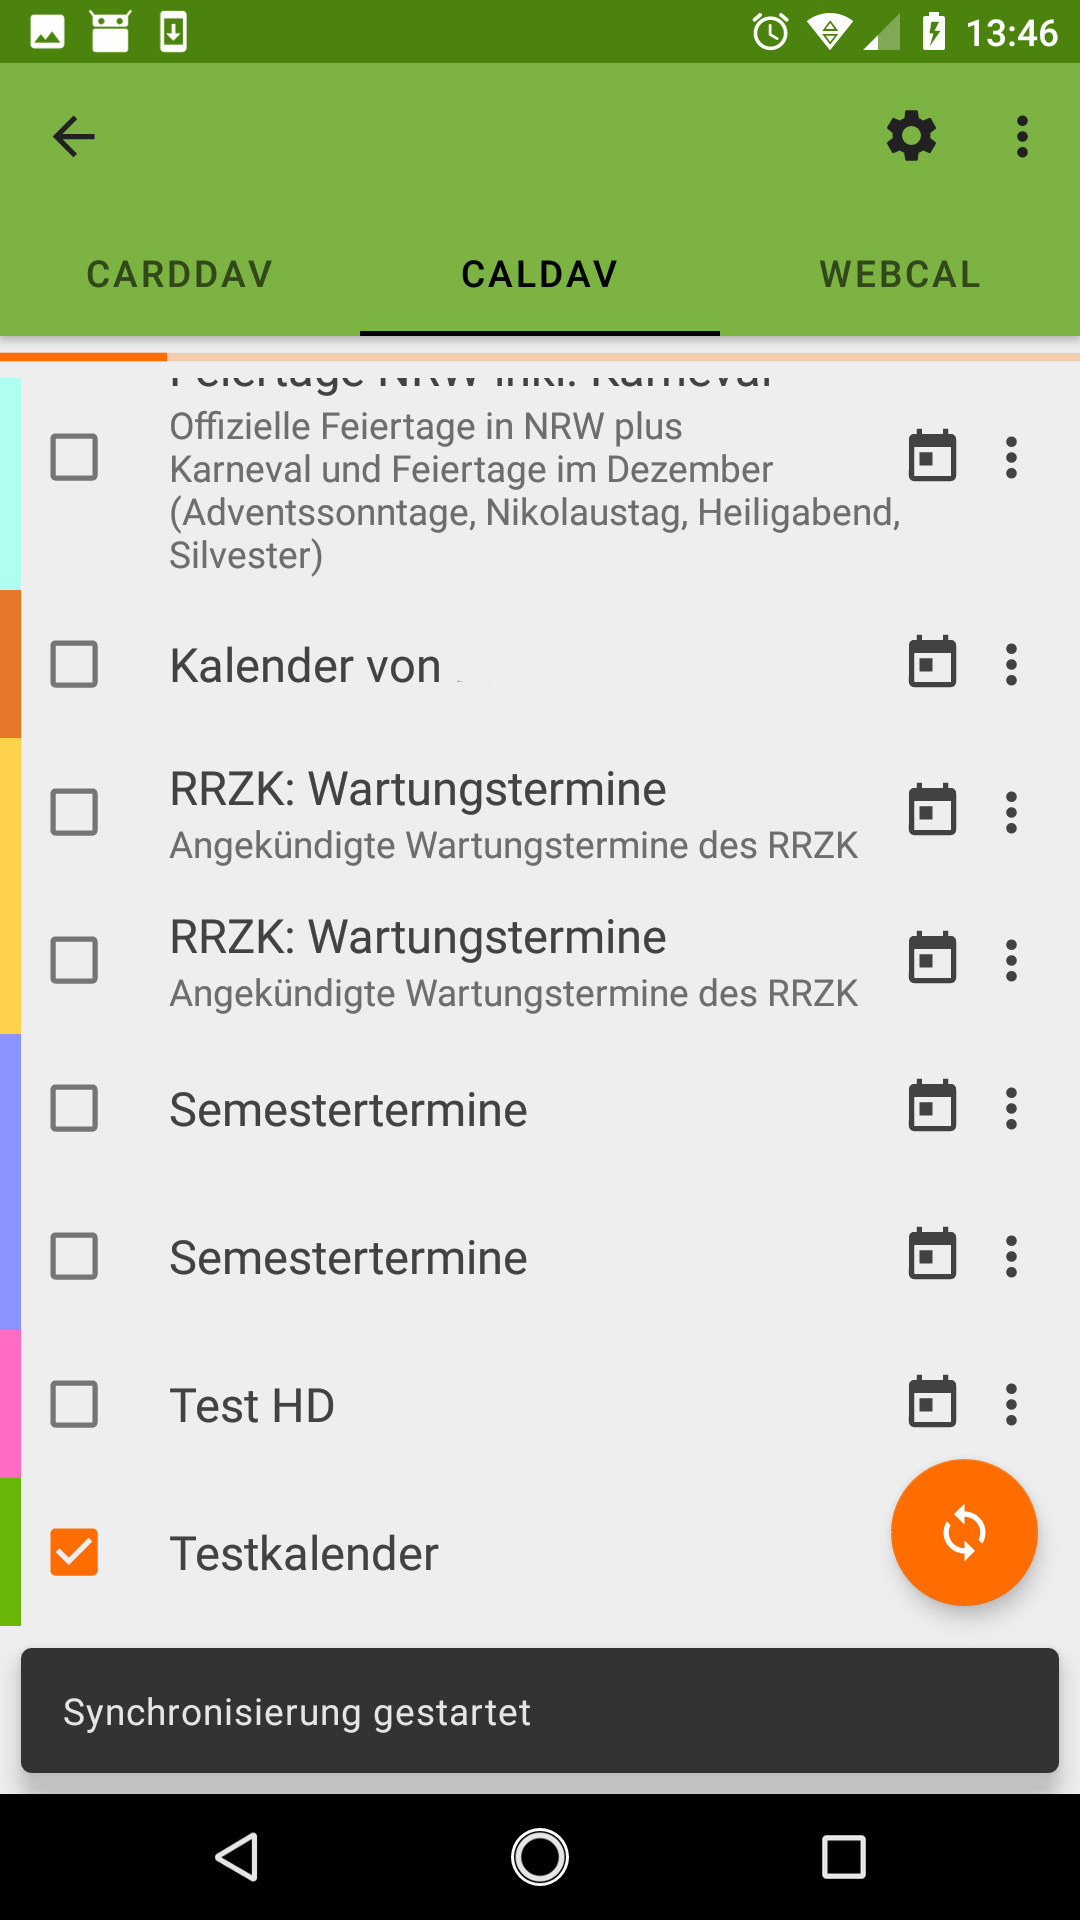
7. In the next step, please select the tab „CALDAV“ and mark all calendars you want to synchronize.
8. When you have finished your selection, confirm it by tapping the orange "Synchrionize" button in the bottom right-hand corner and wait until the synchronization is finished. After that you can use your calendar.
Configuration in your specific calendar-app
9. Open a calendar app of your choice and activate your synchronized calendar there. As an example, we show this procedure for the Google Calendar and the free app TimeTree.
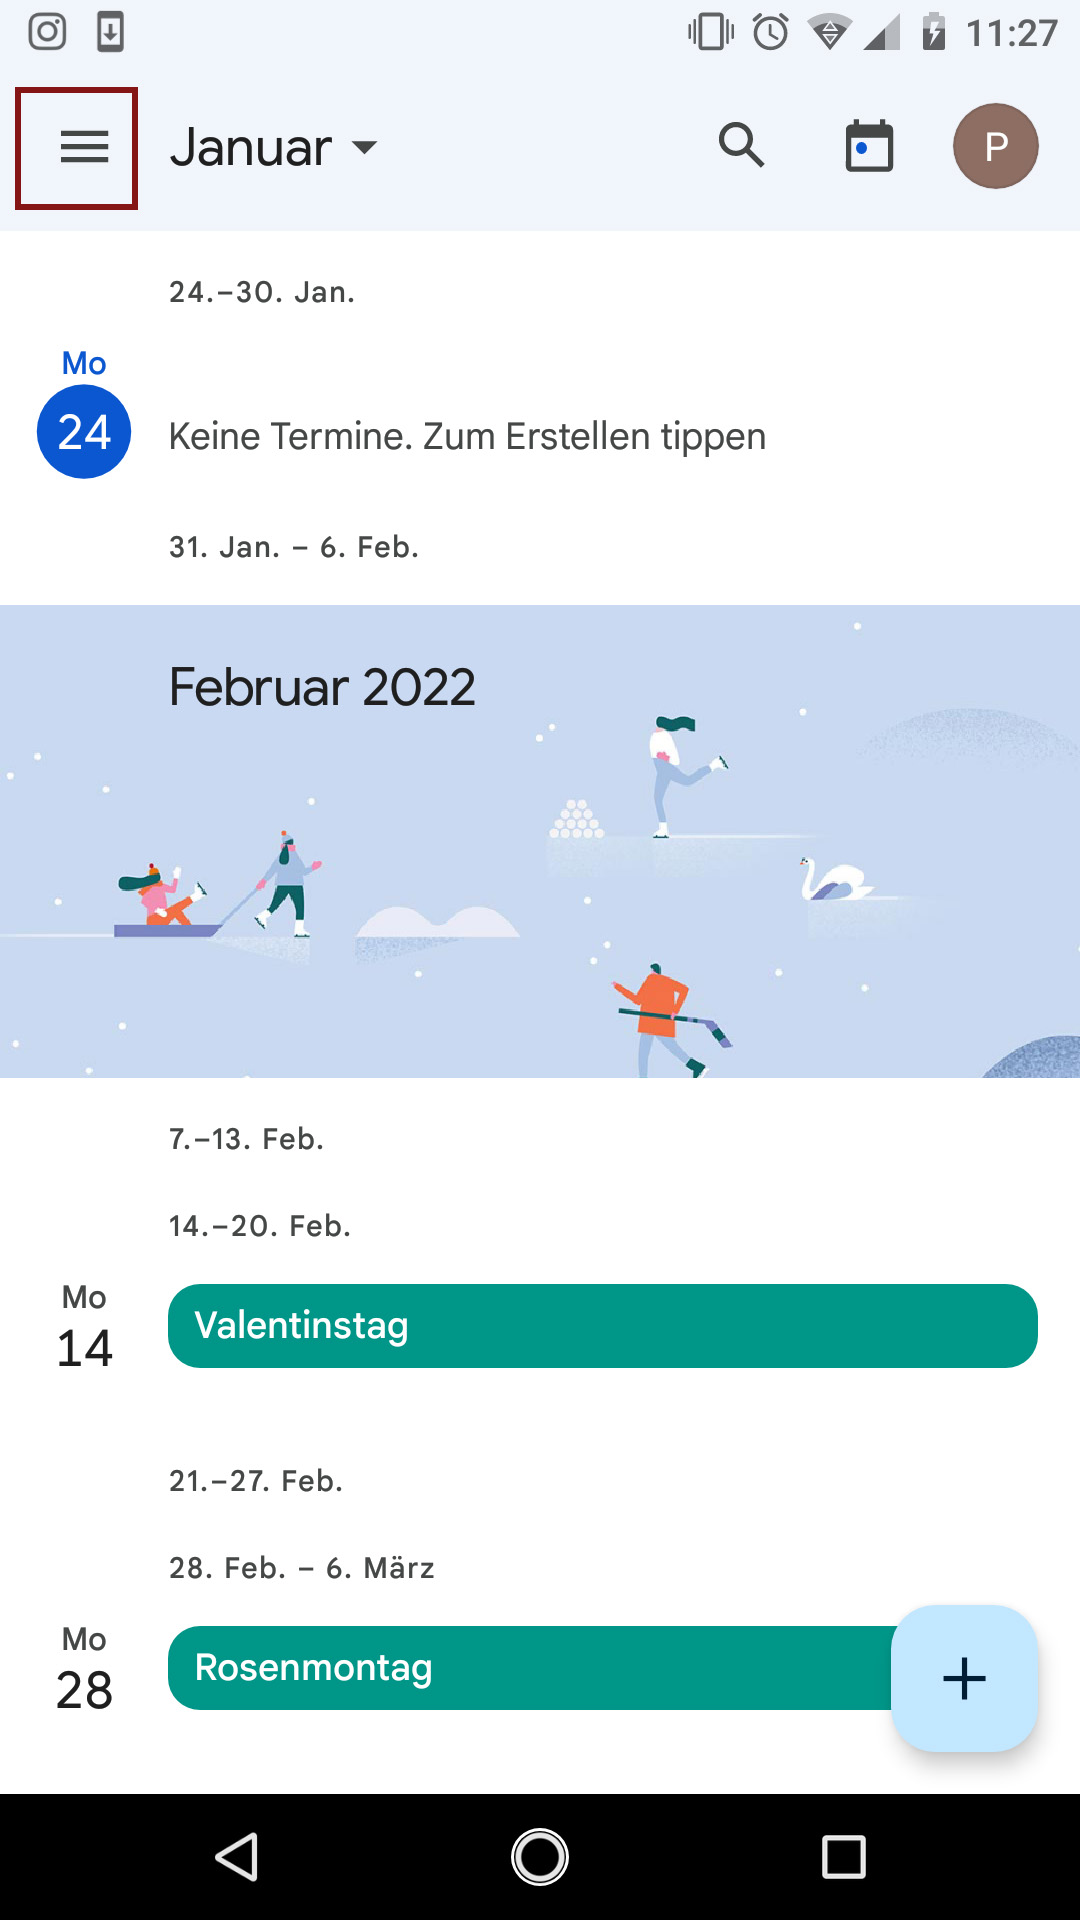
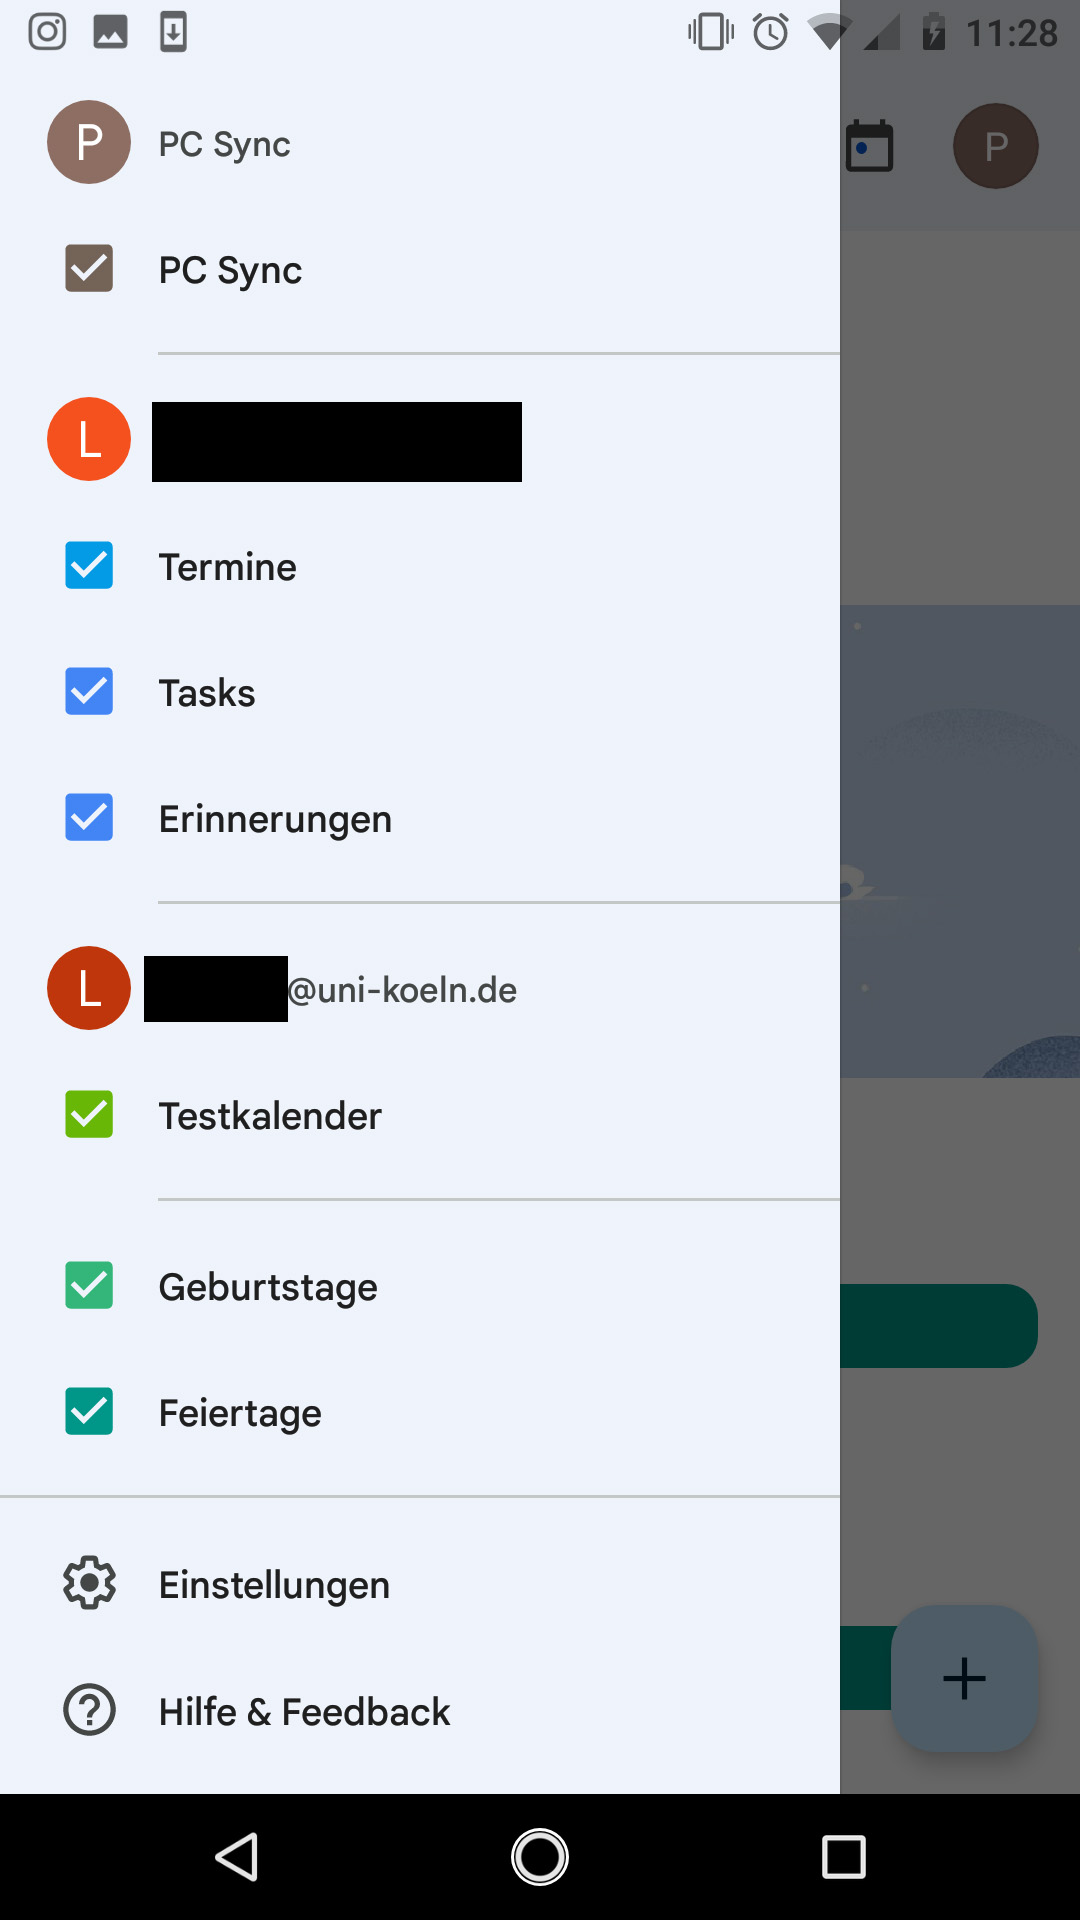
10. In Google Calendar, tap on the hamburger menu icon (three horizontal lines) in the top left-hand corner and choose your webmail calendar in the following menu. Now all dates of the chosen calendar will be displayed.
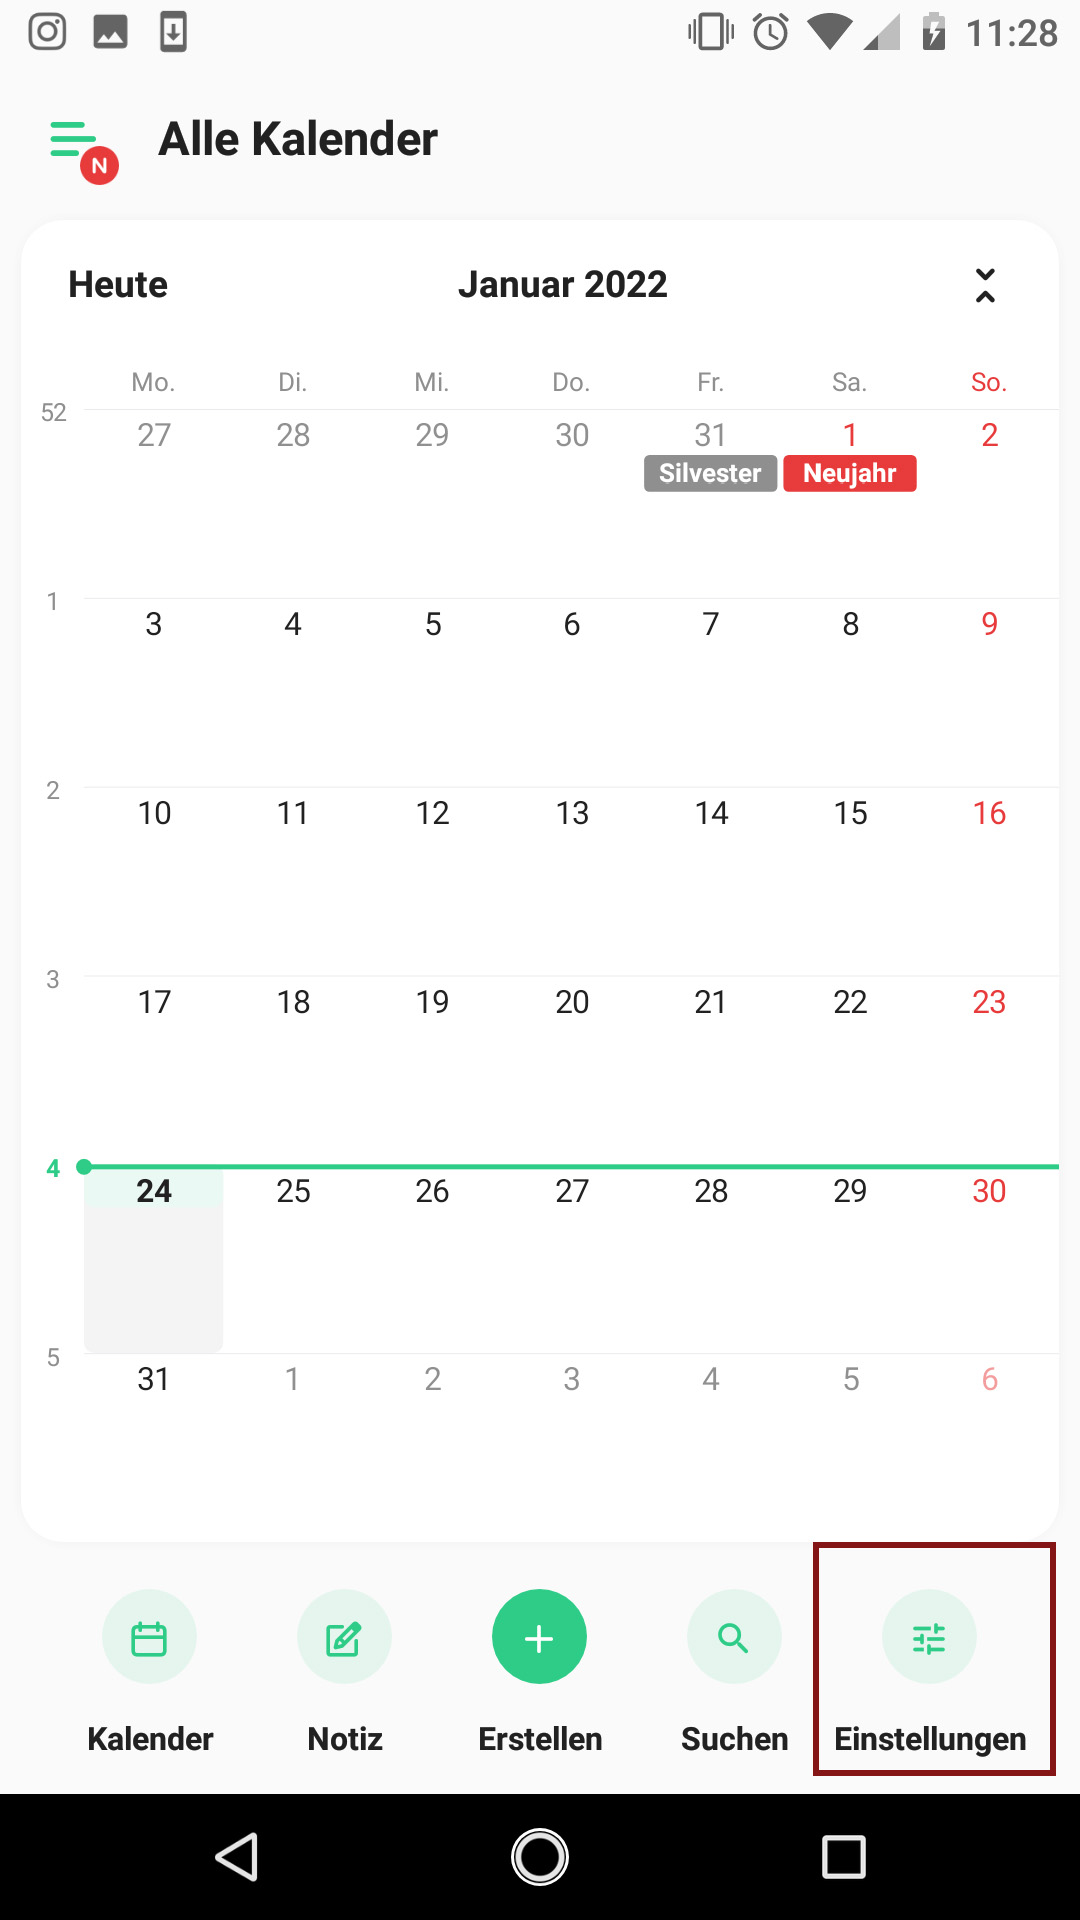
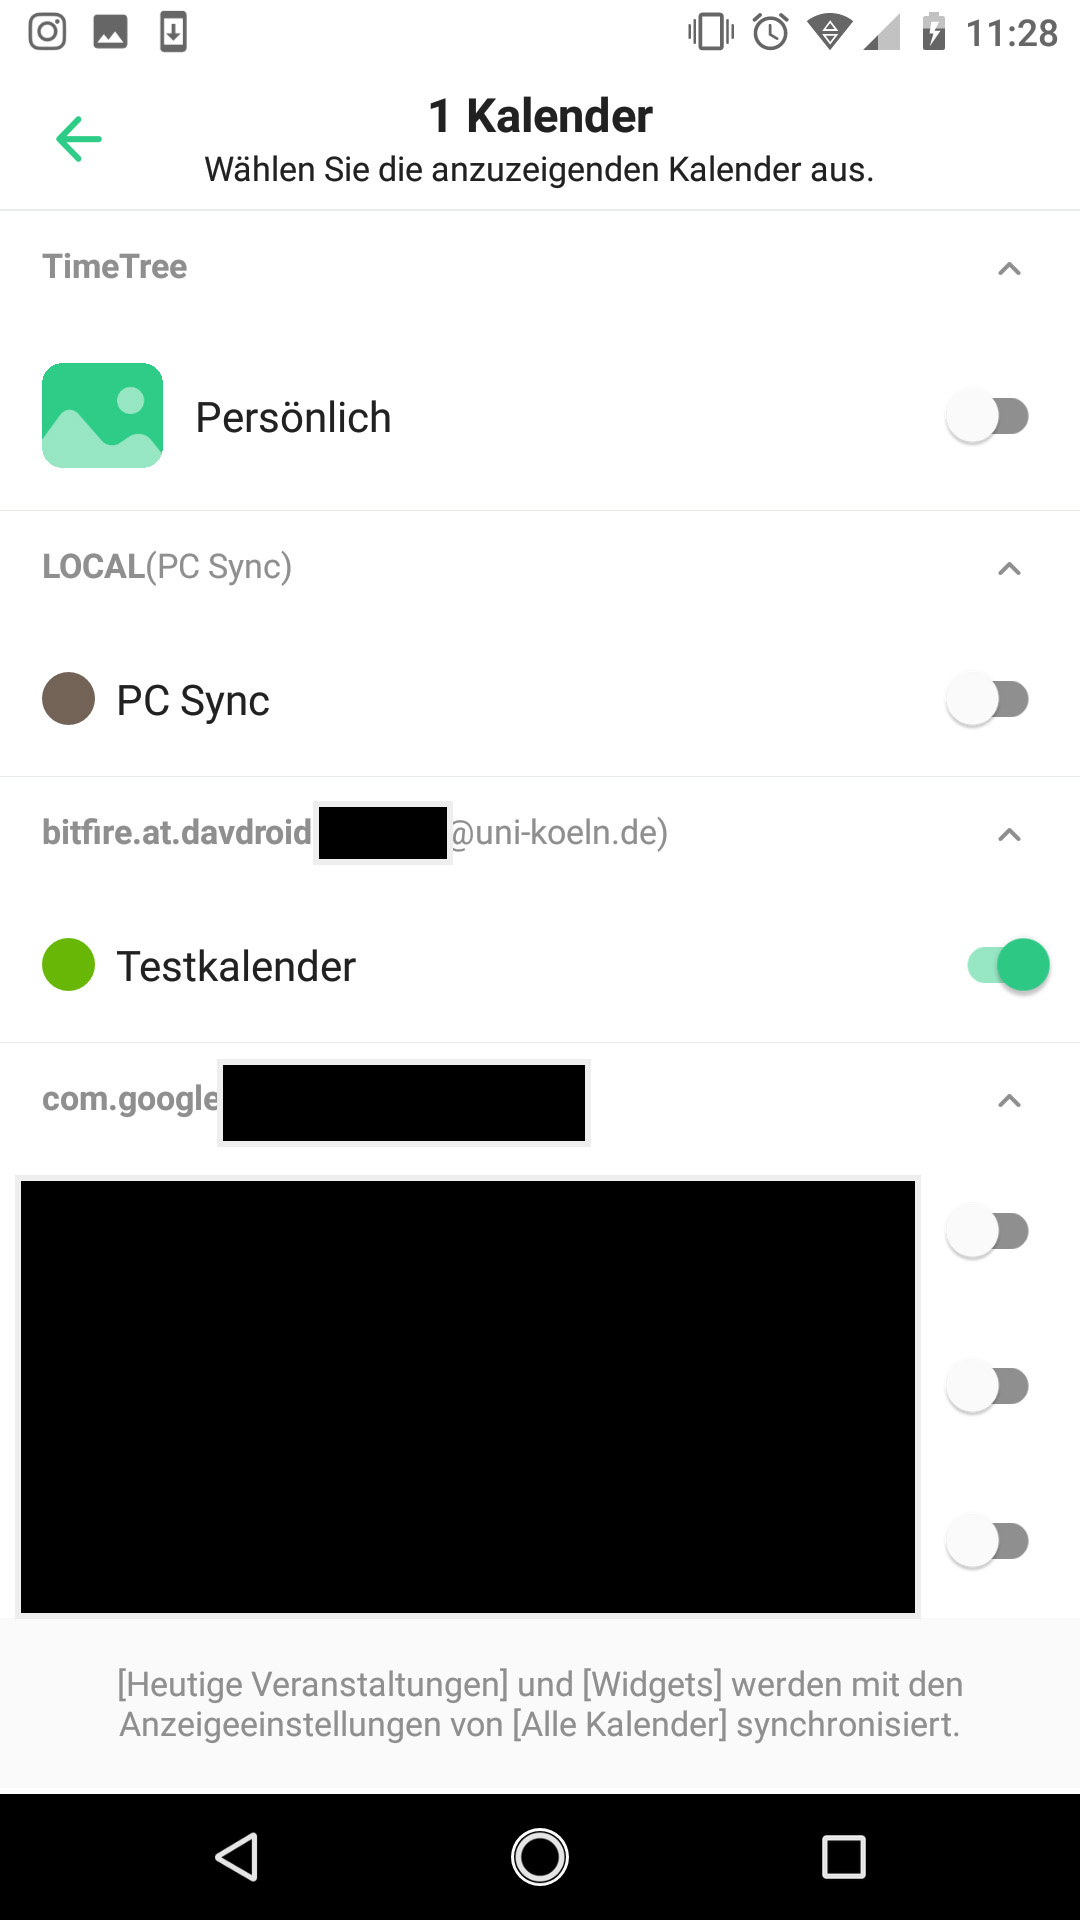
11. In the app TimeTree, tap on the preferences button in the bottom right-hand corner and activate your synchronized webmail calendar. Then all its events will be shown in the app.
12. If you also want to synchronize task lists from your webmail account with your Android device, you can also set this up inthe DAVx5 app. Be sure to give the app the necessary permissions. As with your calendar app, the lists must also be integrated via third-party software.
Contact
If you have any questions or problems, please contact the ITCC-Helpdesk