sciebo client
Installation on windows devices
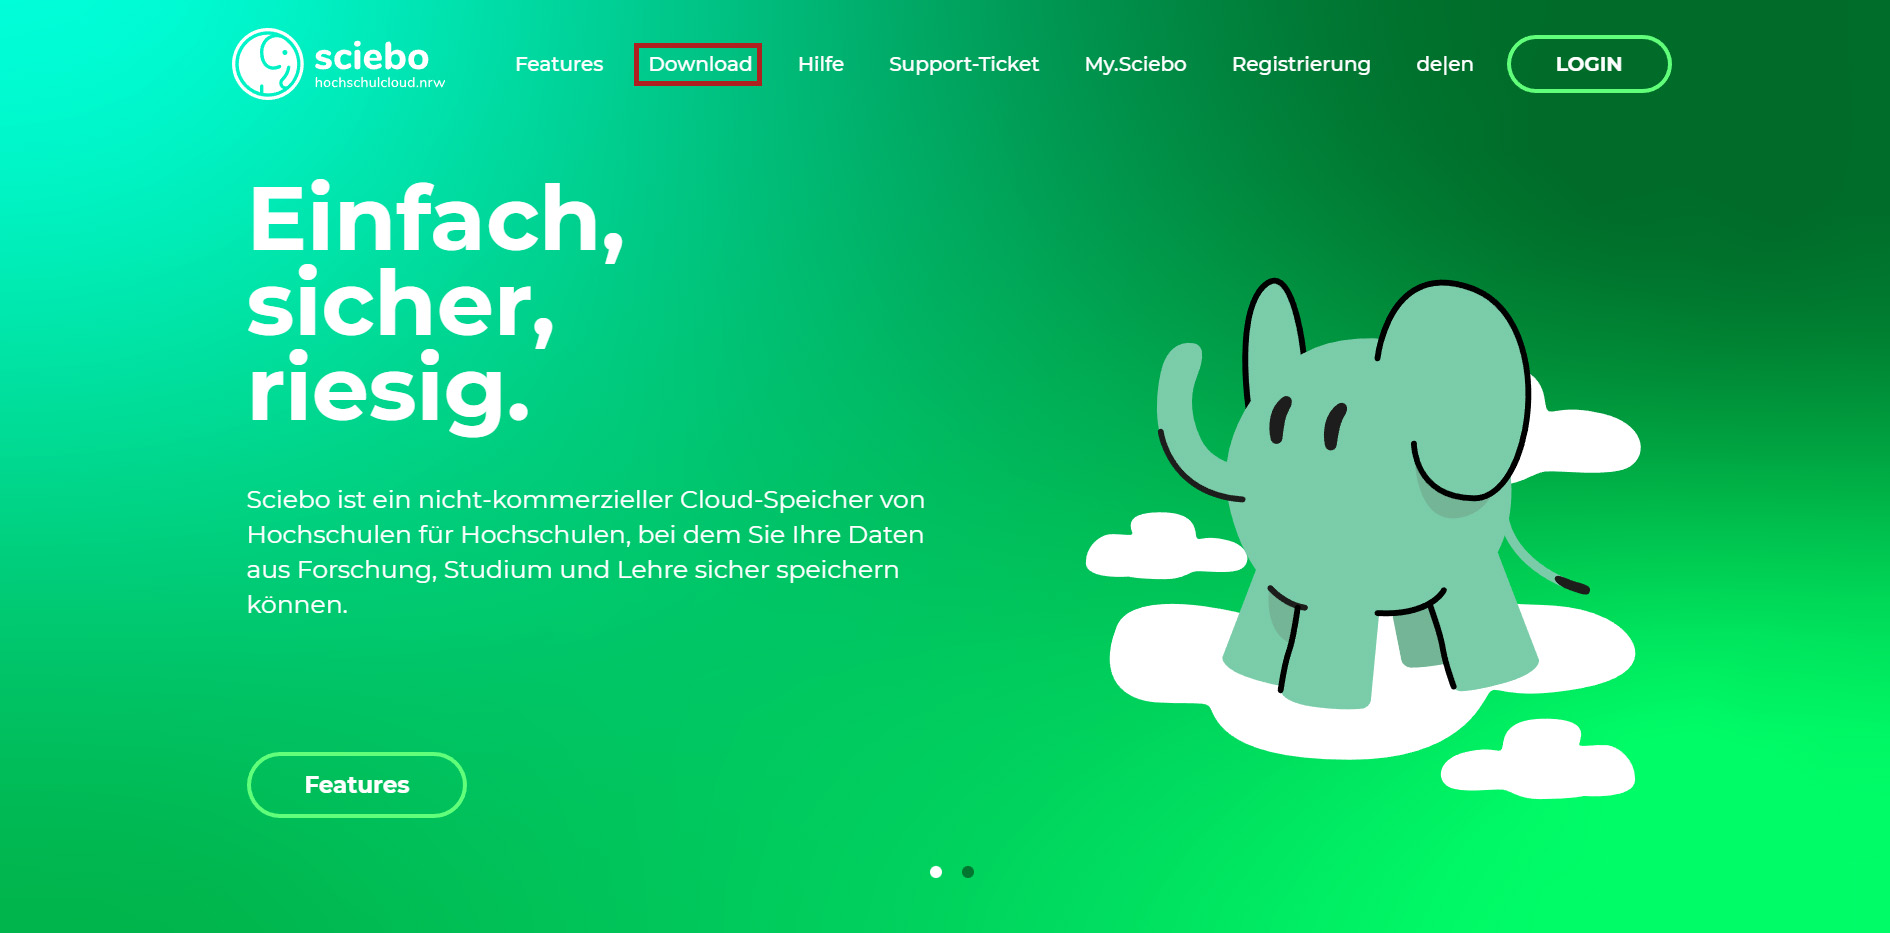

To install the sciebo client, go to the sciebo website.
- Click on the "Download" button on the sciebo web page.
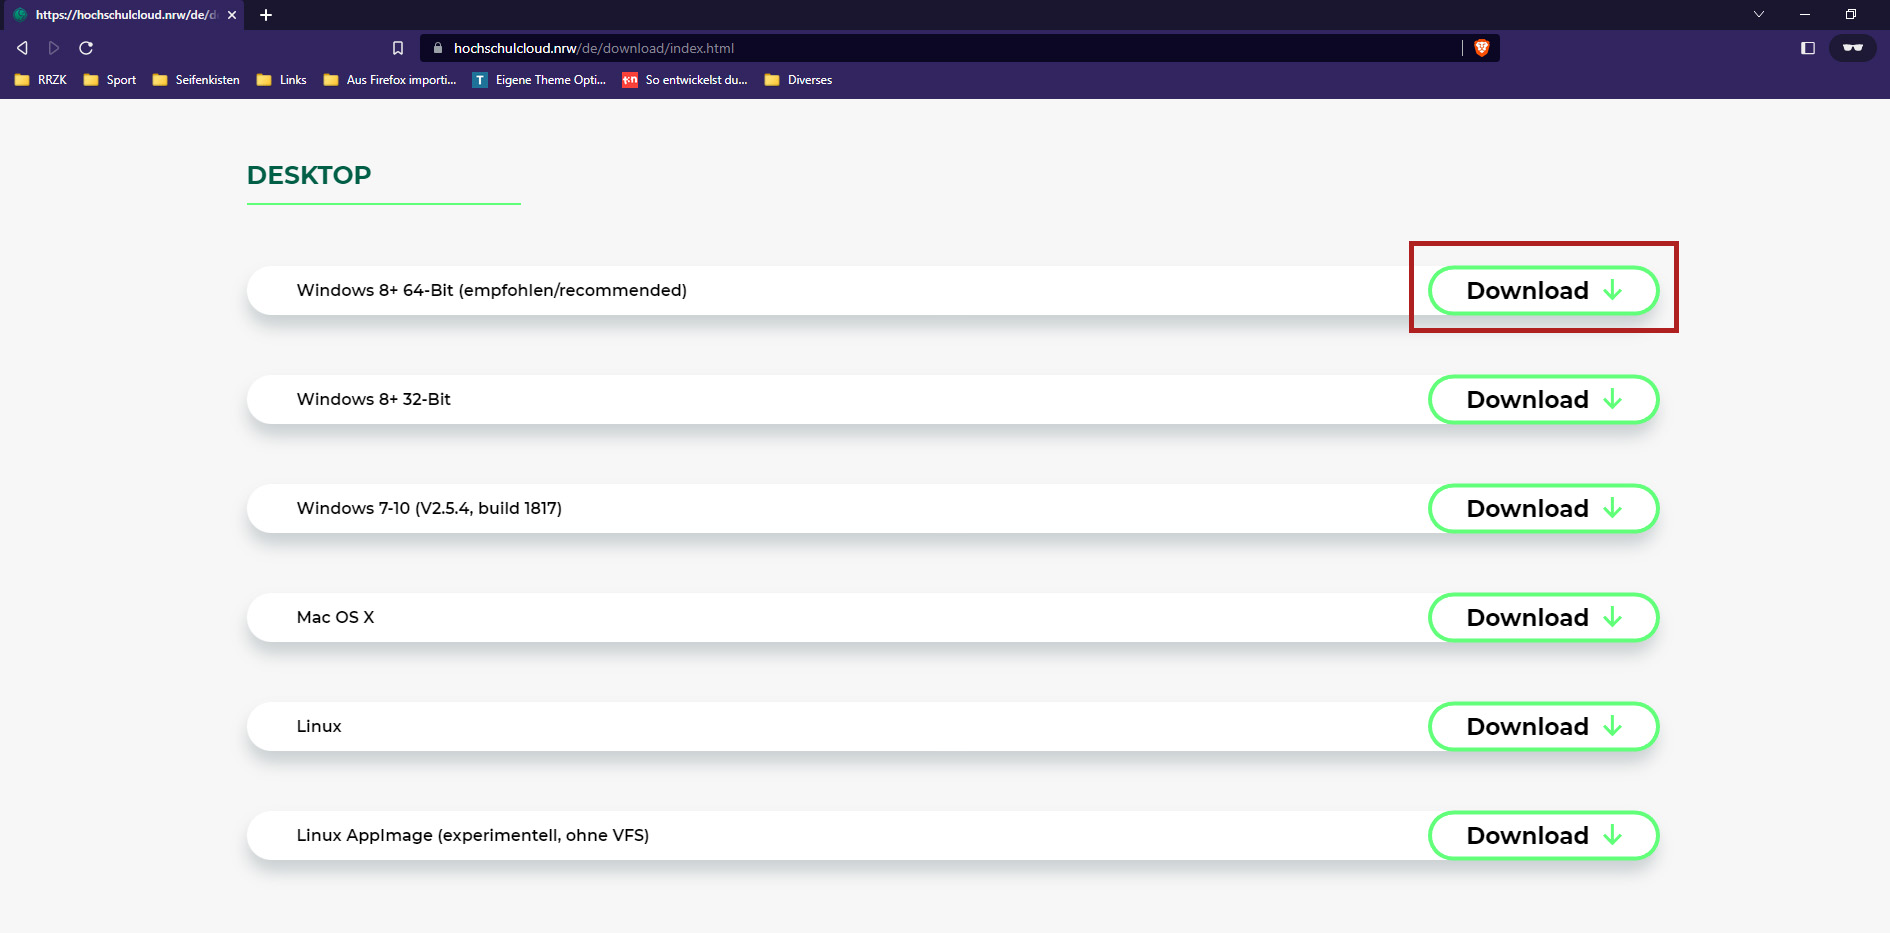
- On the new page, scroll to the Desktop section and select the appropriate version (General recommendation: Windows 8 + 64-bit) and click the Download button.
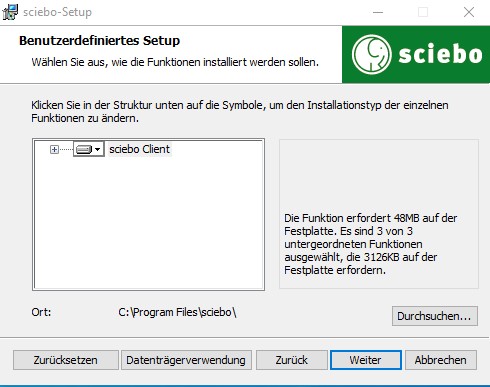
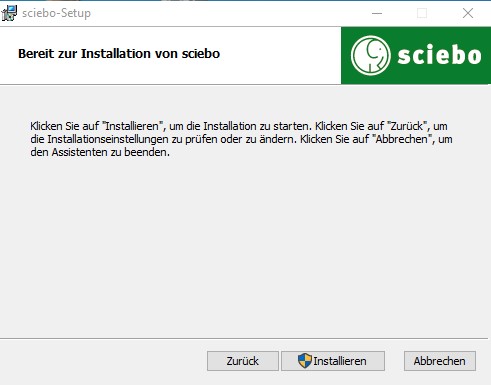
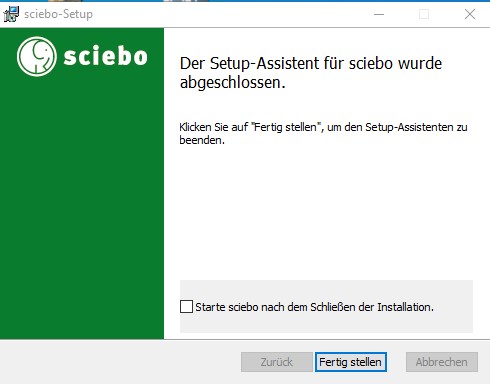
- After the setup file is downloaded, run it. Click "Next" to click through the installation wizard. You can use the default settings that sciebo offers. With a click on the button "Install" sciebo will be installed.
- If you want to run sciebo directly after the installation, check the box "Start sciebo after installation".
Installation unter macOS

Um Sciebo auf Ihrem Mac zu installieren, rufen Sie bitte Sciebo.de auf und drücken dort auf Download.
Wählen Sie nun Ihr Betriebsystem aus.
Nach dem Sie die Datei gewonloadet haben, gehen Sie auf Downloads auf Ihrem Mac und führen die gedownlodete Datei aus.
Nach der Ausführung der Datei, öffnet sich ein Kontrollfenster, welches den Installationsassistens anzeigt. Folgen Sie den Schritten auf dem Bildschirm. Nach wenigen Installationsschritten, wird eine Zusammenfassung angeziegt, ob Sciebo erfolgreich installiert wurde.
Nach erfolgreicher Installation können Sie die App erstmalig ausführen. Gehen Sie dafür in den Finder -> Programme. Dort sollten Sie nun eine grüne App namens Sciebo finden. Führen Sie diese aus. Dadurch öffnet sich ein Sciebo-Fenster, in welchem Sie Ihren Usernmane und nachfolgend Ihr Passwort eingeben können.
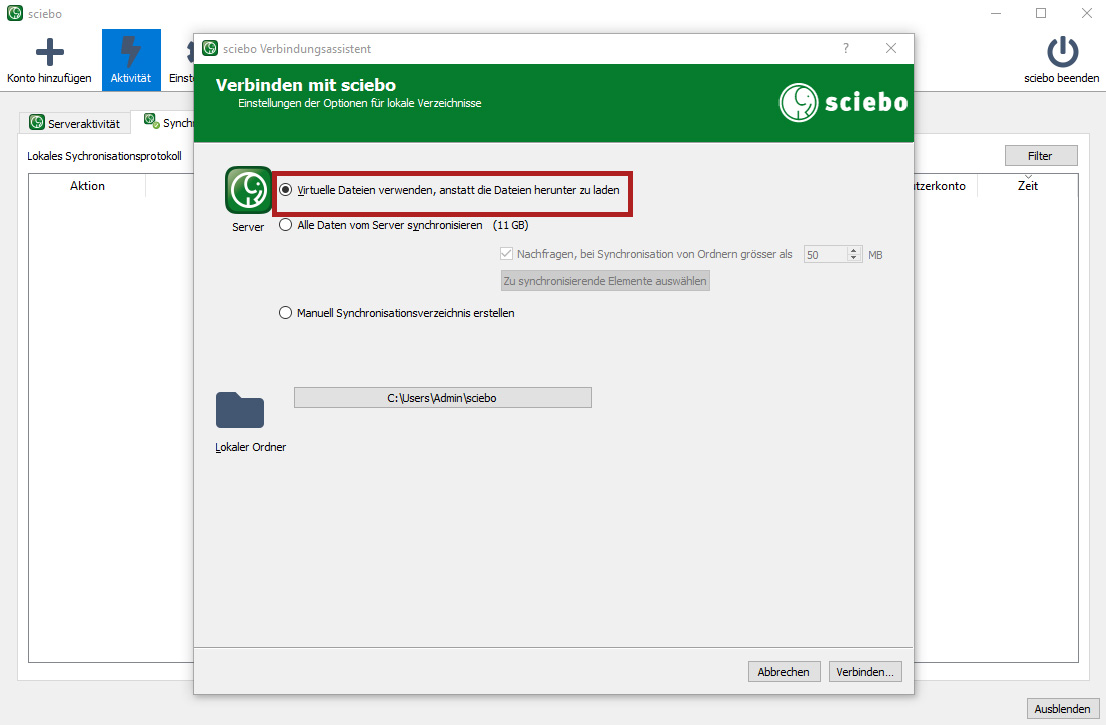
Nach erfolgreicher Anmeldung können Sie die Optionen für das lokalen Verzeichniss einstellen.
Schlussendlich öffnet sich die Oberfläsche von Sciebo, in welcher Sie Ihren Account sehen und die zu synchronisierenden Ordner.
Use of the sciebo client
Connect client with sciebo account
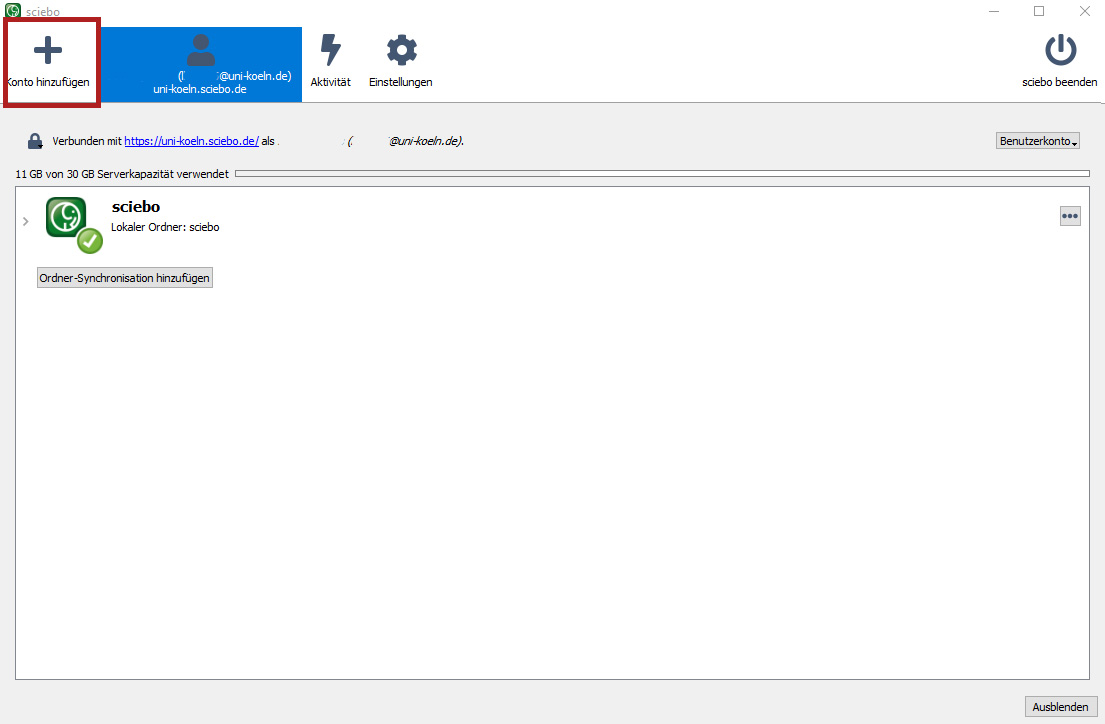


If you have not started the sciebo client yet, start the application.
- If you have not linked an account yet, jump to step 2. In the other case, click on the + symbol (top left) to add an account.
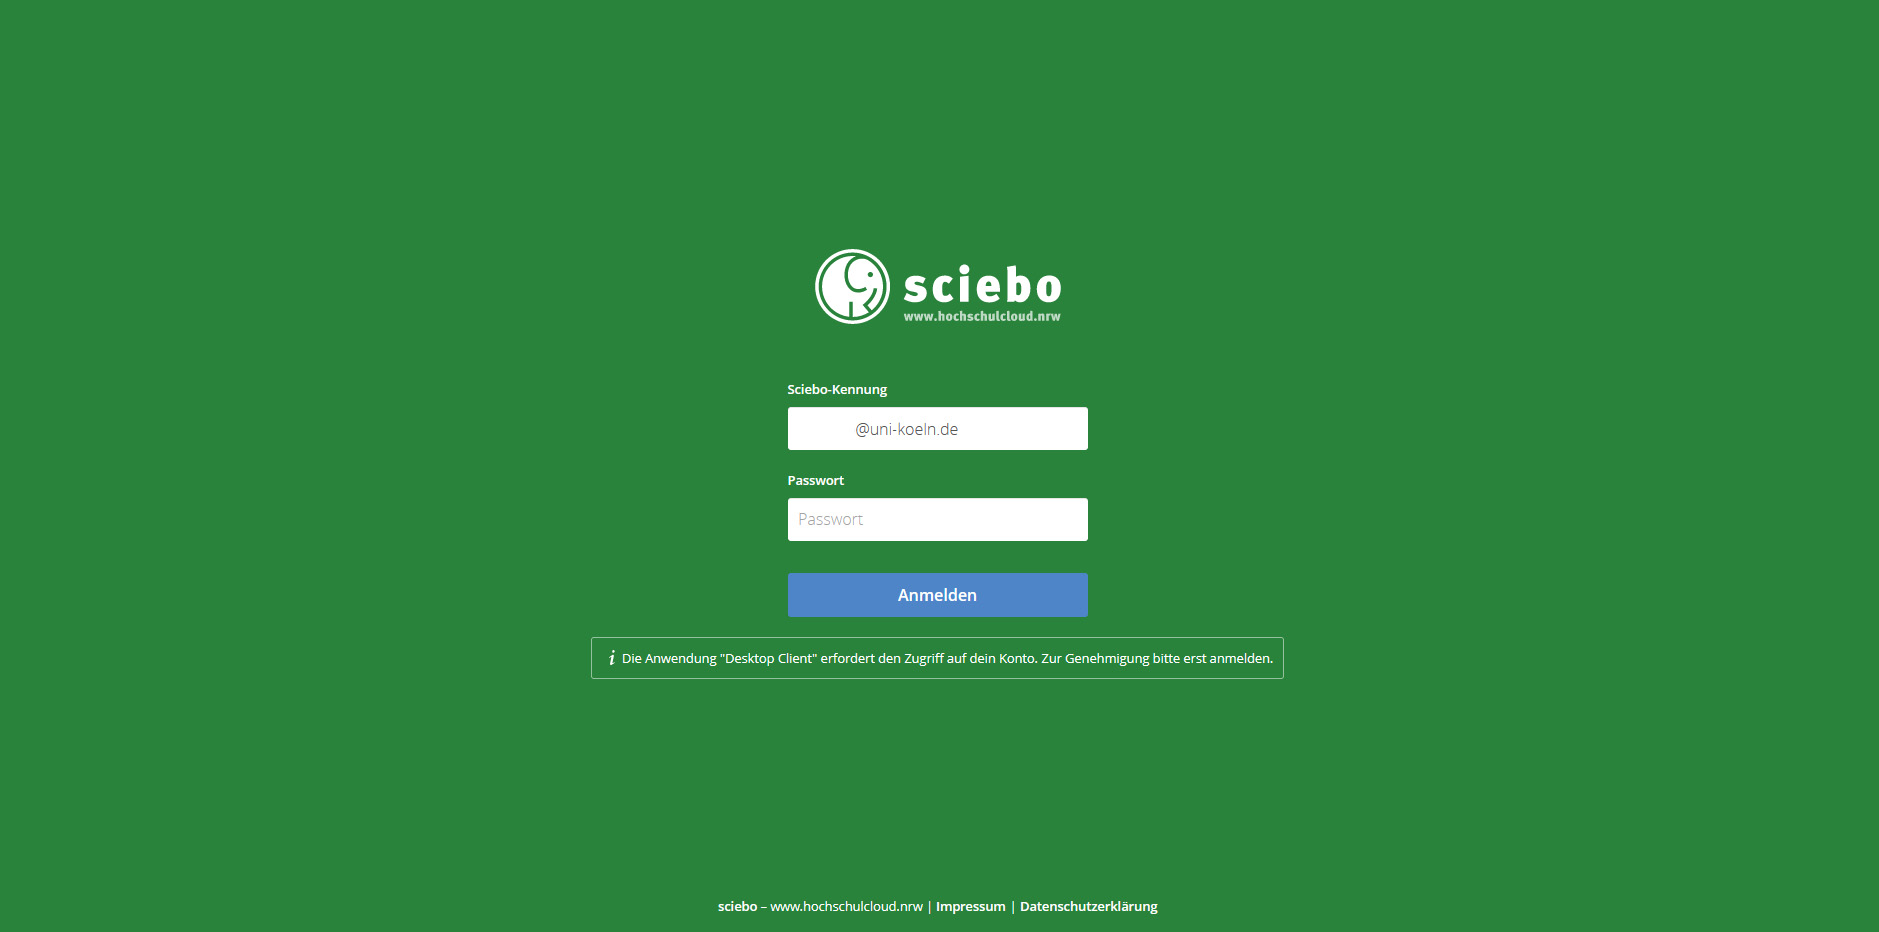
- In the new window, enter your sciebo account (UniKIM-ID@uni-koeln.de).
- You will be redirected to your browser where you will need to log in with your sciebo account (UniKIM-ID@uni-koeln.de).
- Authorize the access by clicking on "Authorize".
- Now you will be taken back to the sciebo client. Usually it is recommended to select the settings to "Sync all data from server". In addition, you can set whether sciebo asks from a file size defined by you, whether they should be synchronized. Furthermore, you can exclude certain folders from the synchronization via "Select items to be synchronized", so that these are not considered.
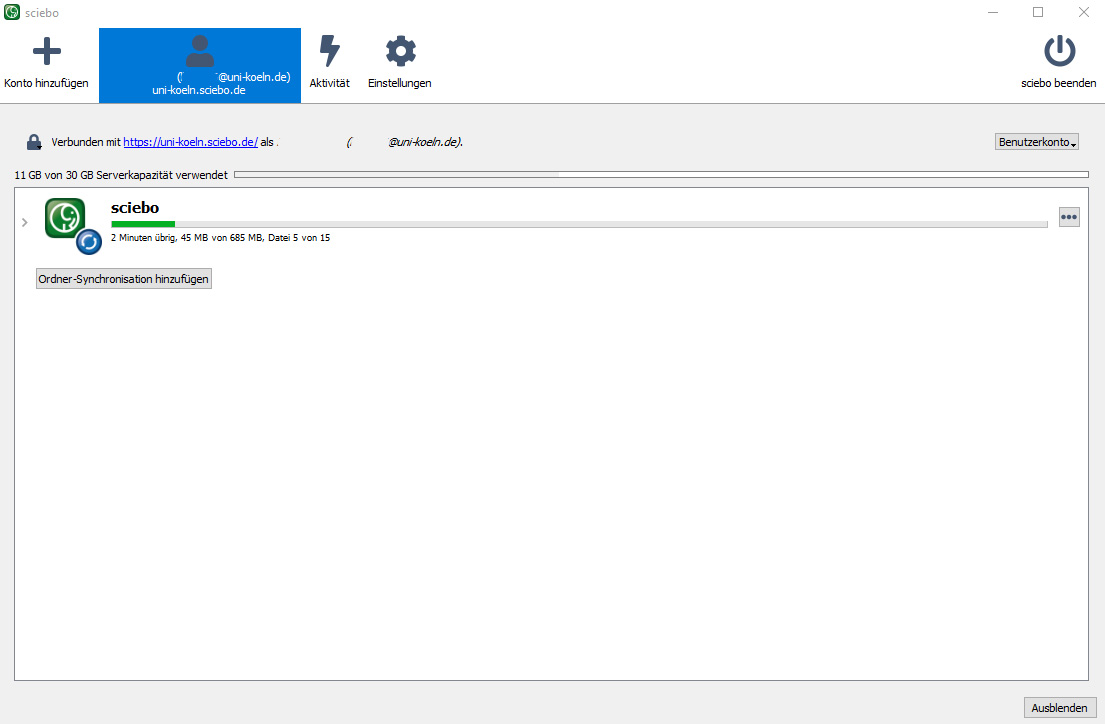
- If you agree with the settings, click on "Connect" in the lower right corner.
- Now sciebo starts the synchronization. Depending on the size of the data, this may take a while.
Use of virtual files

When the virtual file system is enabled, your sciebo desktop client transfers files to your hard disk only when they are used. Until then, they only exist locally as placeholders. However, they can be shared directly from the file manager and opened like normal files - they will just take a moment longer to open, because the file is downloaded first. This saves disk space on your computer. However, you will need an internet connection to open files if necessary.
Users can use the virtual file system feature in their desktop clients. To do this, select "Use virtual files instead of downloading the files" under Step during setup. Even after setup, you can enable this feature by clicking the three-dot icon in the sciebo client and selecting "Turn on virtual file support...".
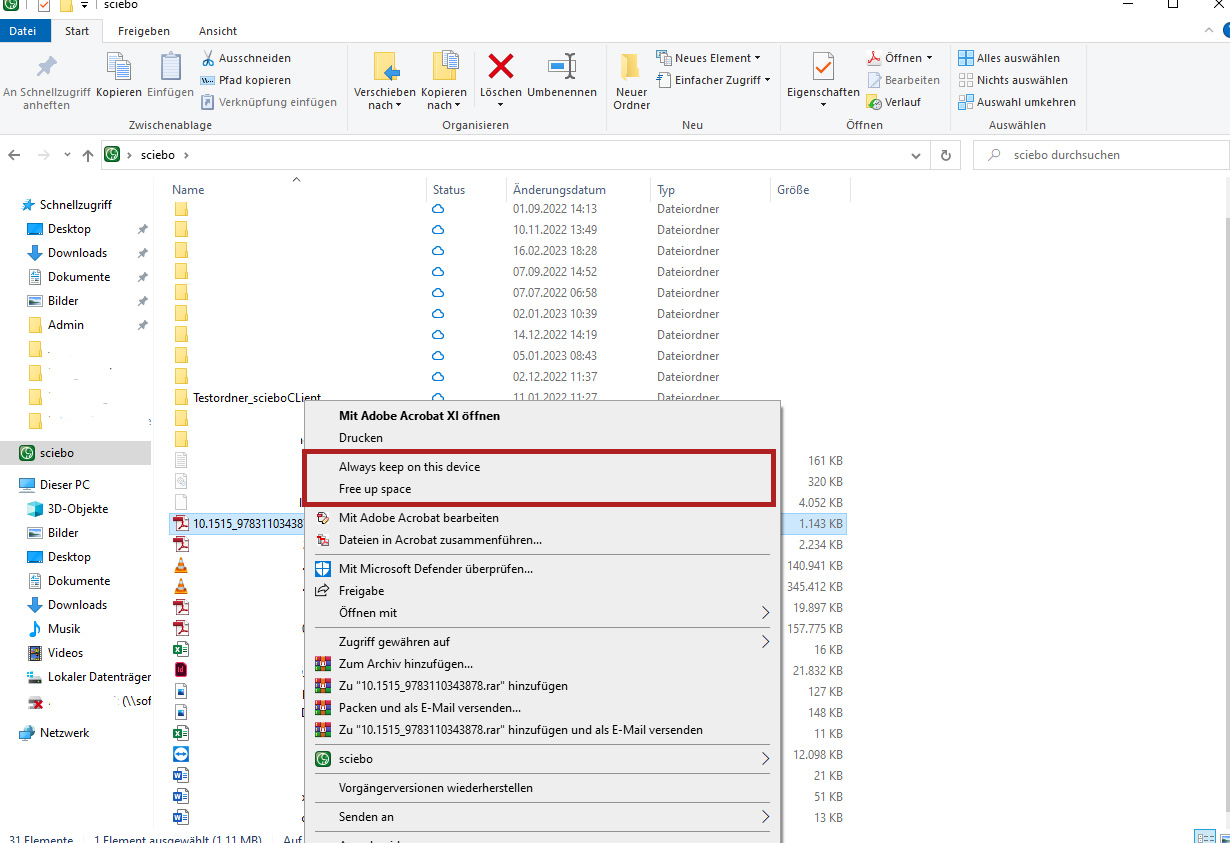
You can then select in their native file manager which folders and files should be synchronized only virtually or fully, e.g. depending on how often they want to work on them.On Windows, users can execute the "Free up space" command by selecting the appropriate file/folder via File Explorer and right-clicking to open the context menu to remove files synchronized via sciebo and replace them with virtual files.
On macOS and Linux, the virtual file system is available as an experimental feature, where all virtual files have a size of 1 byte and a file extension of .owncloud, which makes it difficult to estimate the size and associate the files with local software.
Activity - control and error analysis
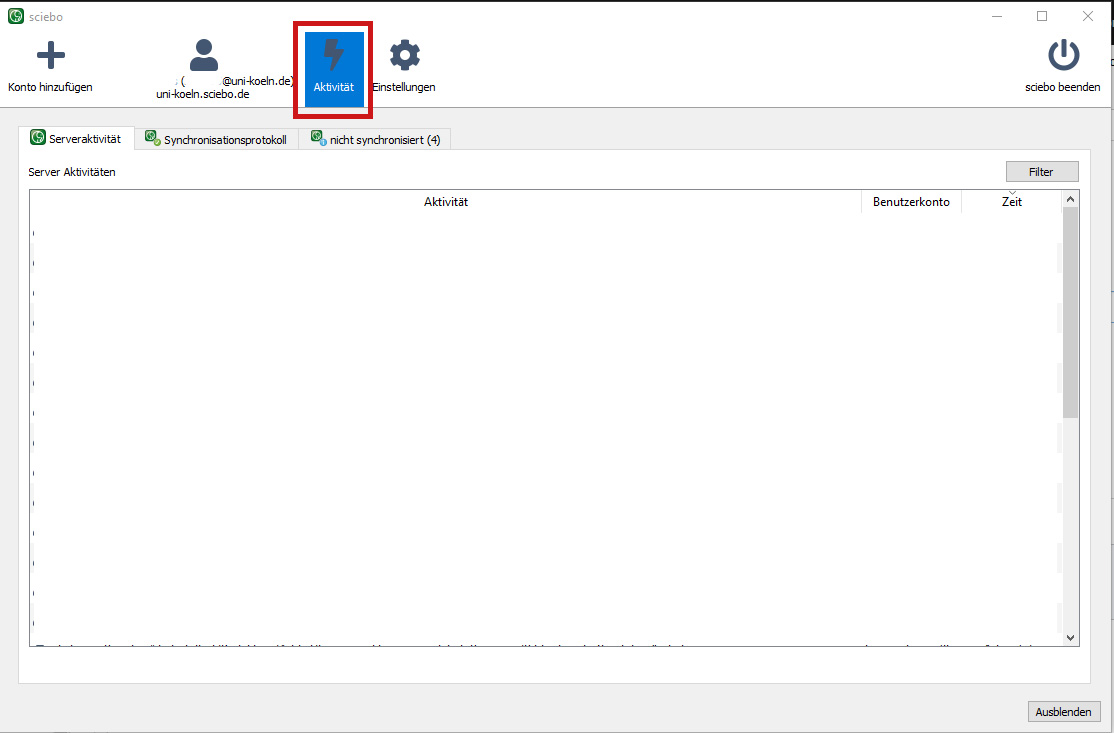
Under the "Activity" tab in the sciebo client, you can view activities in your cloud storage. The following options are available here
- Server activity: Here you can see, for example, whether files have been modified and deleted ("Server activity"). If you share folders, you will even be shown the users who have made changes, if possible. You can specify here which activities should be logged.
- Synchronization log: Here you get insight about all synchronization activities on your computer.
- Not synchronized: An important tab for error analysis, in case of not downloaded files or other conflicts related to synchronization can be found there. You can see which file is affected and what problem occurred.
Settings in the sciebo client
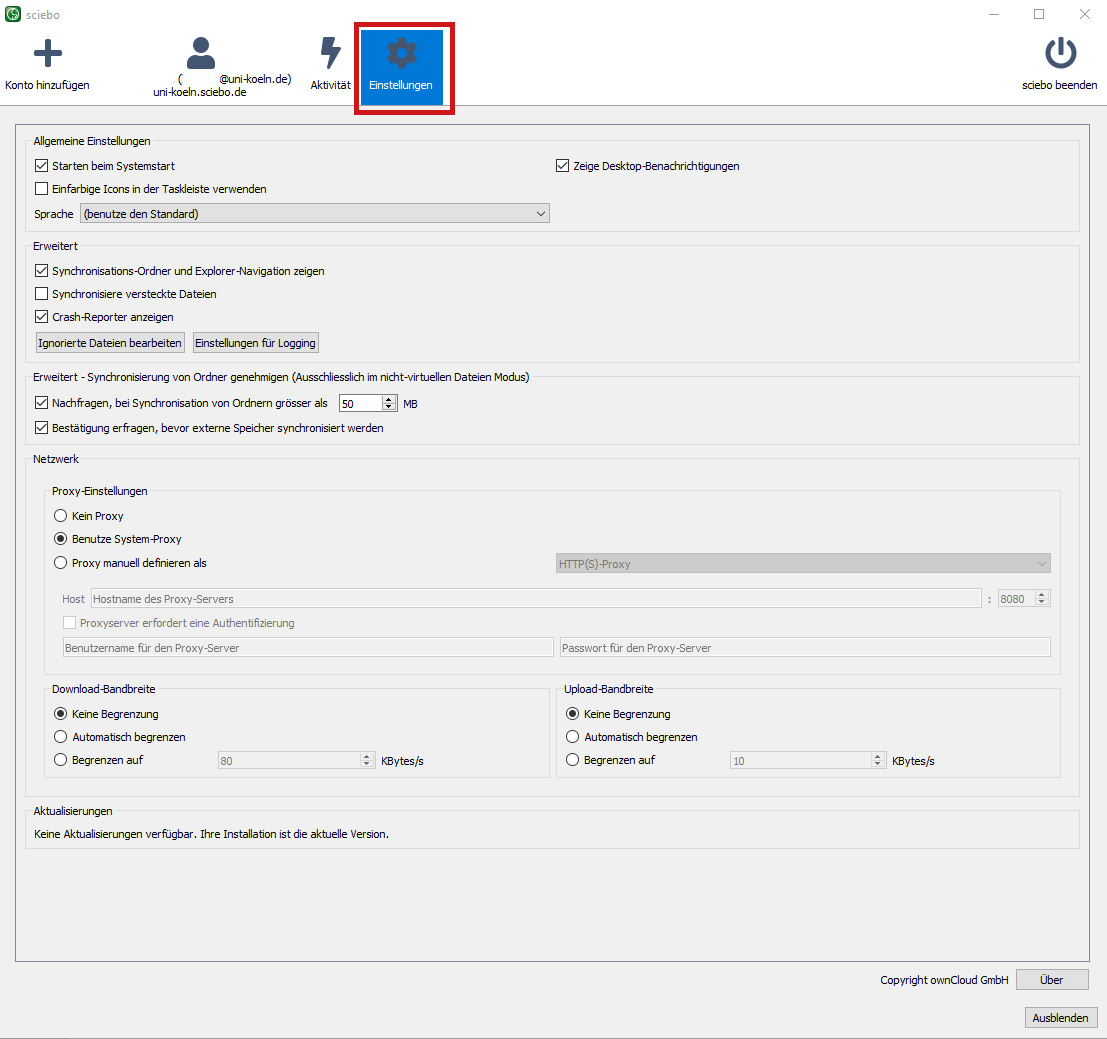
To view and change settings in the sciebo client, click on the "Settings" tab.
Under the "General Settings" tab, you can set the startup behavior of the sciebo client, among other things. Scroll all the way down to see if updates are available for the sciebo client.
sciebo functions in the context menu of the file explorer
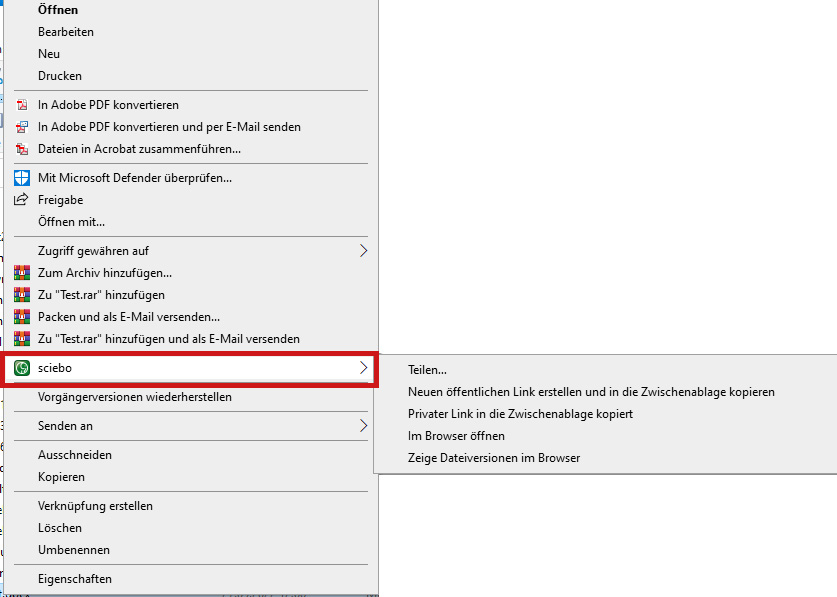
In File Explorer, right-click on files or folders in your sciebo folder to open the context menu. Under the sciebo heading, you can perform the following actions:
- Share...
- Create new public link and copy it to the clipboard
- Copy private link to the clipboard
- Open in browser
- Show file versions in browser
Share
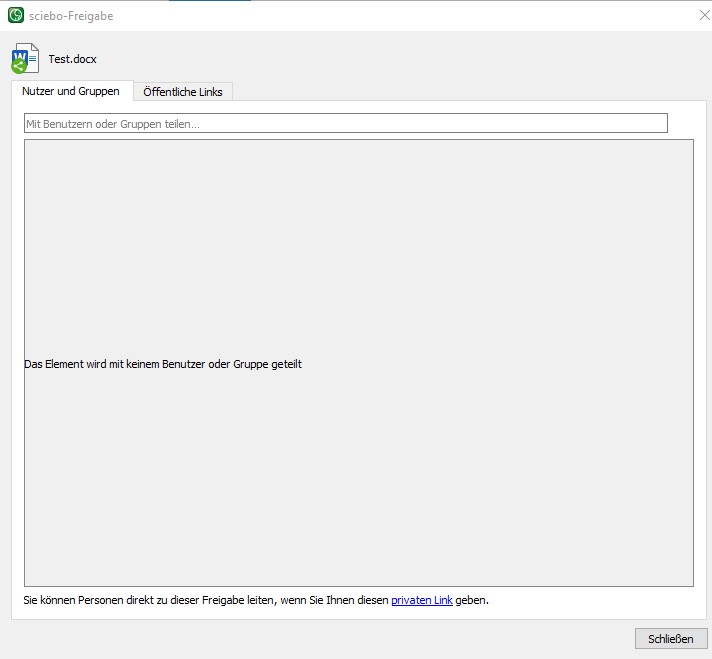
Sharing via the context menu works similar to sharing via the web interface. After you have clicked on "Share..." a new window opens where you can enter the sciebo account of the person or search for a person.
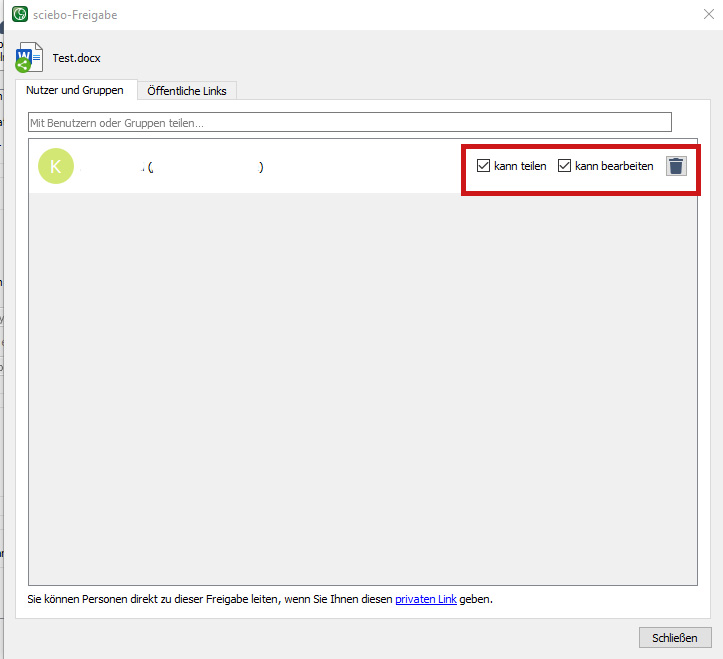
After you have added the person, you can edit the permissions.
- can share: The corresponding person can share the folder or file with other persons.
- Can edit: The corresponding person can edit the folder or file.
- When sharing folders, the three-dot icon appears next to the "can edit", which allows you to set the editing rights (create, edit, delete) specifically.
To remove a share, click the trash icon.
If you want to share files and folders with people from other universities who also use sciebo, enter the identifier according to the following pattern: sciebo-identifier@institution.de@institution.sciebo.de.
Contact
If you have any questions or problems, please contact the ITCC-Helpdesk