Share folders and files in sciebo

sciebo offers a wide range of ways to share folders and files with people. These include:
- Sharing folders and files with members of the University of Cologne and other universities participating in the Hochschulcloud NRW project.
- Sharing folders and files via a link that can be sent to people by mail or other means.
- Organizing people into groups to share files and folders.
- Depending on the permissions, files can be edited, viewed or uploaded.
Share files and folders with people within sciebo

You organize the sharing of folders and files via the web interface of sciebo. To do so, log in to sciebo with your sciebo account [user name of your Uni-Accounts@uni-koeln.de].
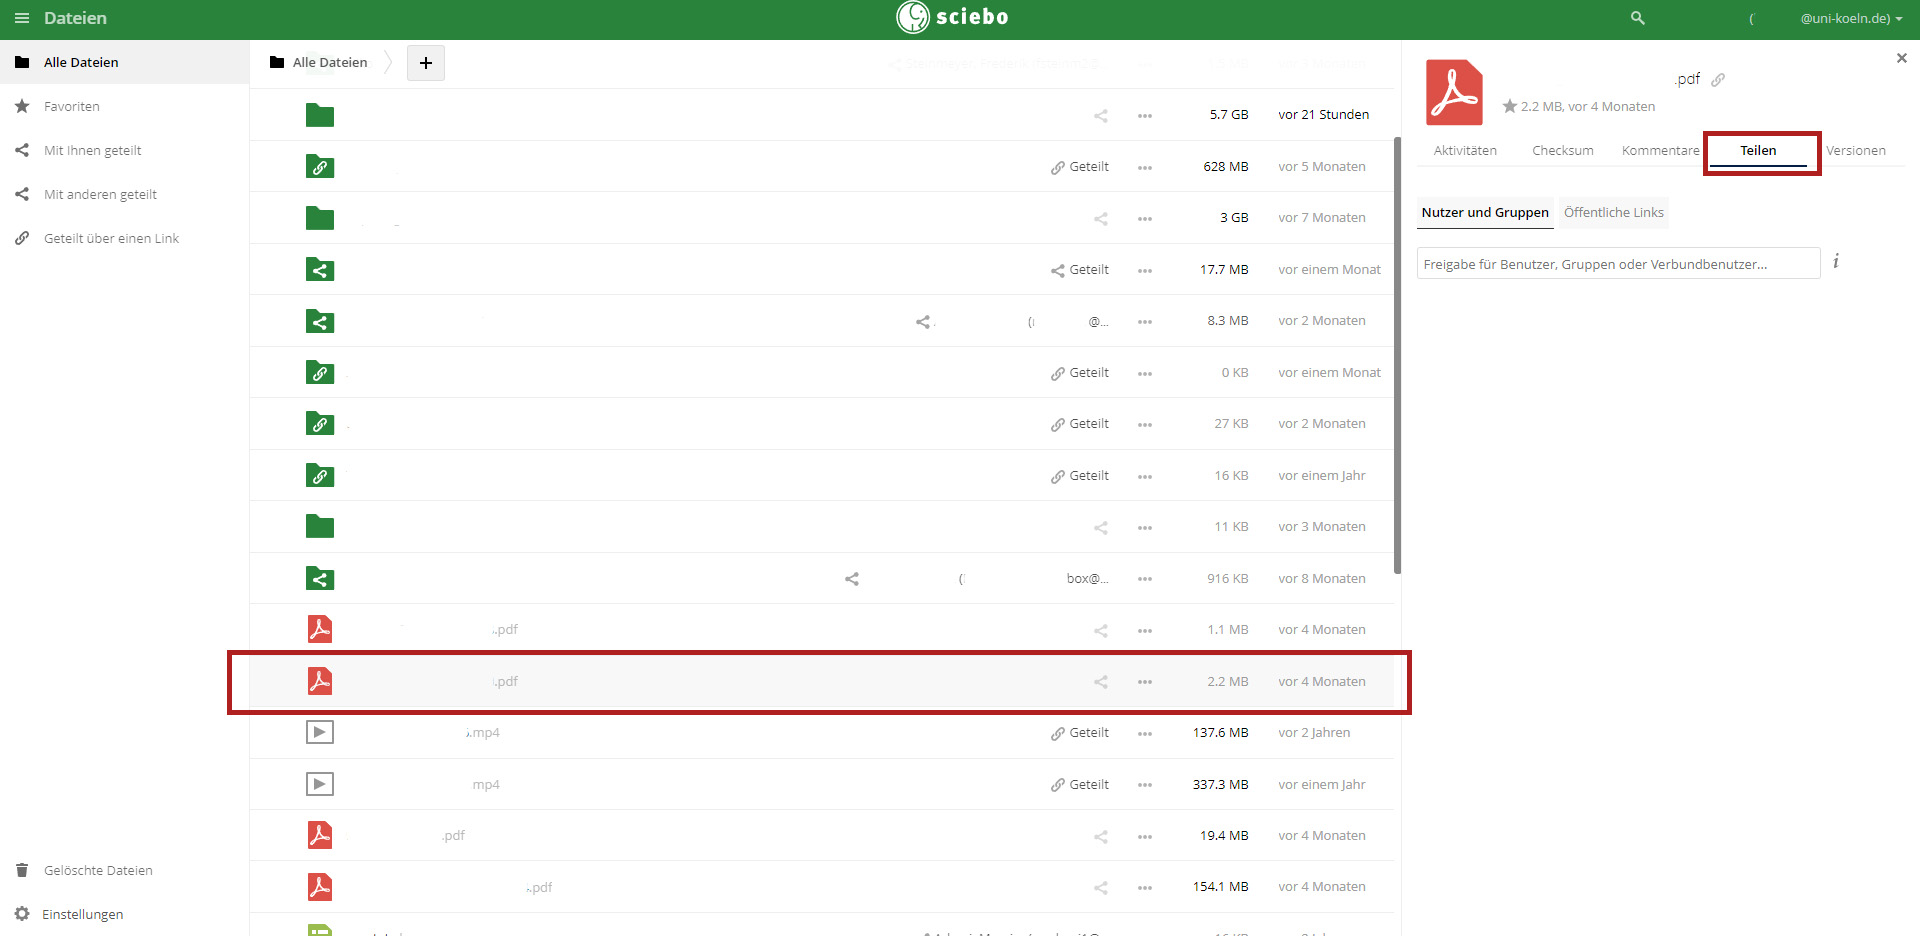
- Select the folder or file you want to share. Please make sure not to click on the name, otherwise you will open the file or folder. In the right column you will see information about the object. Click there on the tab "Share". Here you will now see existing shares (if any), which you can also edit.
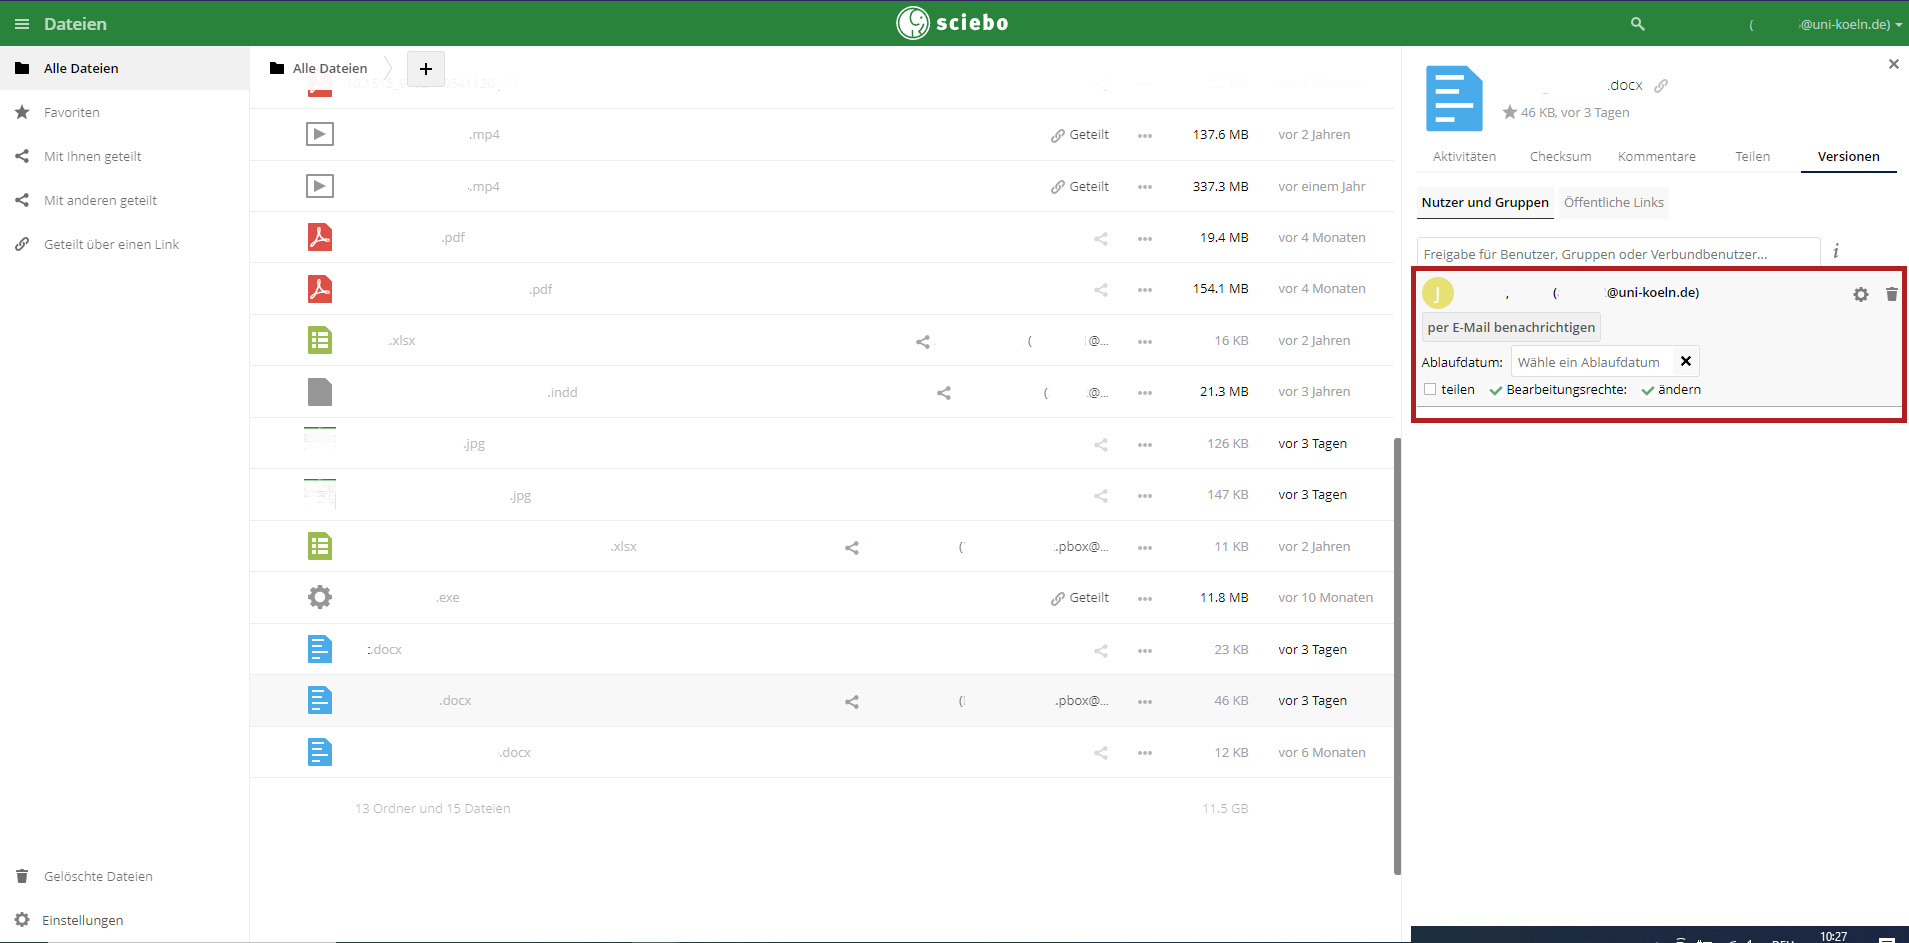
- To create a new share, select "Users and groups" and enter the account name of the person. If you have entered the first four letters, sciebo may already make suggestions, which you can then select. If you have found the right person, just click on him/her in the selection window.
- Now this person will be added to the list. Using the settings wheel on the right, you can refine the sharing settings:
- You can set an expiration date
- Notify the person again by mail about the shared object
- Set the permissions of the person: Share means that the person can share the object to other people, By clicking on edit rights you can disable/enable all edit rights (delete, modify, create). If none of the rights is checked, the person can only read the object.
If you want to share files and folders with people from other universities who also use sciebo, enter the identifier according to the following pattern: sciebo-identifier@institution.de@institution.sciebo.de.
Share files and folders via link

- You organize the sharing of folders and files via the web interface of sciebo. To do so, log in to sciebo with your sciebo account [user name of your Uni-Accounts@uni-koeln.de].
- Select the folder or file you want to share. Please make sure not to click on the name, otherwise you will open the file or folder. In the right column you will see information about the object. Click on the Share tab. Here you will now see existing shares (if any), which you can also edit.
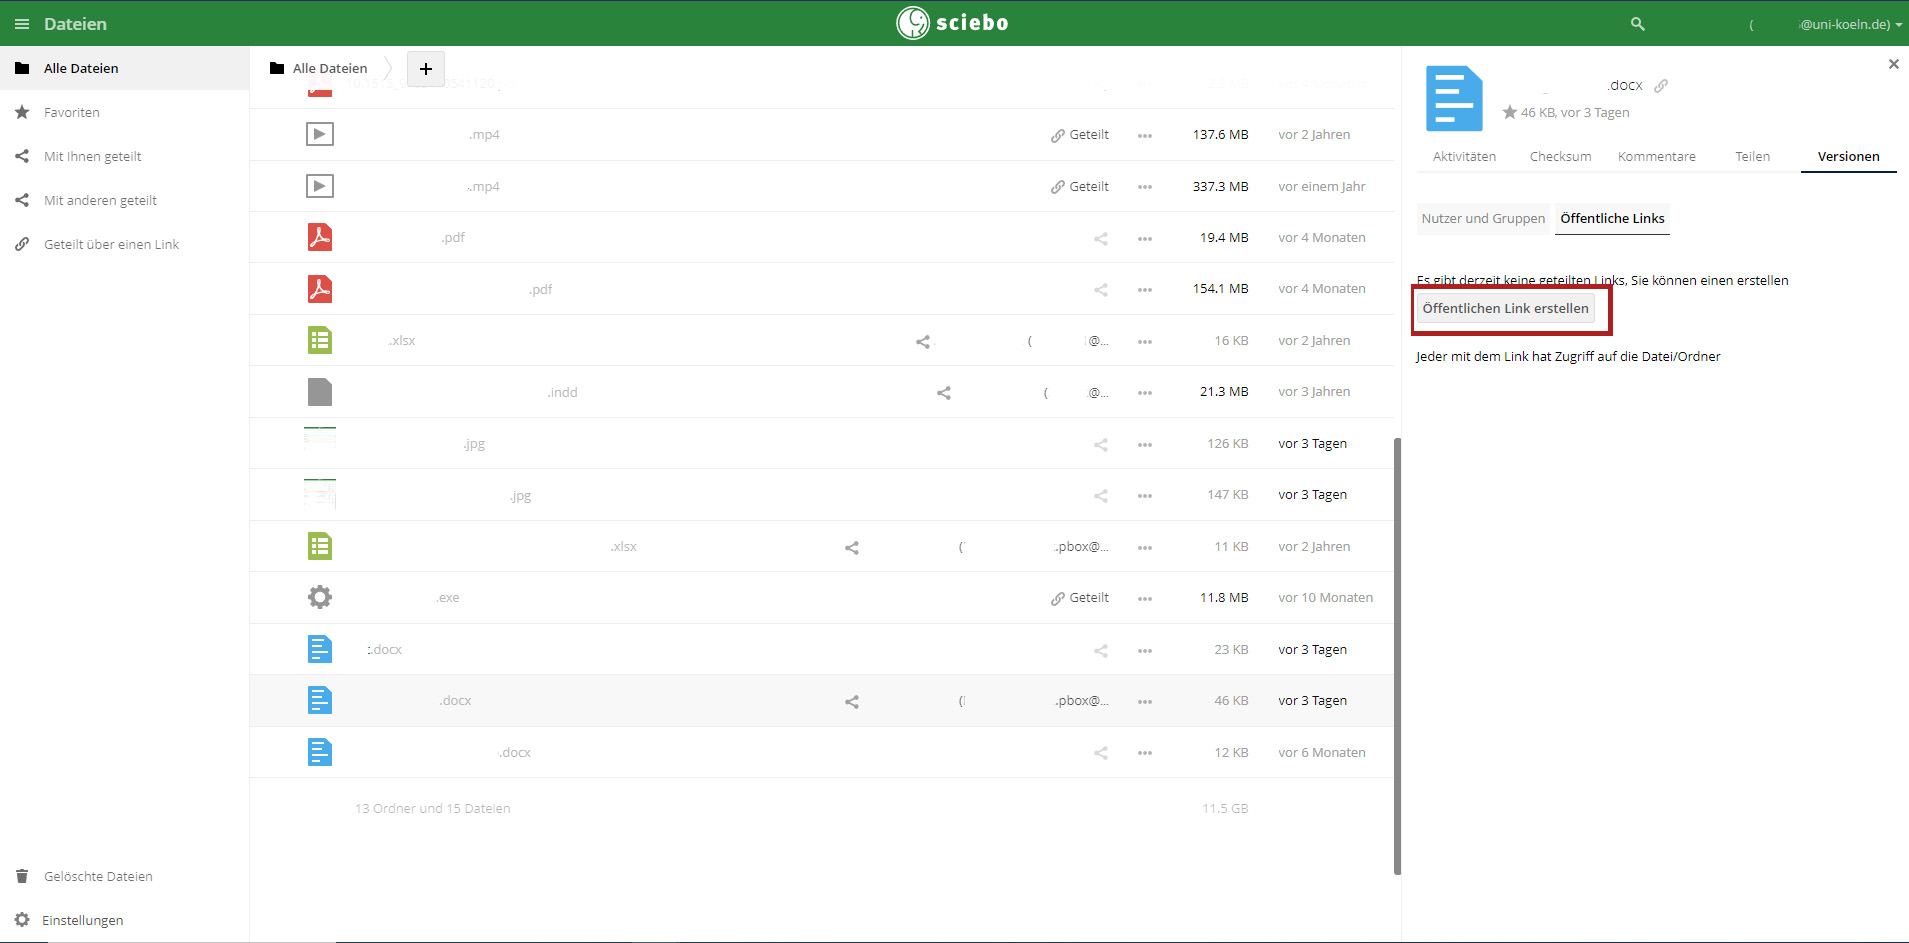
- Click on the tab "Public links" and then on the button "Create public link".
- a new window will appear where you can make the share settings:
- Public Link Name.
- You can set the sharing rights. If you share individual files via link, only the read (download/view) right is available. If you want people to be able to make changes as well, you have to set up this sharing via a folder and add the corresponding file there.
- Set a password for the object to additionally protect access.
- Set an expiration date.
- Send the link by e-mail. To do this, enter the corresponding e-mail of the person. If there are problems in connection with the e-mail address, you can also share the share without an e-mail address and copy the link later and send it to the person manually in an e-mail or by other means.
- Click on "Share" to confirm the entries.
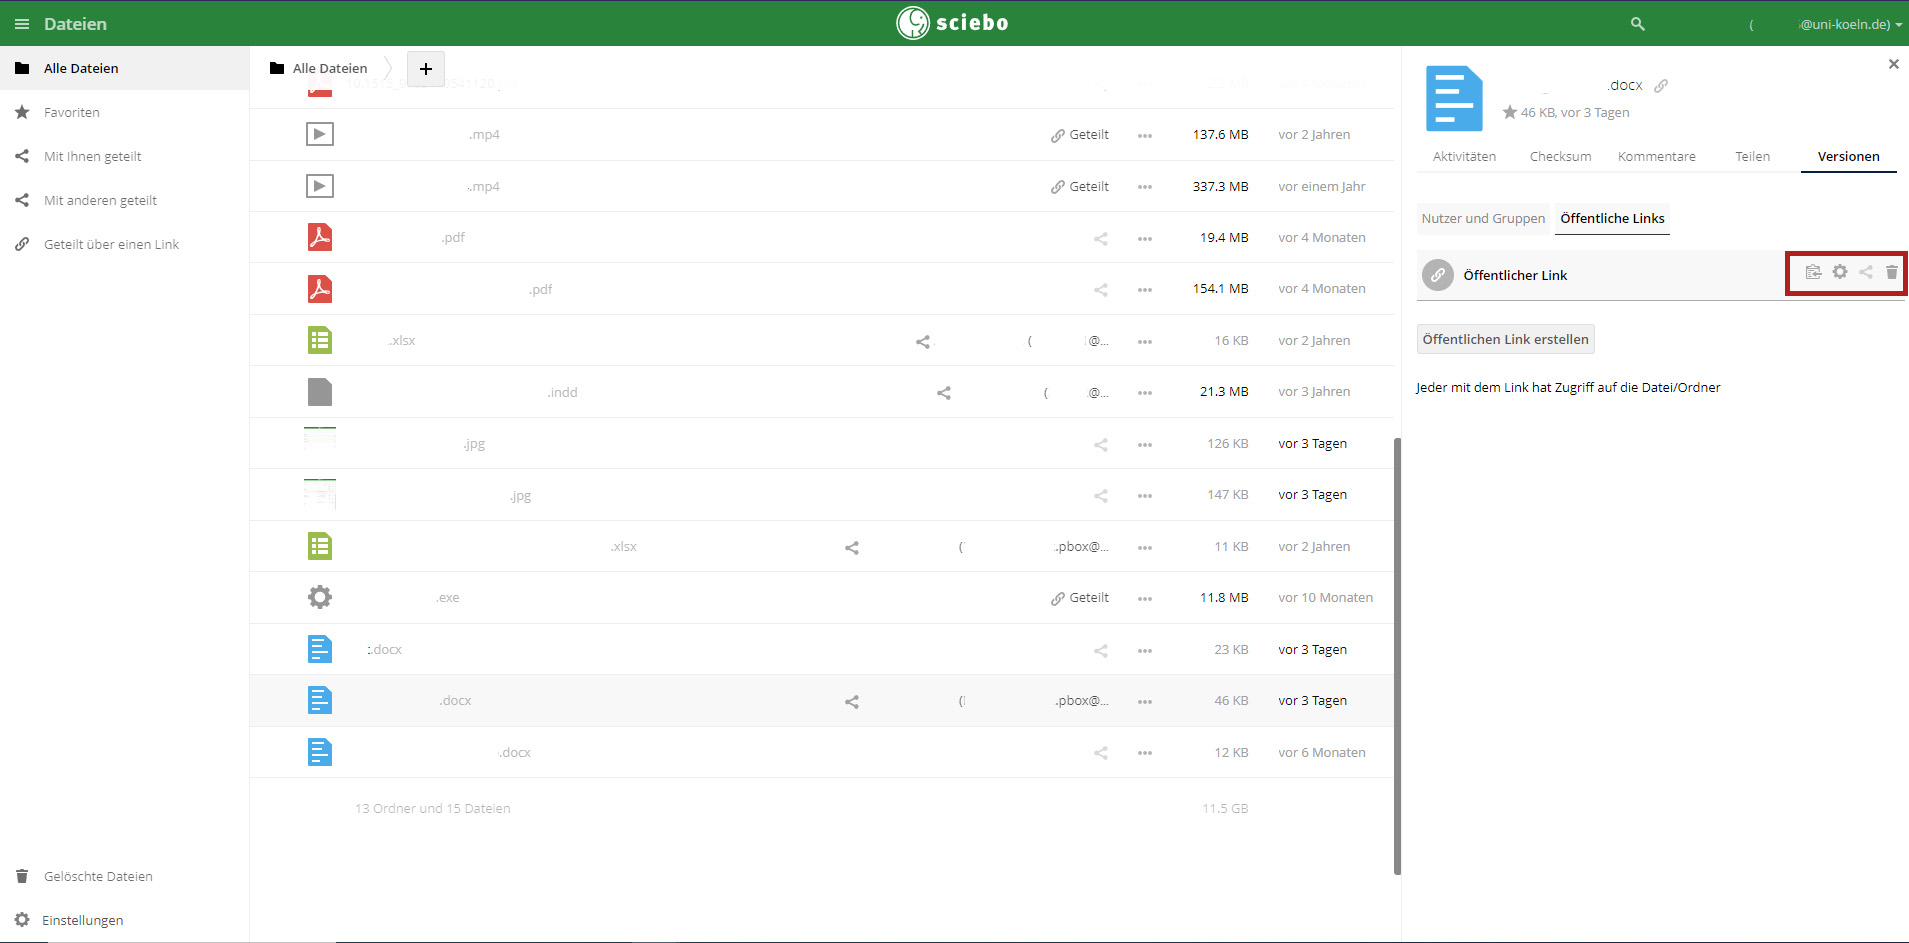
- After the link is created, it will appear in the list. Using the icons on the right, you can copy the share link to the clipboard, access the options of the link and edit or delete it.
Share files and folders in the sciebo client
If you use the sciebo client, you can easily perform files and folders by opening the respective context menu of the file or folder. The principle is similar to using the web interface. You can find more detailed instructions here.
The group function in sciebo
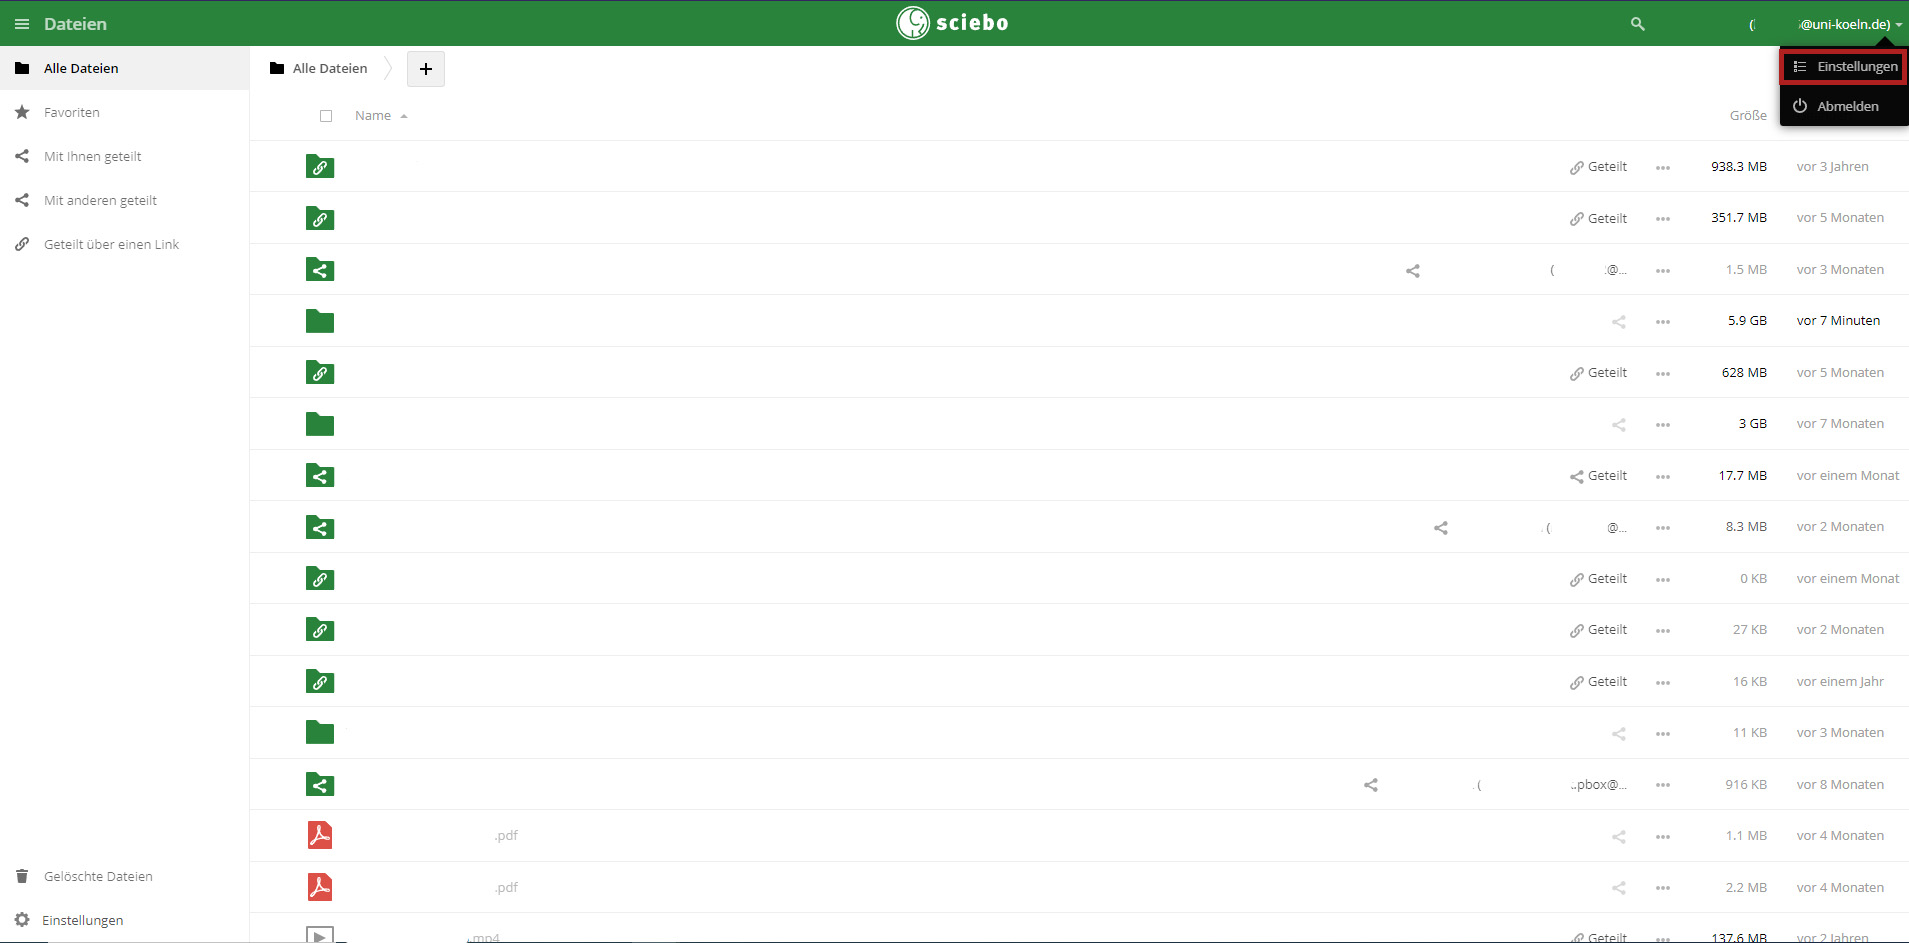
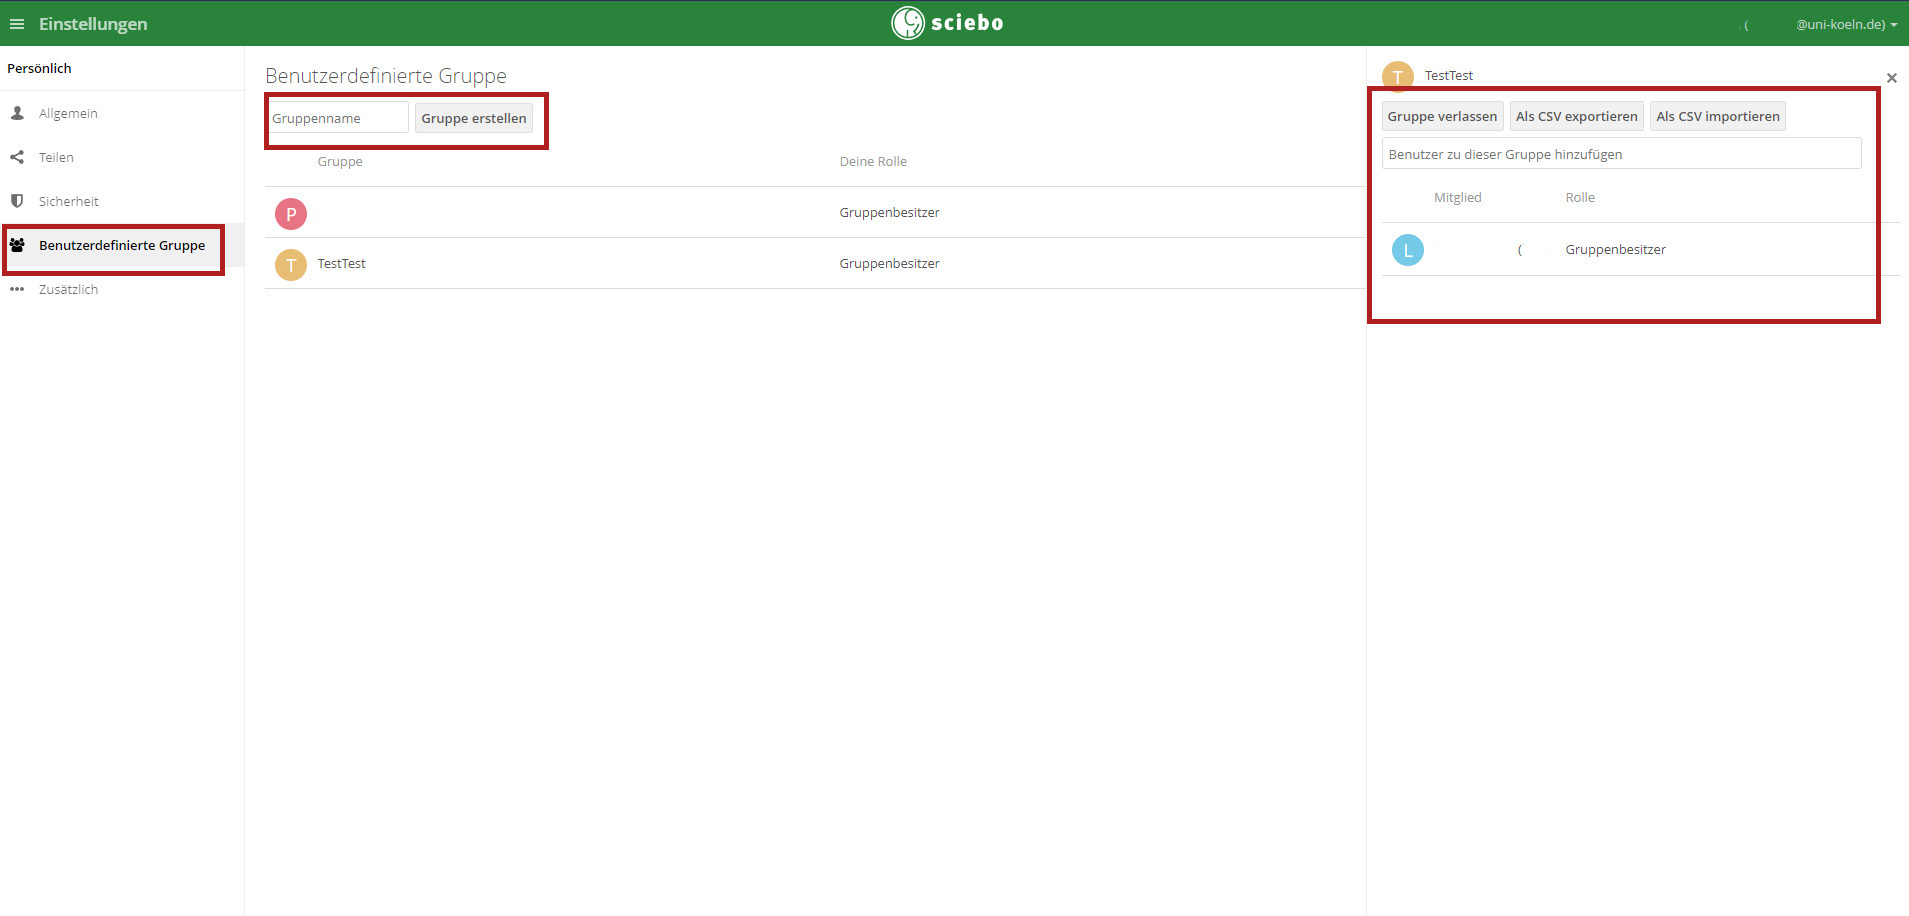
If you want to share data with always the same persons or sciebo accounts, you can do this comfortably via the group function in sciebo. However, this is currently only possible with sciebo accounts of the University of Cologne. On the sciebo web interface you can manage this by clicking on the account name (top right) and selecting "Settings" under the menu item "Custom Group". There you can create and change groups, furthermore you can see there in which and whose groups you are member. The groups can then be selected by typing in the given name in the sharing process ("User and groups").
To create a group, enter a group name and click the "Create group" button.Select the group in the list to manage it in the right column. Group owners can change the role of other people as well as add or delete more people. Members have editing rights to the assigned folders (create, edit, delete). Roles can be changed by clicking on the pencil icon that appears next to the role name.
You can leave a group via "Leave group".
Other functions related to releases in sciebo
Automatic shares
You can now independently set whether you want to add shares to your account automatically or only by manual confirmation. You can now set shares from your own university as well as from other participating universities or other ownCloud servers separately. You can adjust this via the sciebo web interface by clicking on the account name (top right) and selecting "Settings" under the menu item "Share".
Auto Completion
sciebo searches for matching users in sciebo if the first four letters are entered.
This auto-completion or the matching with account names is not only limited to the University of Cologne, but applies to all participating universities in sciebo. If you do not want to be found by others through this search, you can adjust this accordingly via the sciebo web interface by clicking on the account name (top right) and selecting "Settings" under the menu item "Share" (see "Allow auto-completion of user names in the share dialog. [...]").
Transparent sharing
From now on you can view the shares of your files/folders under "Share" via the details of an object. This means that you will be shown all the people with whom you and others have shared your data. Previously, you were only shown those with whom you had shared the data independently (directly). However, if you had given other people the "can share" right when sharing the data, you could not view shares made by others.
Contact
If you have any questions or problems, please contact the ITCC-Helpdesk