Signing and encrypting emails in Outlook
Set up a digital signature in Outlook
How to set up your digital certificate in Outlook.
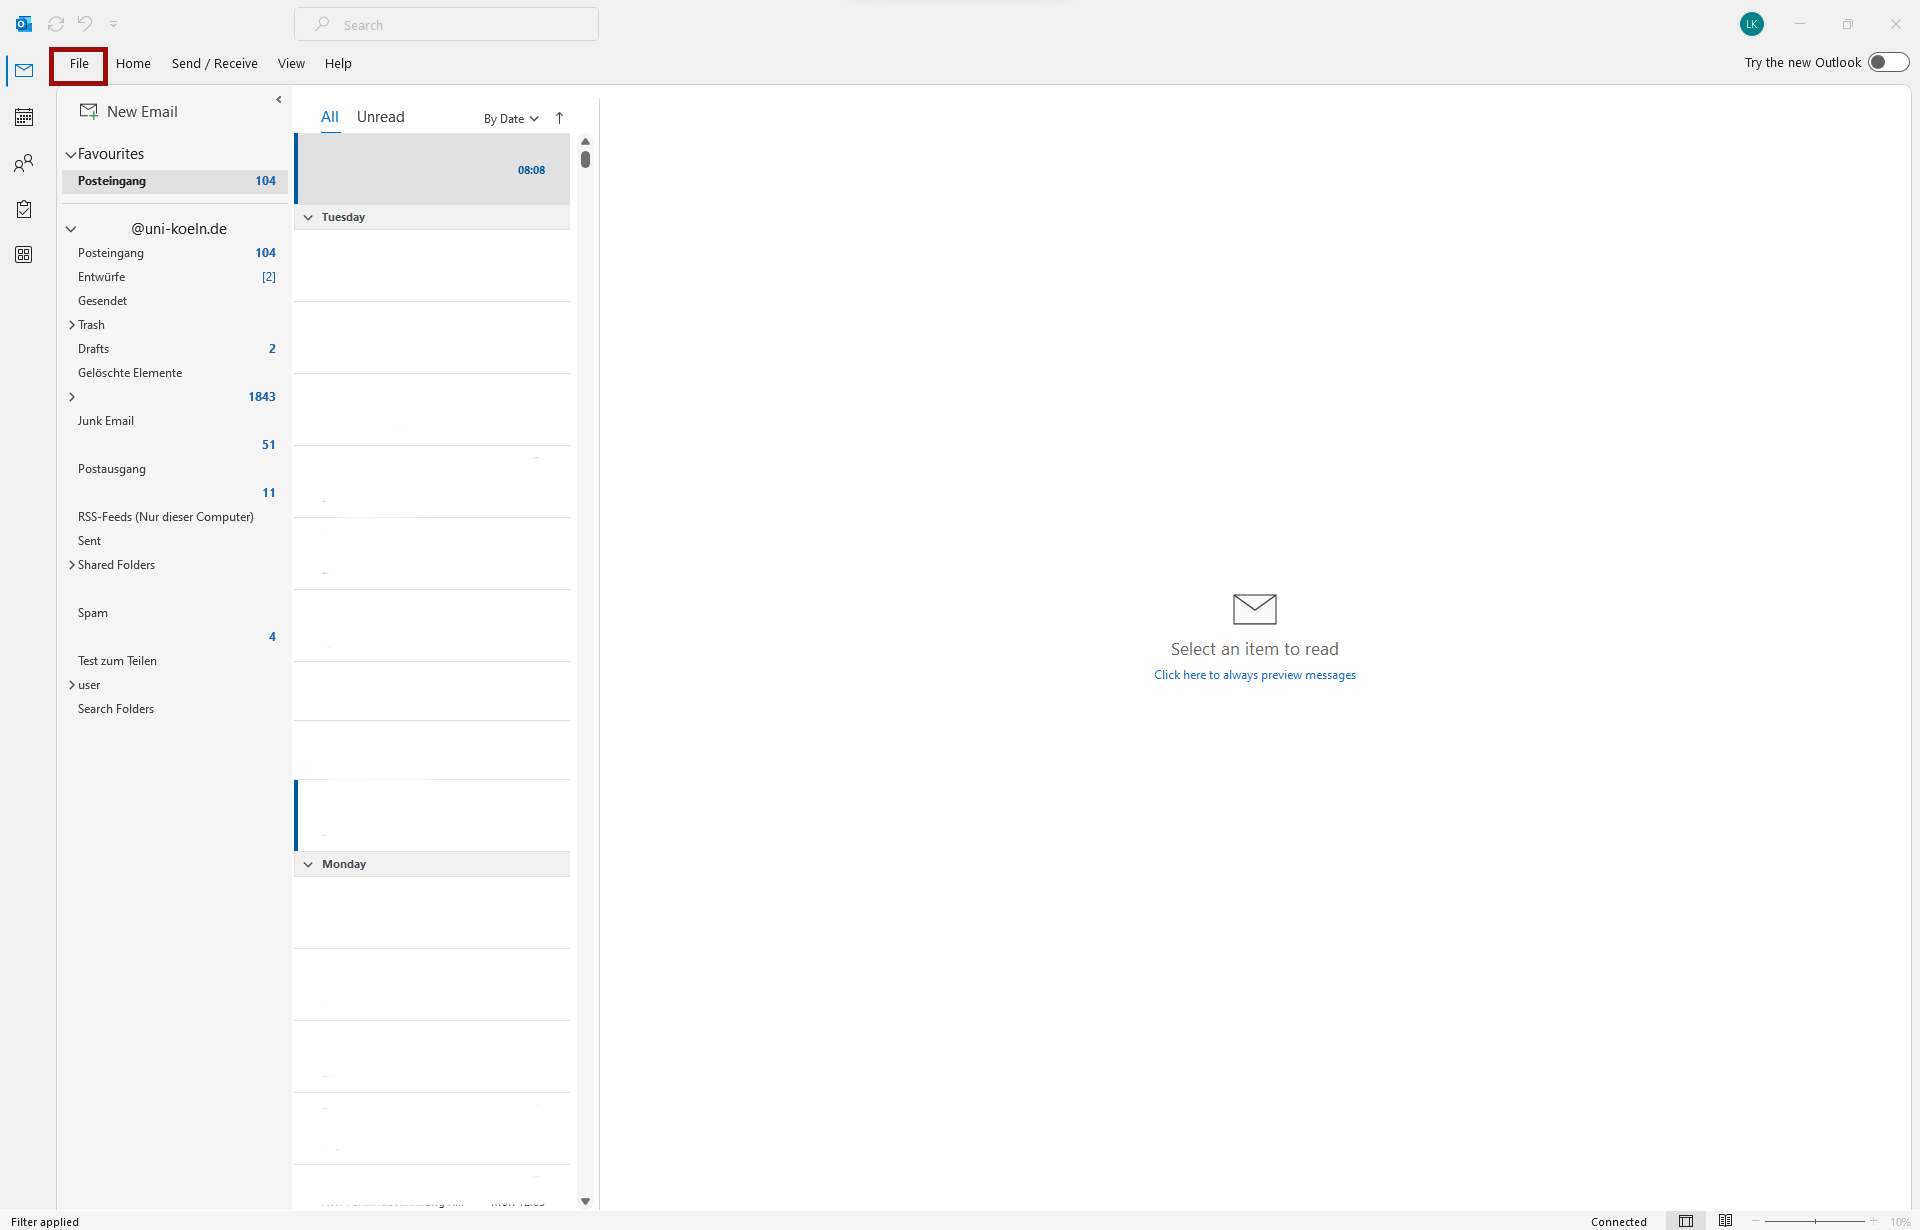
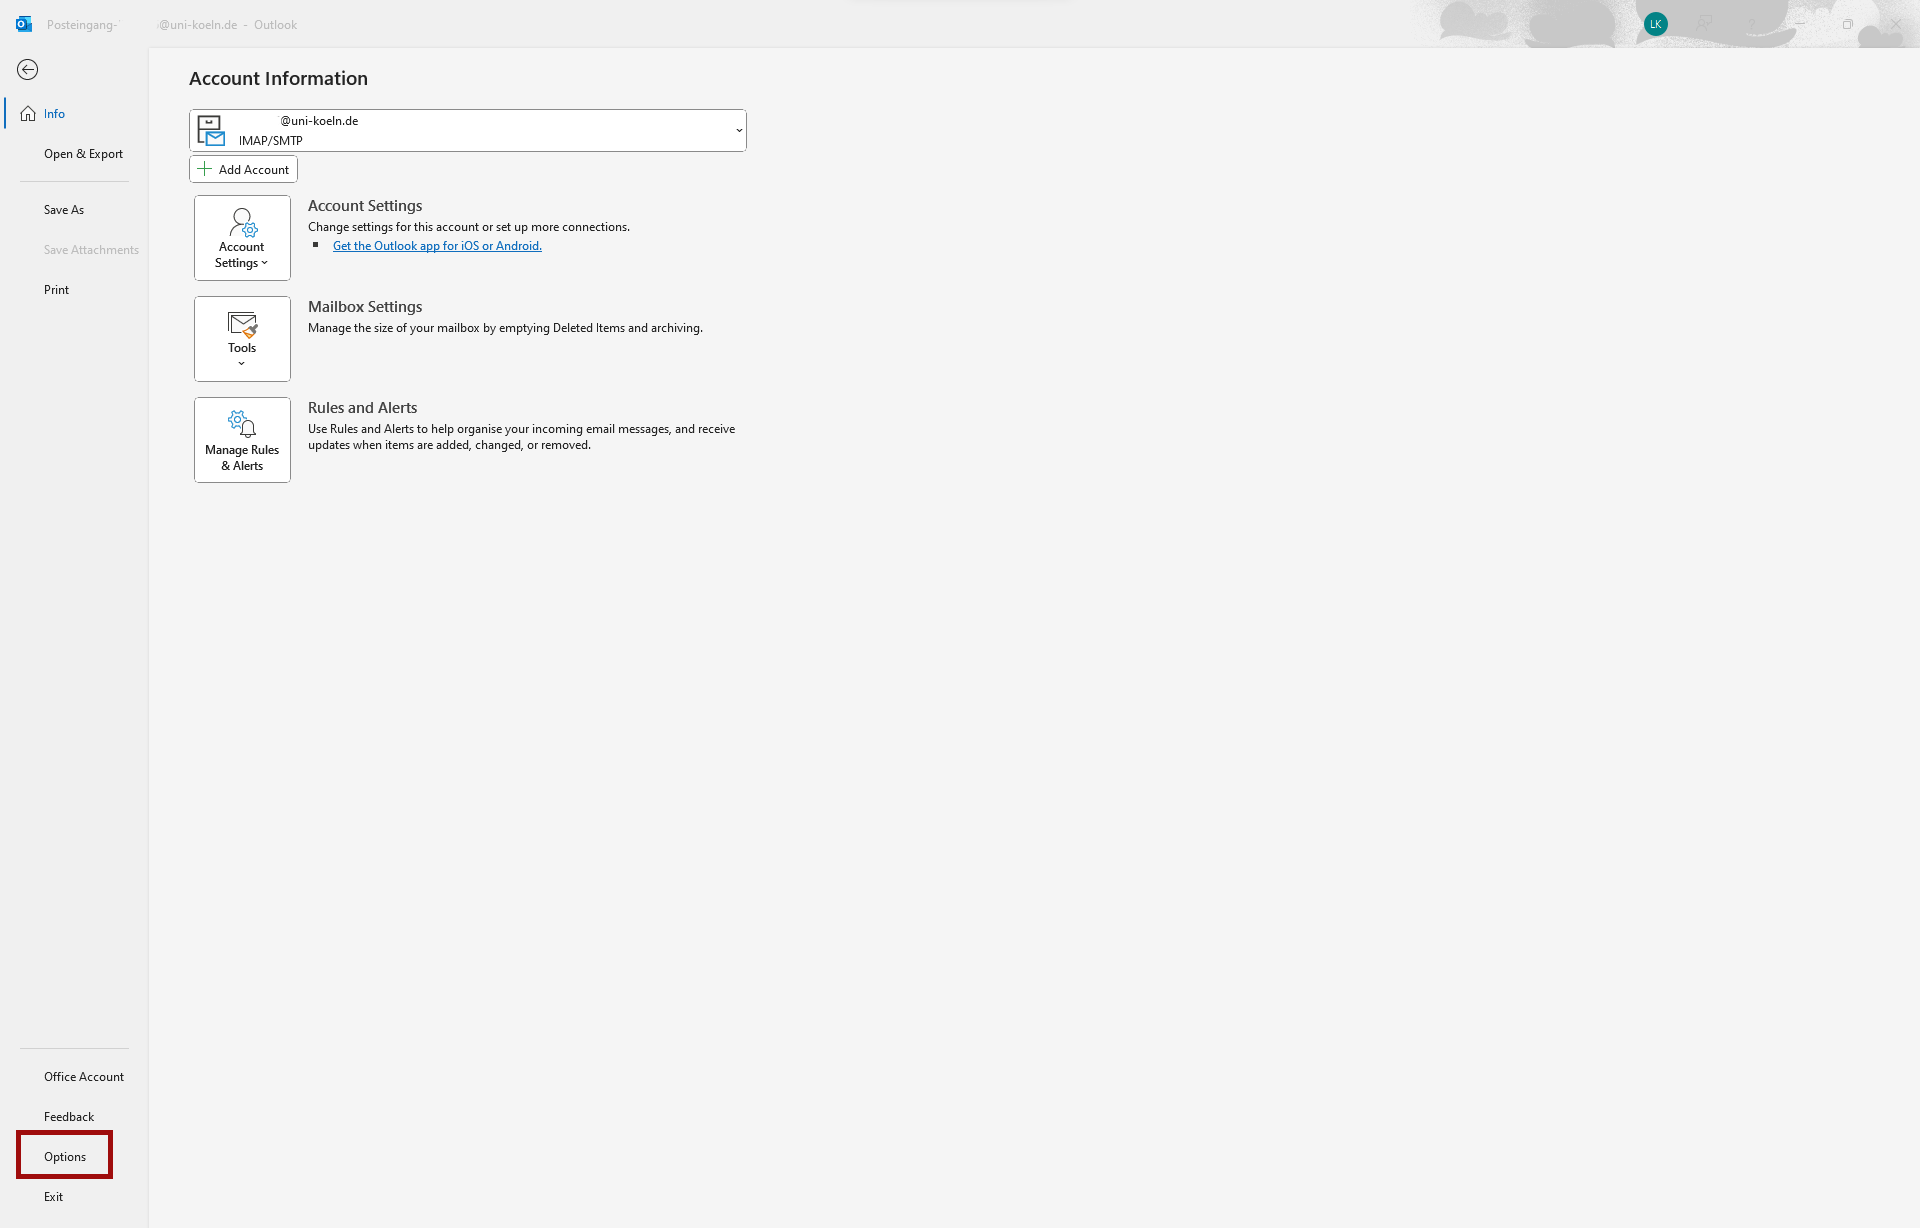
- Click on "File" in the Outlook menu bar and then on "Options".
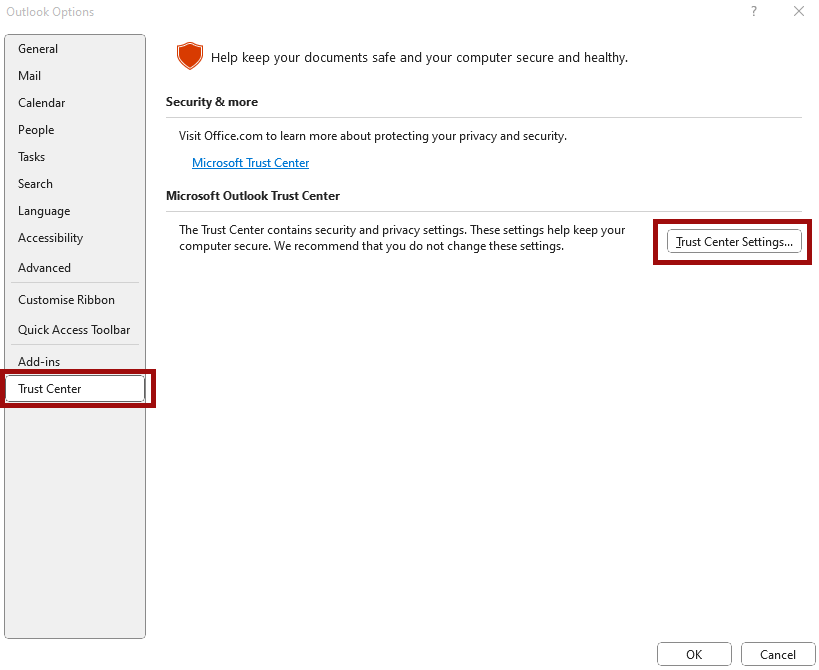
- In the Outlook options, select "Trust Center" on the left and then "Trust Center settings" on the right.
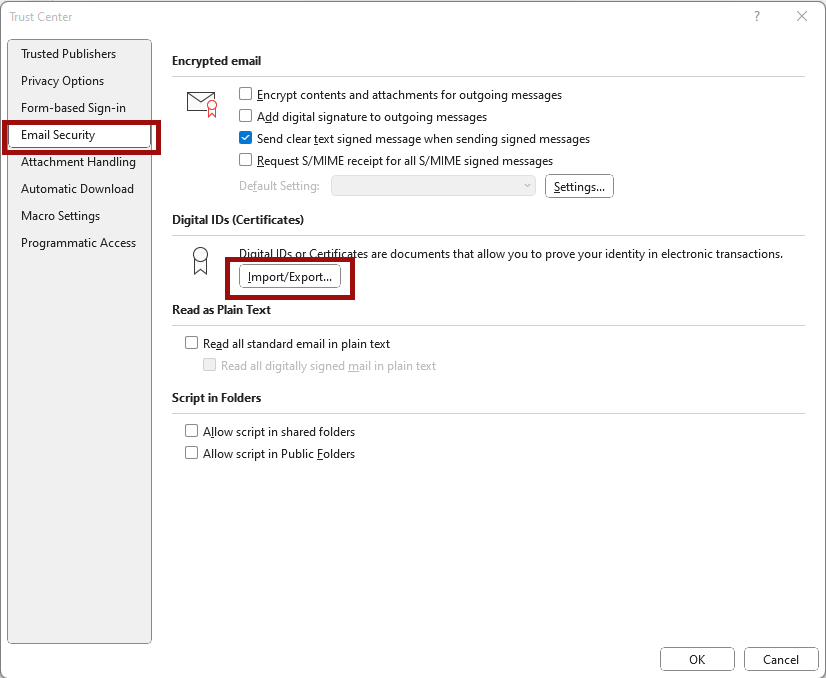
- In the "Trust Center", select "Email security" on the left and "Import/Export" under "Digital IDs (certificates)".
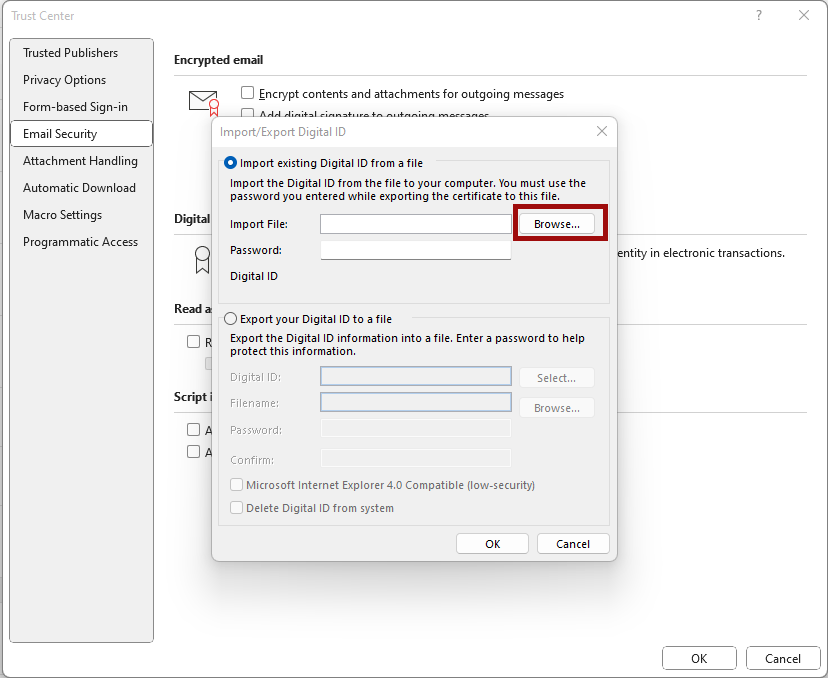
- In the following window, check whether "Import existing digital ID from a file" is selected and click on "Browse" to then select and import the corresponding file in the file explorer.
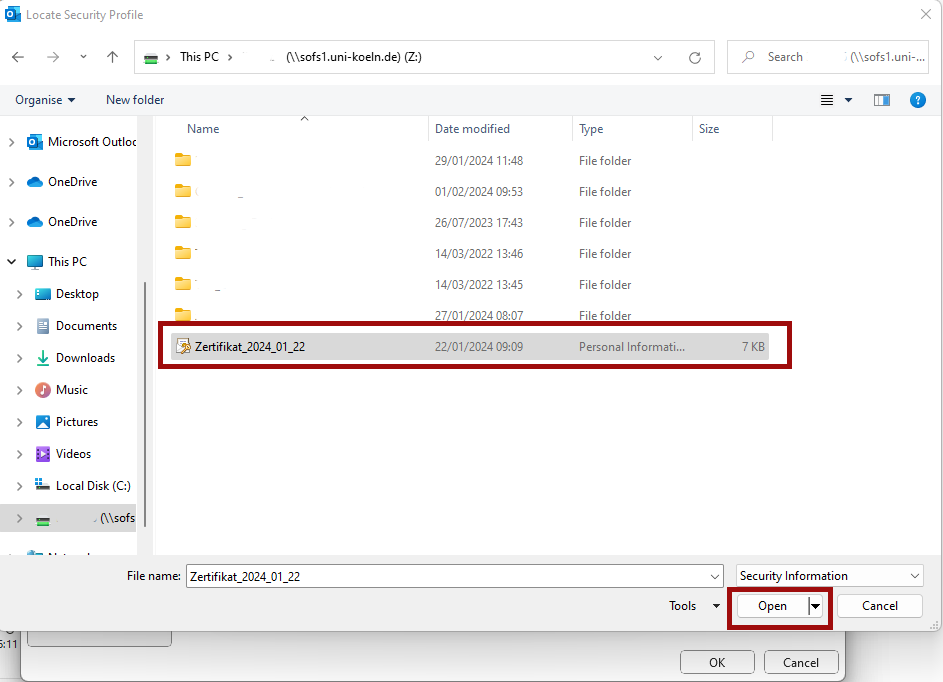
- Once you have selected the correct file, click on "Open".
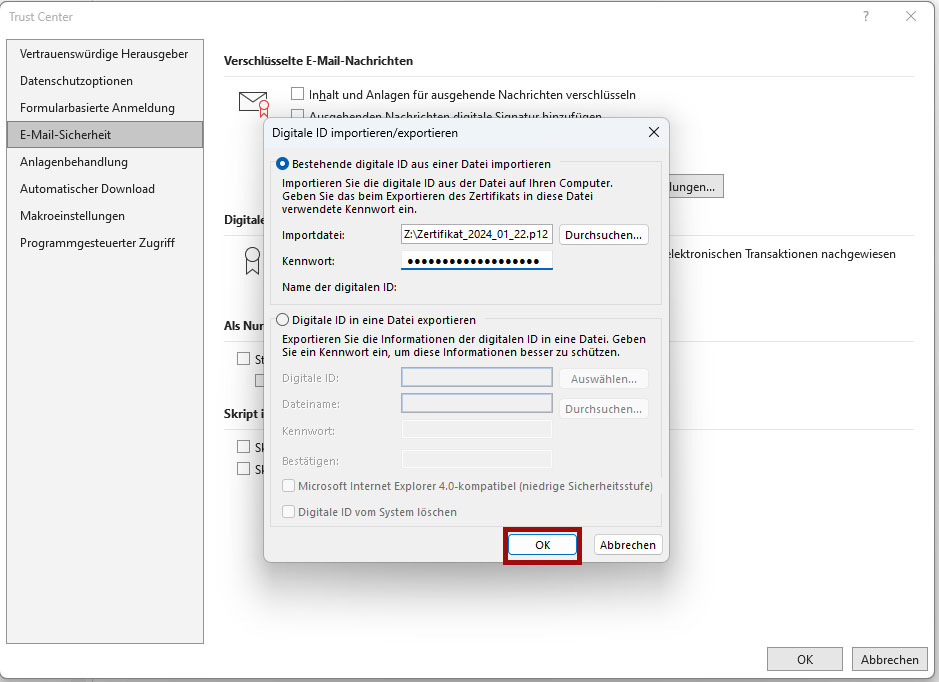
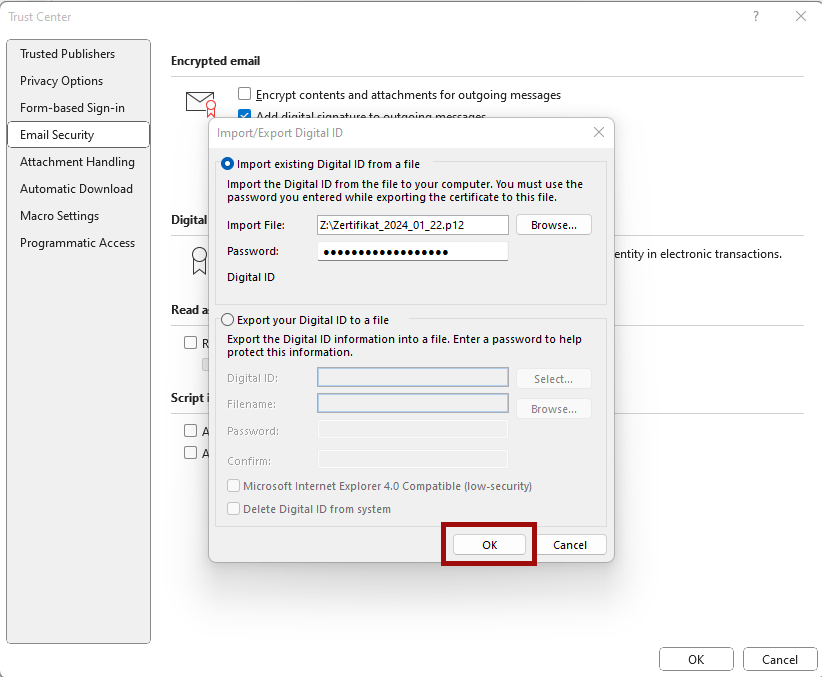
- You will return to the previous window. Now confirm the import with "Ok".
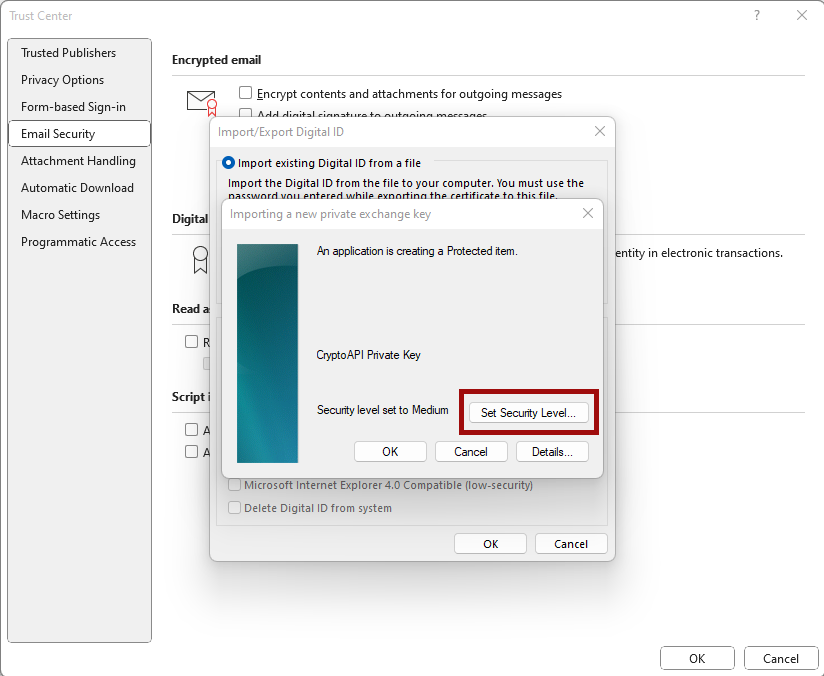
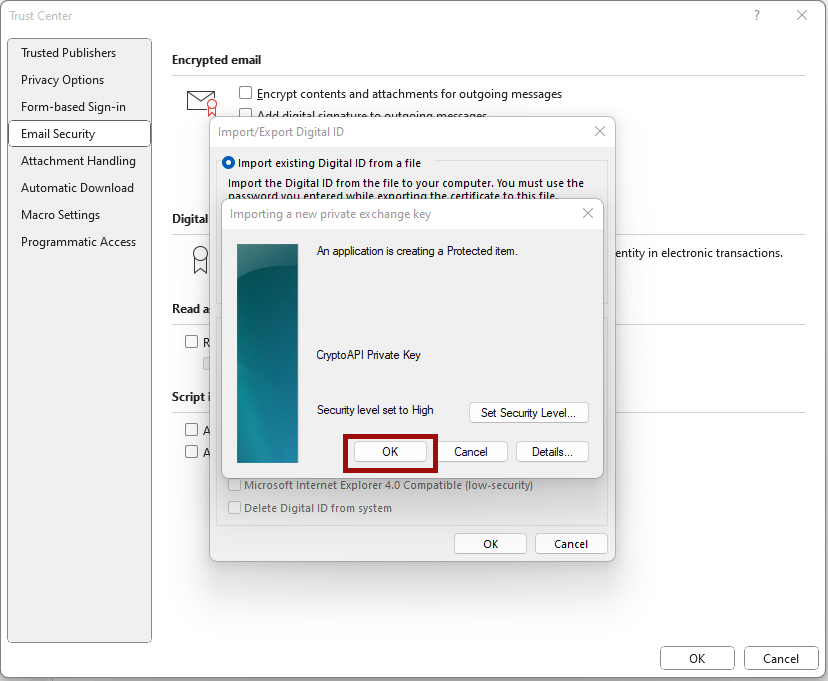
- Another window opens for the import settings. Click on "Security level" here.
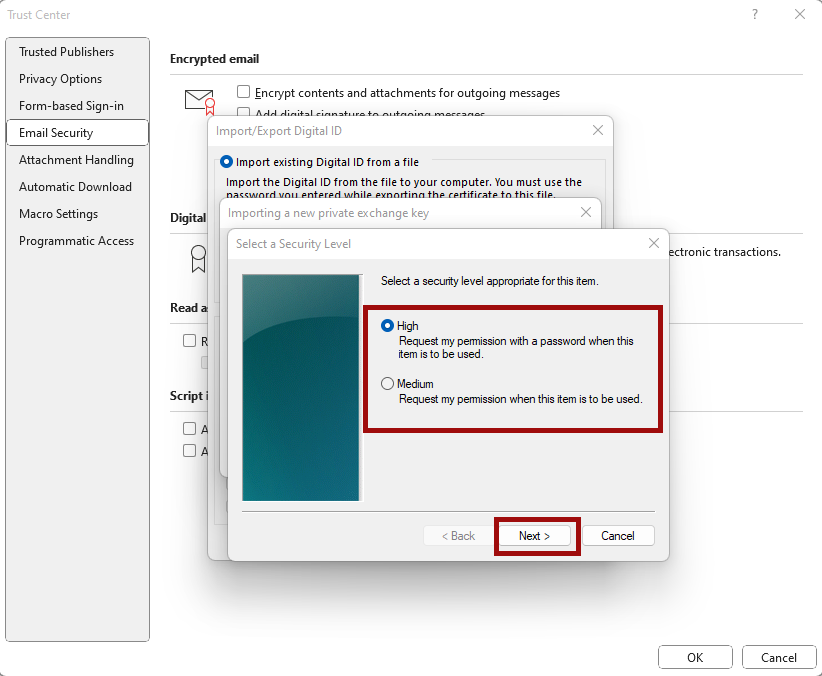
- You can now select the security level and then click on "Next":
- With "High", you must enter the password before each email that is to be decrypted
- With "Medium", only consent is required.
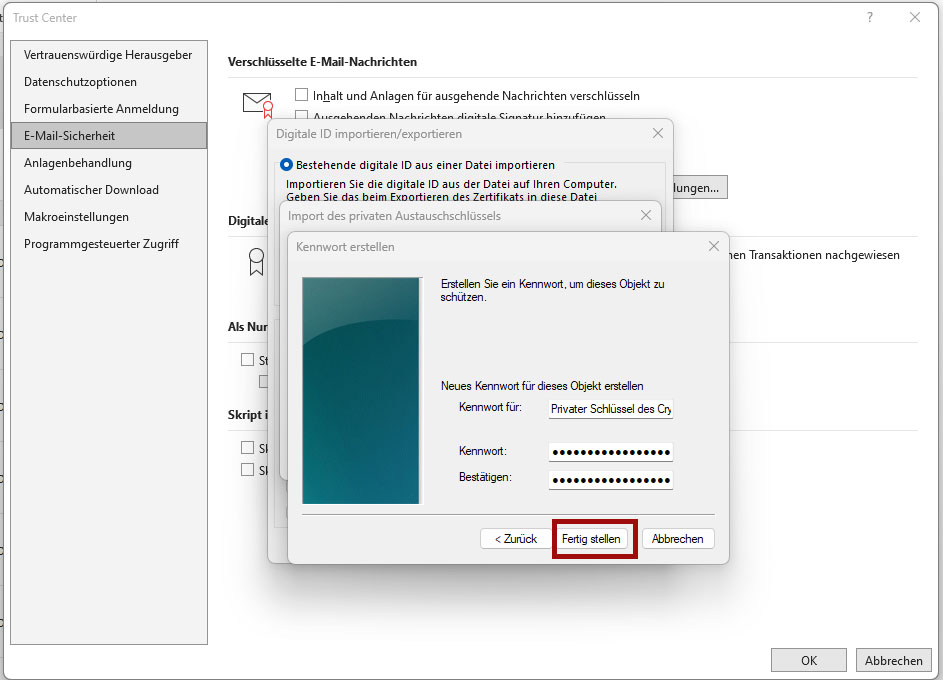
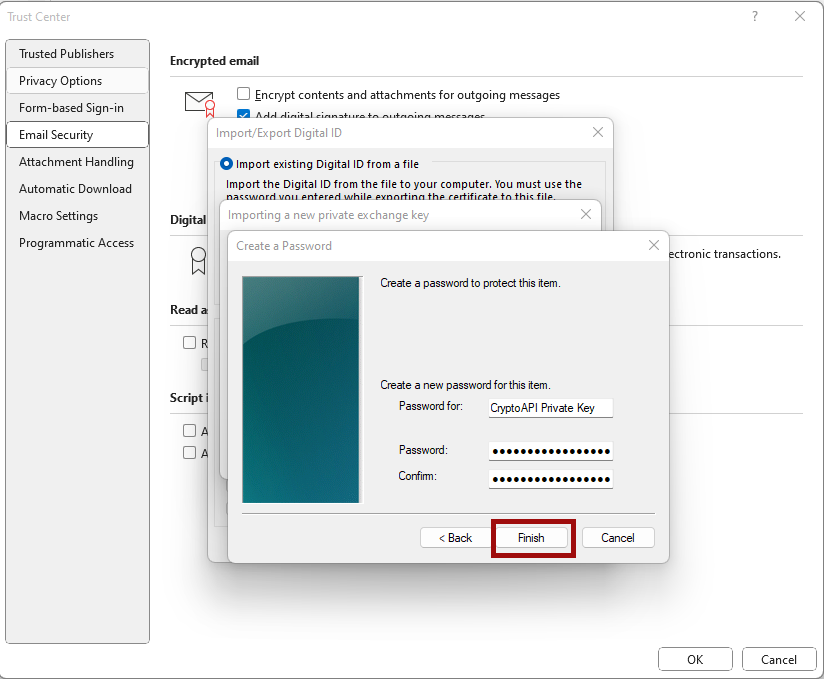
- If you have selected "High", you will now be asked to enter a password for authorization. Use the password for your certificate here. If you select the "Medium" security level, you only need to confirm the settings by clicking "Continue".
- You will be redirected back to the previous window. Click on "Ok" here.
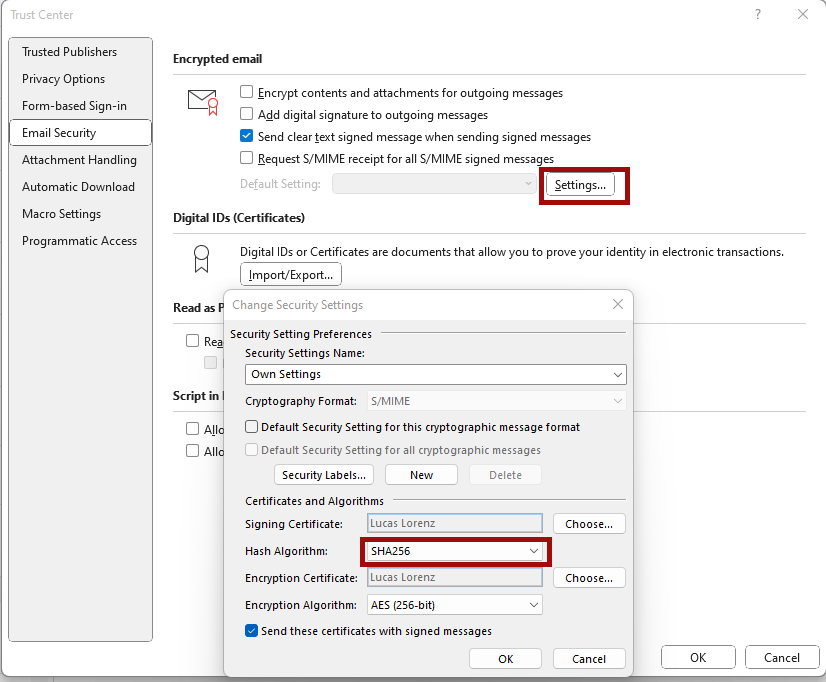
- In the Trust Center under the Email security tab, click on "Settings" and check the settings as shown in the screenshot. Make sure to set the hash signature under the signature certificate to SHA256 and confirm the settings with "Ok".
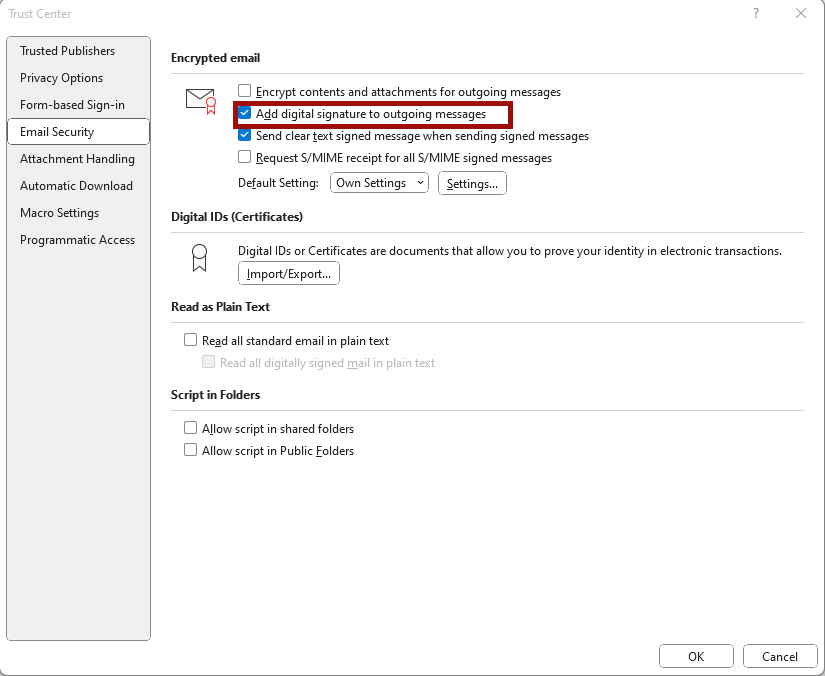
- In the "Trust Center", you should now check the box "Add digital signature to outgoing messages" under the menu item "Email security" in the "Encrypted email messages" section. This will sign all emails that you automatically compose with your certificate. We advise you not to also check the box "Encrypt content and attachments for outgoing messages", as you probably do not have a certificate from all contacts and sending an encrypted email is only possible if you have the recipient's public certificate.
- The signature setup is now complete.
If you would like to send an encrypted e-mail, you can also set this up directly when composing an e-mail (this also applies to signing the e-mail).
Encrypt emails in Outlook
To encrypt emails in Outlook, you must first have received the certificate from the person addressed. Ideally, the person will send an email certified by them that contains the encryption key.
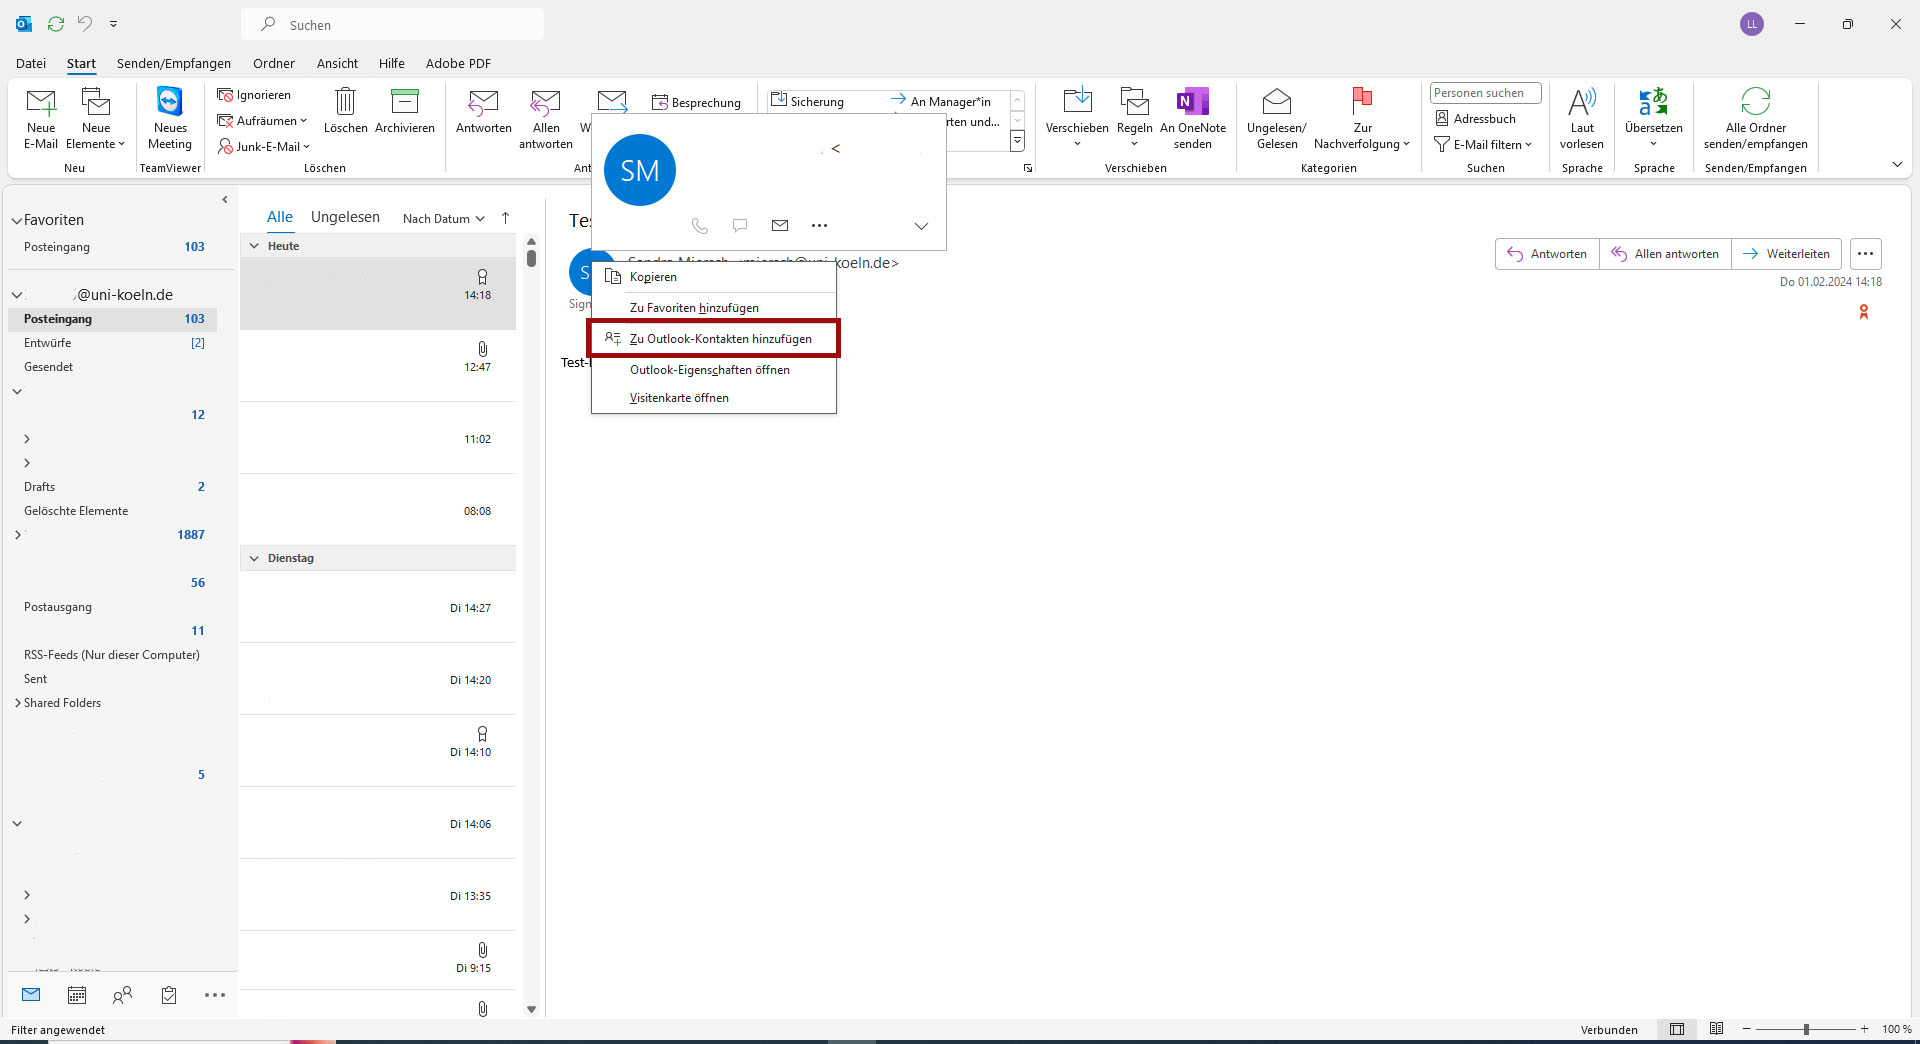
- Add the person to your contacts by selecting the person's profile picture and then clicking on "Add to Outlook contacts".
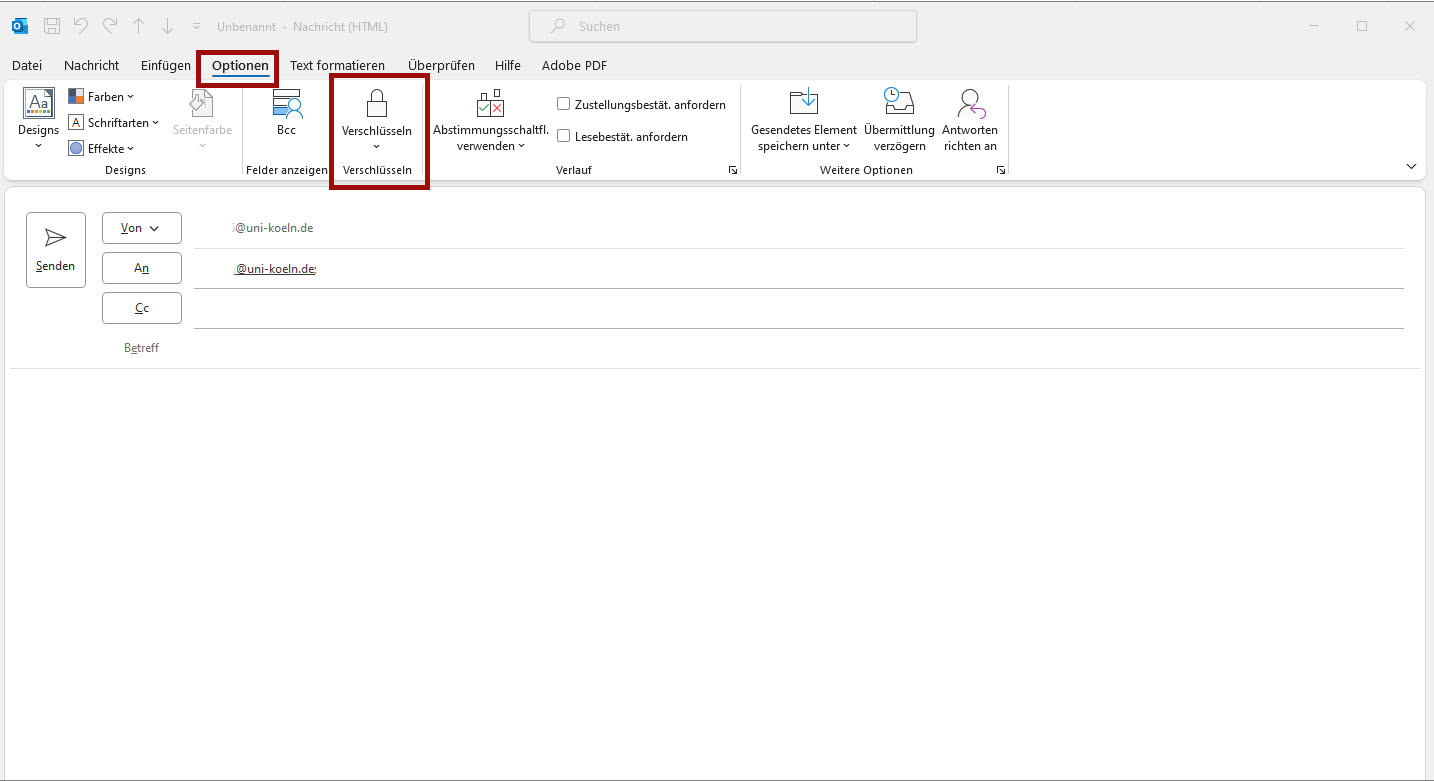
- In the email to the person, select "Encrypt" under "Options". If the person uses multiple email aliases, make sure you select the correct address to match the certificate.
Error message during encryption with Outlook
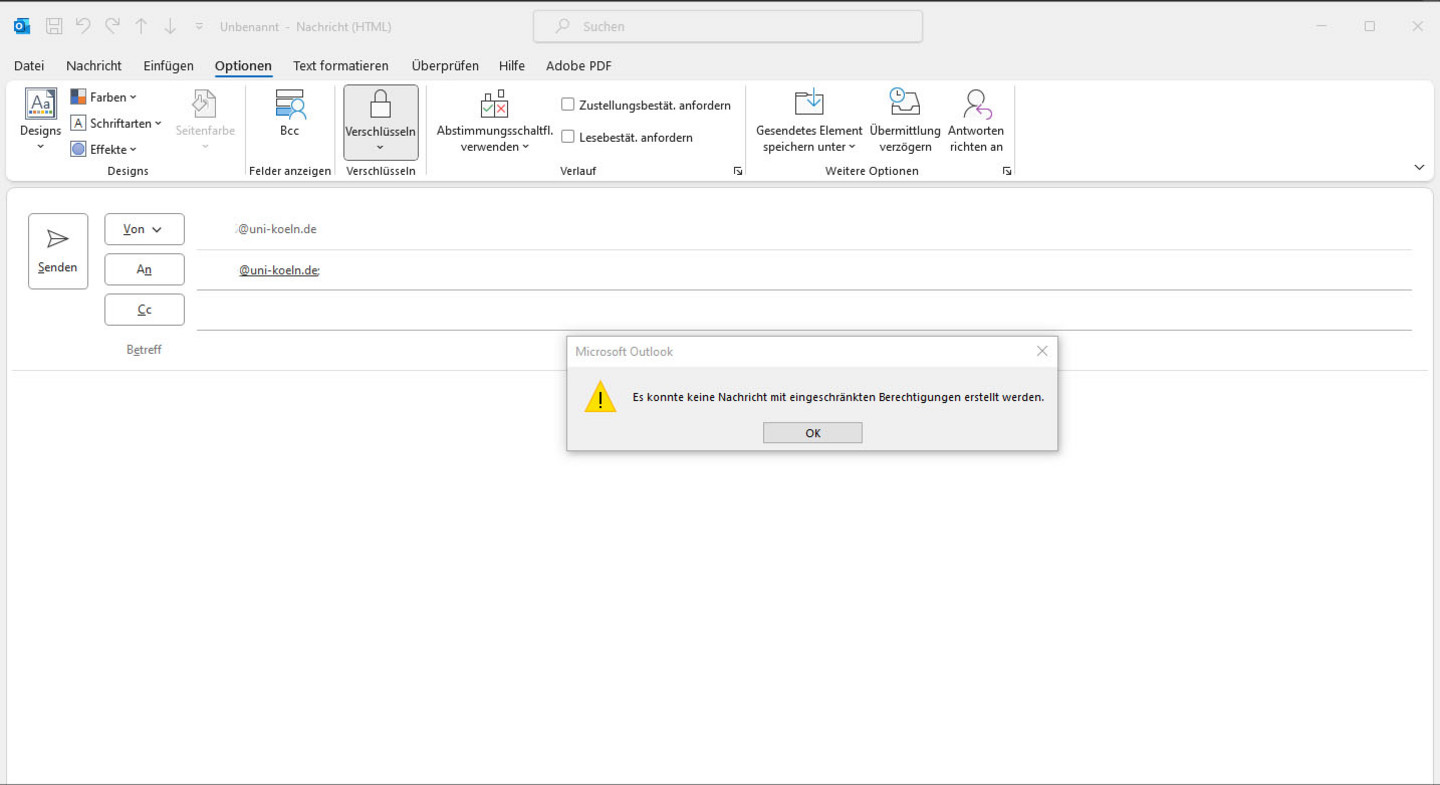
The following error message may appear when you click on "Encrypt":
"No message with restricted permissions could be created."
In this case, the certificate is usually not stored with the contact and must be added manually.
Troubleshooting - manual import of the certificate
Now proceed as follows to manually import the certificate for the contact:
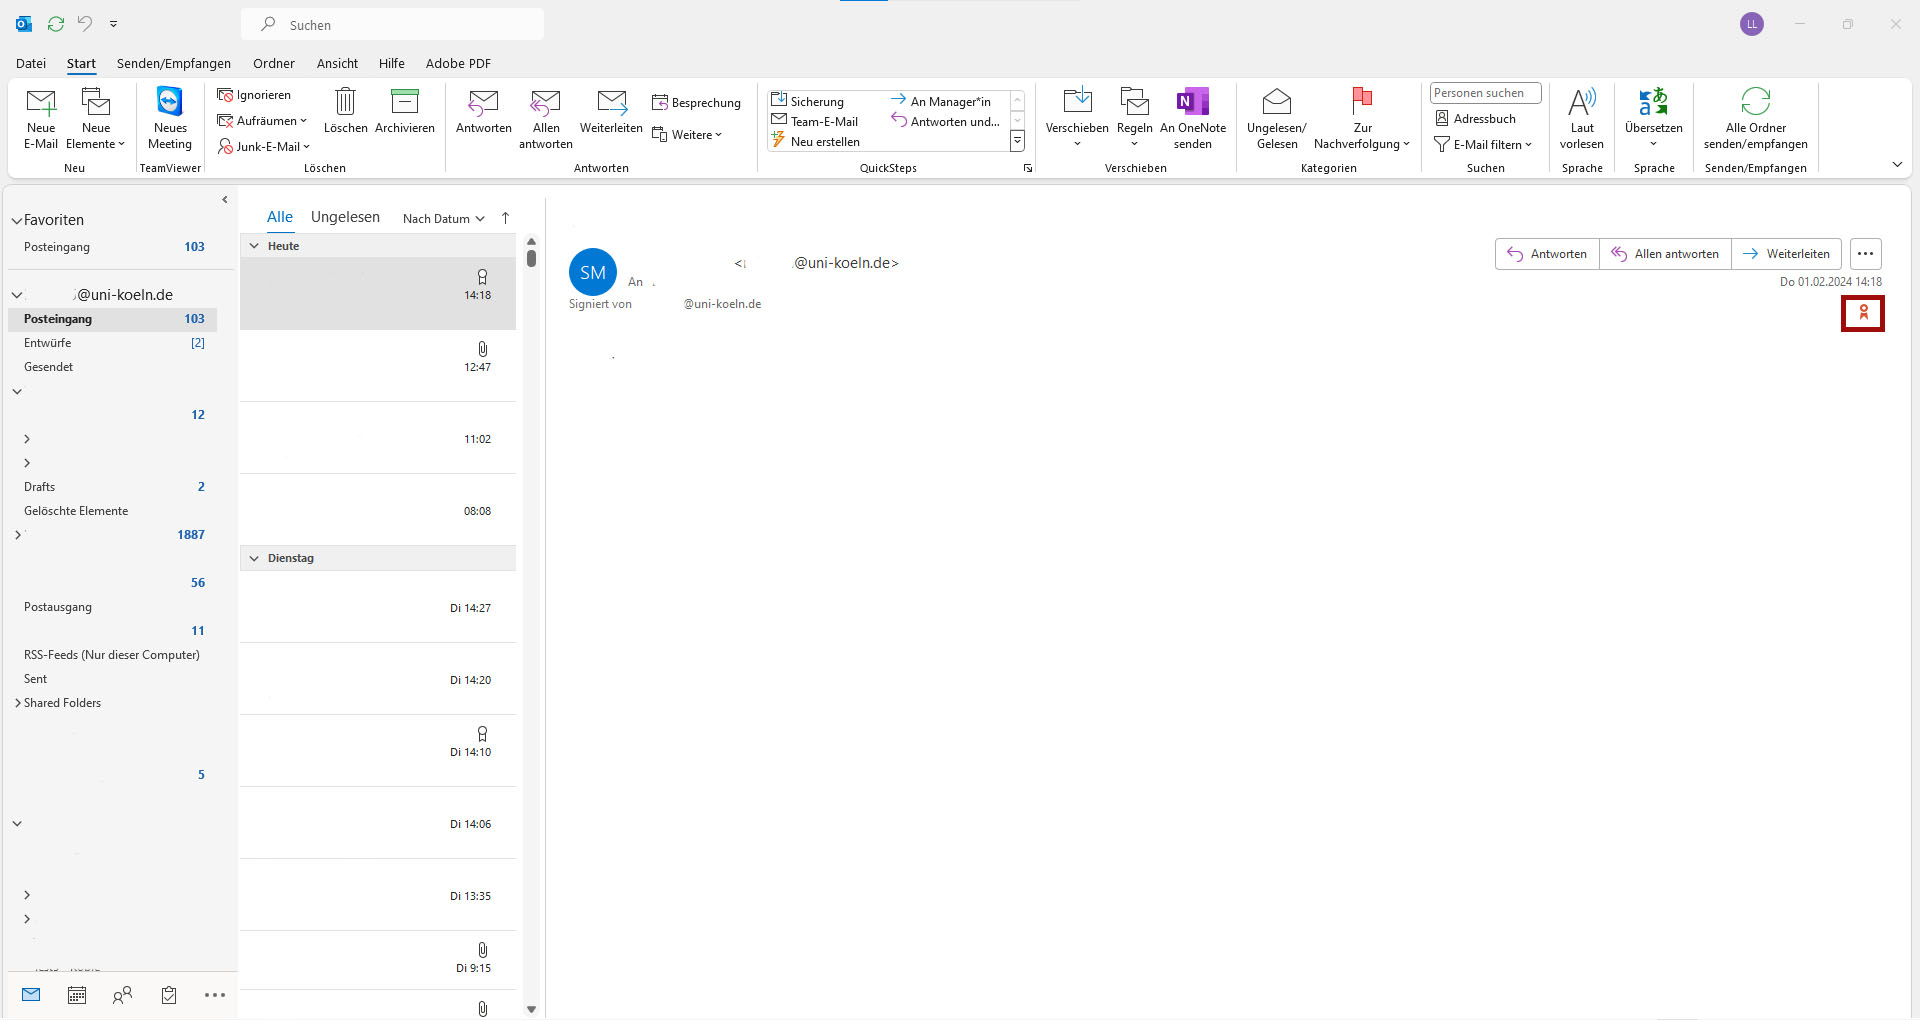
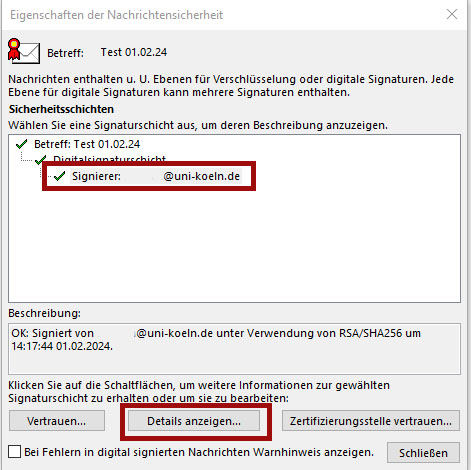
- Click on the signature symbol of a mail of the addressee.
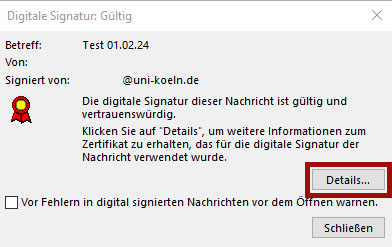
- Information about the signature will now be displayed, click on "Details".
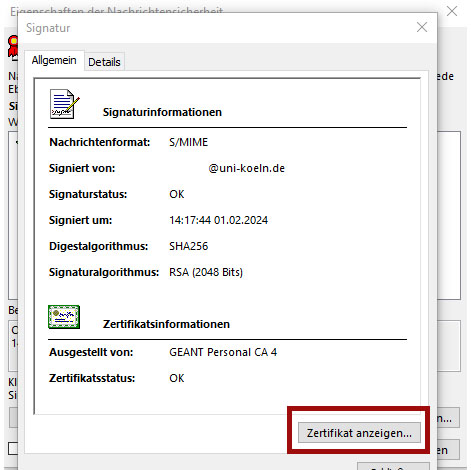
- Make sure that the corresponding email is selected in the hierarchy list in the next window and then click on "Show details..."
- In the new window, click on "Show certificate".
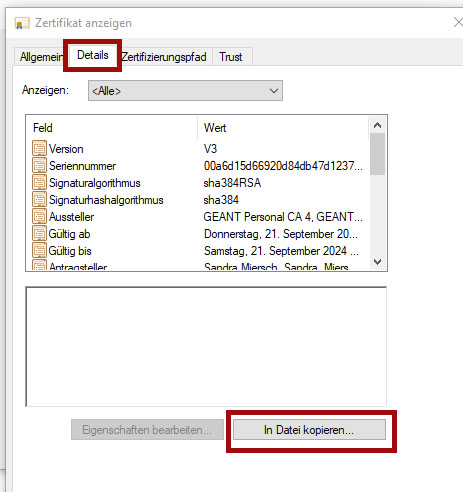
- Select the "Details" tab in the top bar and then click on "Copy to file" at the bottom.
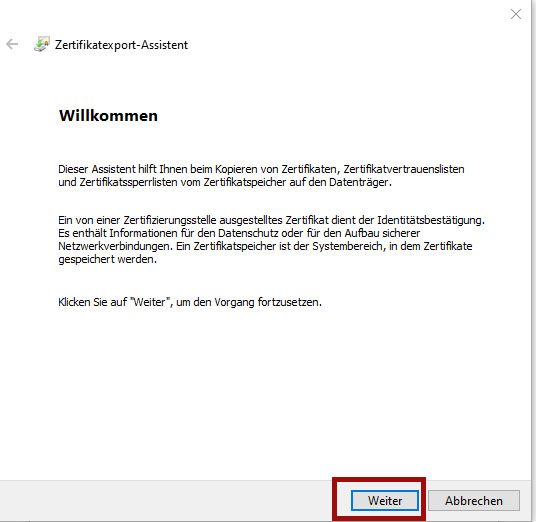
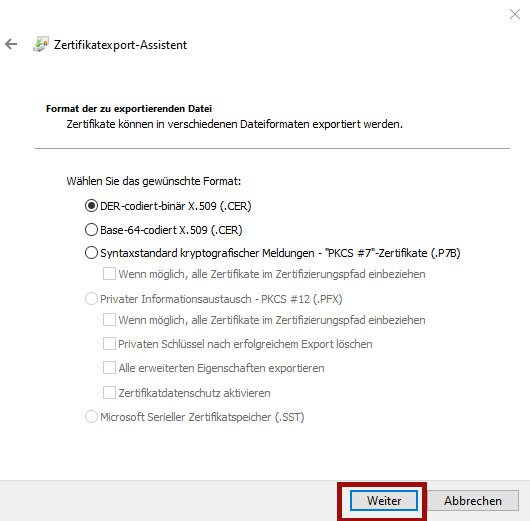
- You will be taken to the certificate export wizard. Click on "Next" in the first window.
- Make sure that "DER-encoded binary X.509 (.CER)" is selected as the desired format.
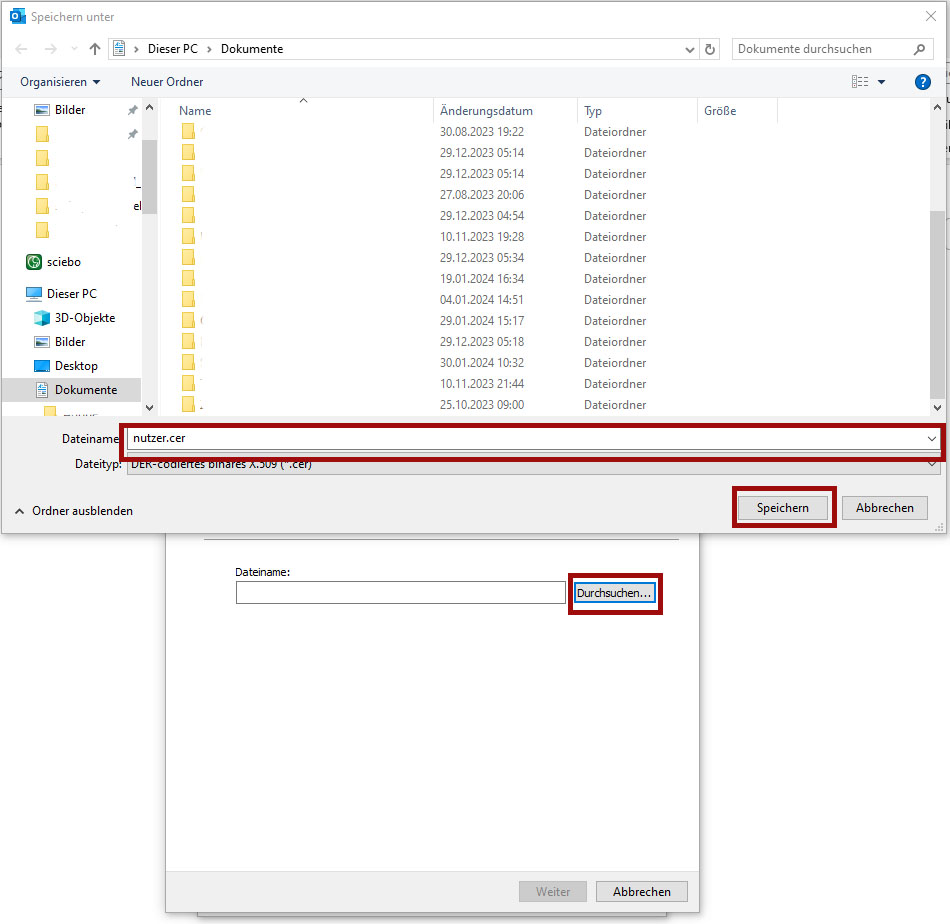
- Now click on "Browse" and select a storage location for the certificate and give it a recognizable name, then save the file.
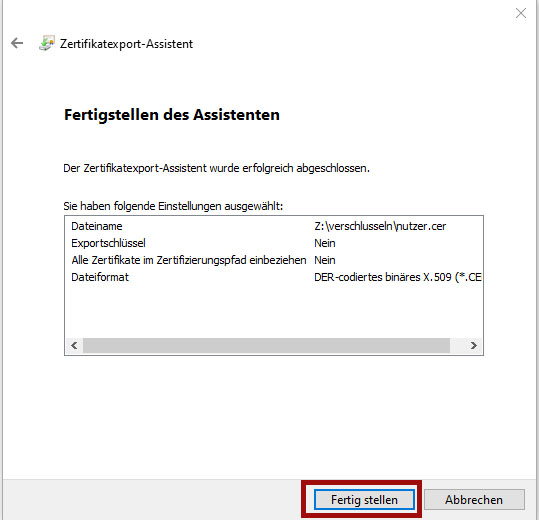
- Finish the wizard by clicking on "Finish".
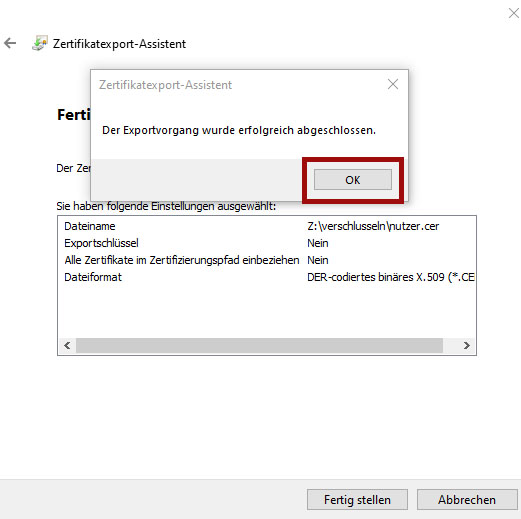
- Now click on "Ok" again.
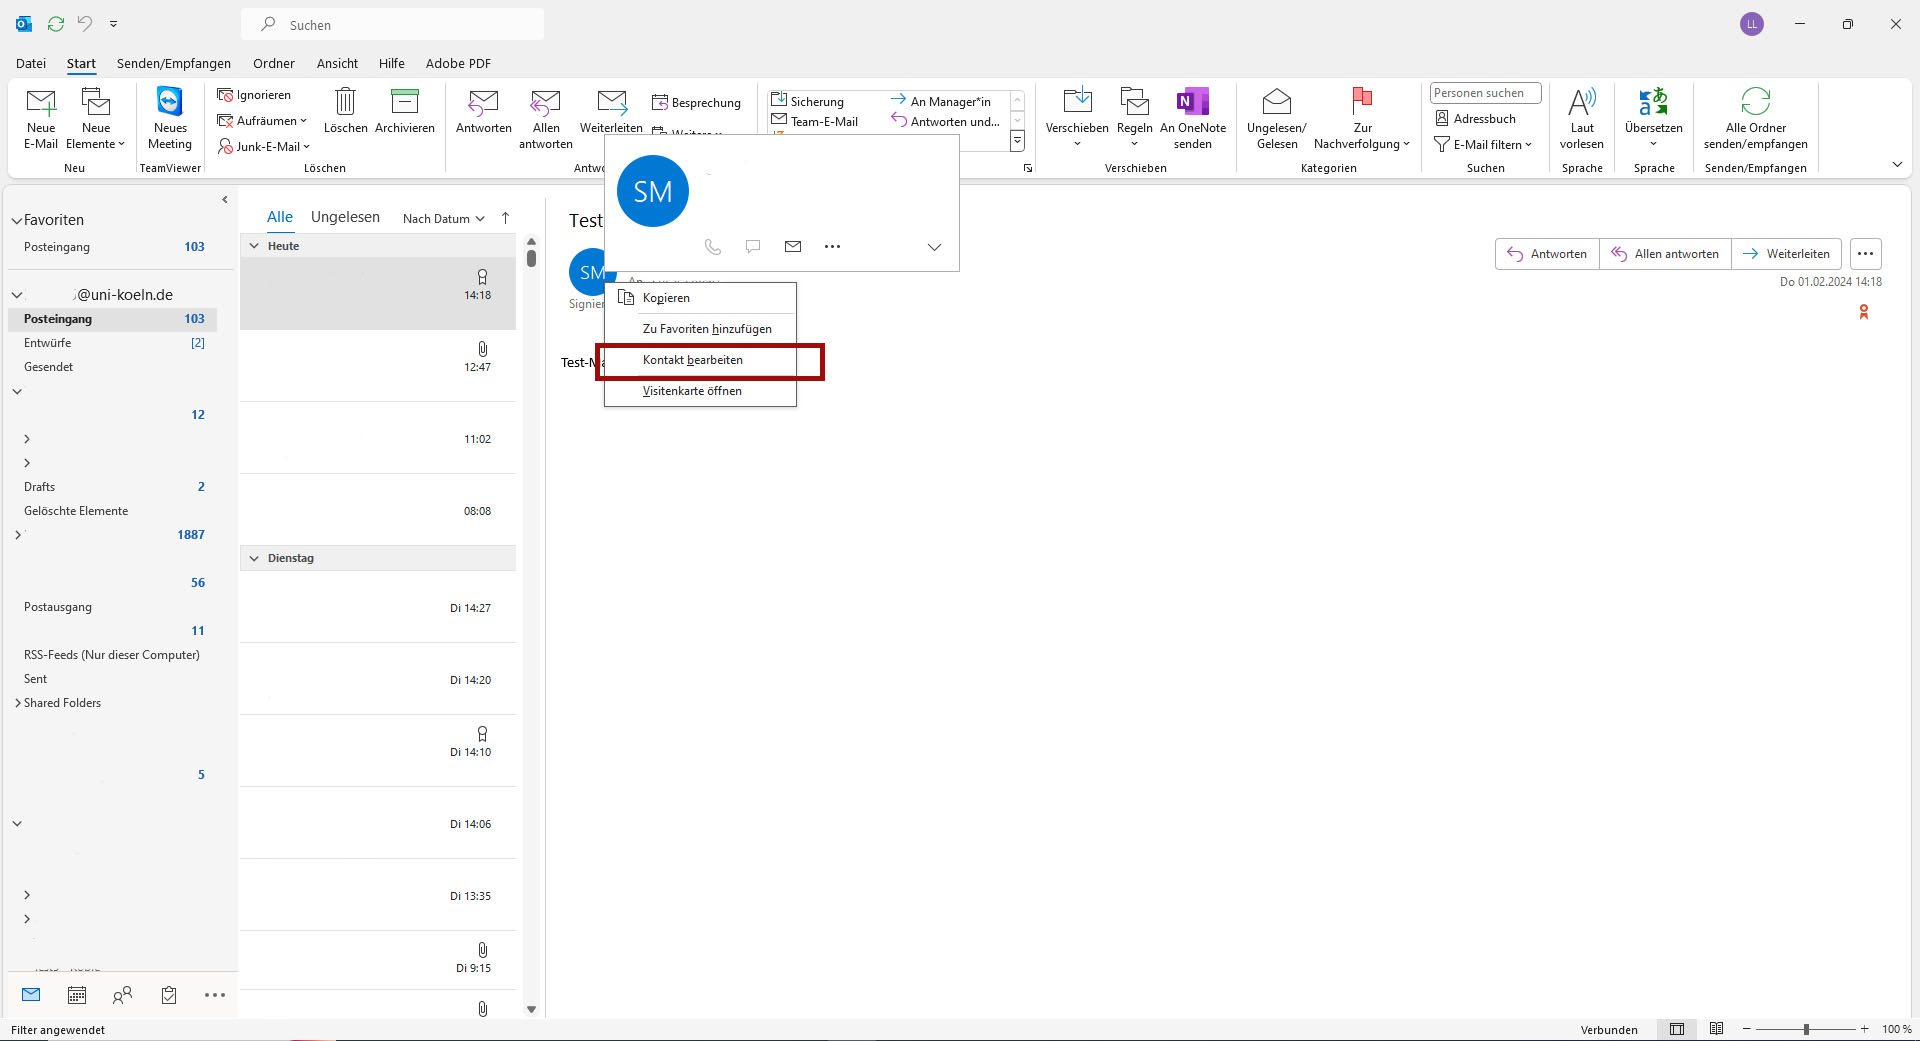
- Now select the relevant contact in Outlook by right-clicking on the profile picture in the email from step 1 and then clicking on "Edit contact" in the context menu.
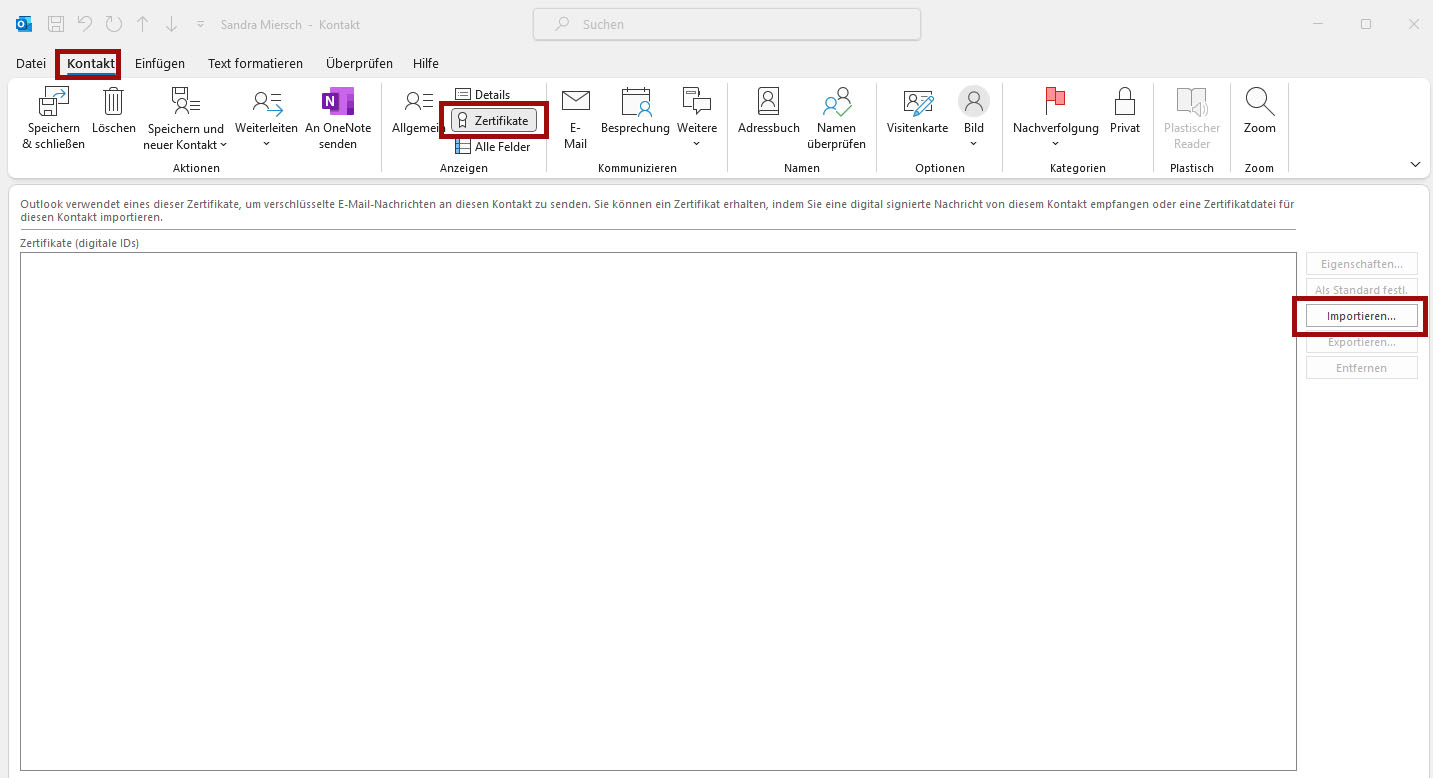
- Select the "Contact" tab and then click on "Certificates". All certificates for this contact will now be displayed. Click on "Import" to add the previously exported certificate.
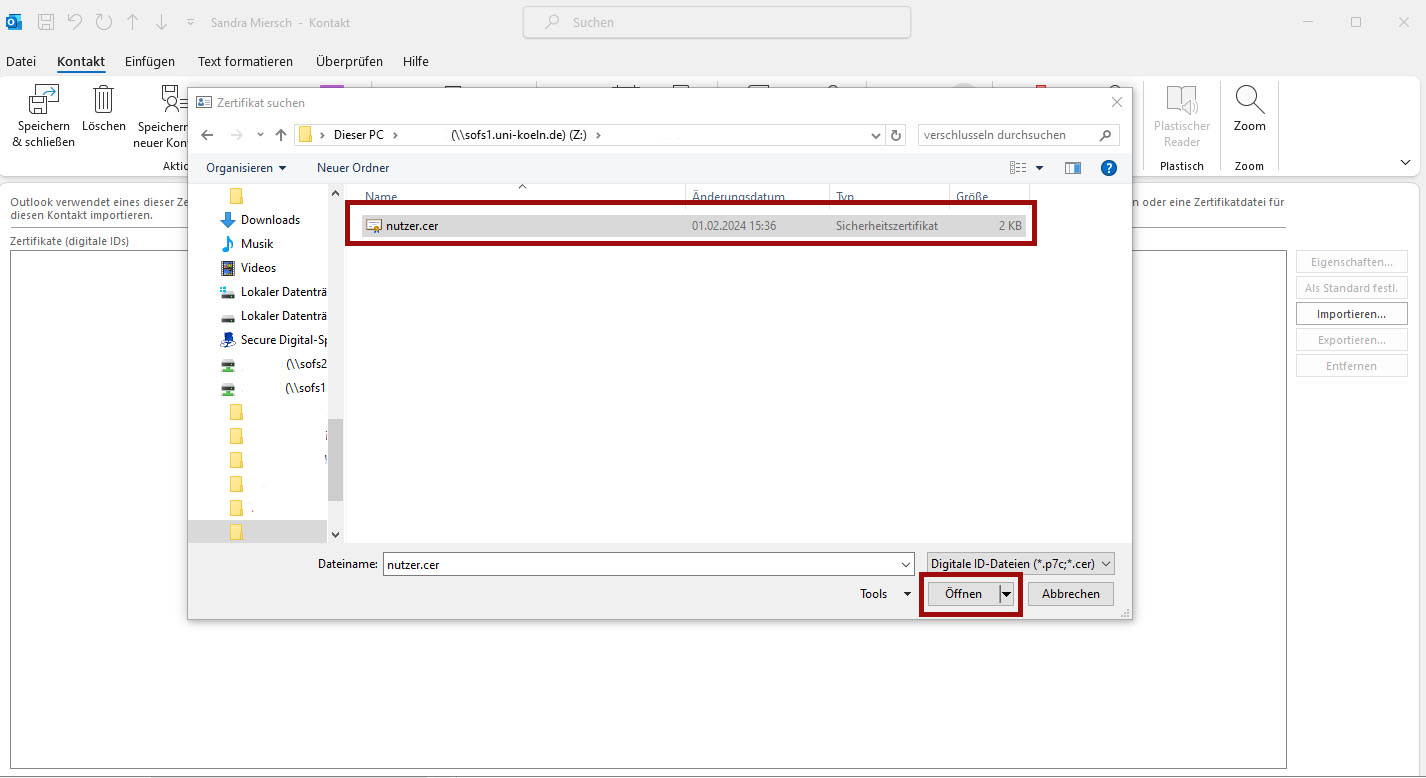
- Select the exported certificate and click on "Open". The certificate will now be imported.
You should now be able to send an encrypted email to this contact.
Important note for recipients of encrypted emails
Please make sure that you keep all certificates that were used to send you encrypted emails. If these are removed, the mails can no longer be decrypted.
Contact
If you have any questions or problems, please contact the ITCC-Helpdesk