Requesting a certificate
All employees of the University of Cologne can apply for a certificate from HARICA. HARICA is provided by the DFN.
The current functionality of the HARICA systems is sufficient for basic provision. HARICA is working hard to expand the systems.
Issuing certificates from 10.01.2025
At the beginning of 2025, there will be restrictions in the issuance of certificates.
This is because the service provider Sectigo has terminated the contract between it and GÉANT as of January 10, 2025, on the basis of which the Trusted Certificate Service (TCS) is provided as part of the DFN-PKI. From this date, neither server nor user certificates can be created there.
Géant TCS will be replaced by HARICA and provided via the DFN. HARICA's current system is designed for basic provision. HARICA is working at full speed on an expansion. This situation is expected to be resolved in March.
If possible, we recommend that you wait until then before submitting new applications.
If you have any questions, please contact the helpdesk.
Setting up
Your personal certificate is valid for a specific ".. @uni-koeln.de" email address. By default, the email address accountname@uni-koeln.de is used for your certificate. If you use an alias (e.B. vorname.nachname@uni-koeln.de) and want to use the certificate for it, you must first define it in uniKIM (if you want to use your default email address, please skip this step).
To do this, log in to uniKIM and click on "Primary email address" under "Application" in the "Home page elements" group. Select one of your aliases and click on "Set primary email address".
Please note:
- Currently, there is only the possibility to include an email address or an alias in the certificate (the service provider is currently trying to implement this).
- Email addresses cannot be used that say ".@verw.uni-koeln.de", ".. @wiso.uni-koeln.de" etc. - without exceptions.
- The primary email address affects only the email address field of the certificate and ensures that emails are signed with the correct address. It does not affect the display name or signature stamps in Adobe products, PDF tools, etc.
Application
- Visit the website https://cm.harica.gr/ and click on "Academic Login" [Fig. 1].
- Search for "Universität zu Köln" and select the corresponding entry [Fig. 2].
- Now authenticate yourself with your account via Shibboleth [Fig. 3]. You will then be redirected to your dashboard.
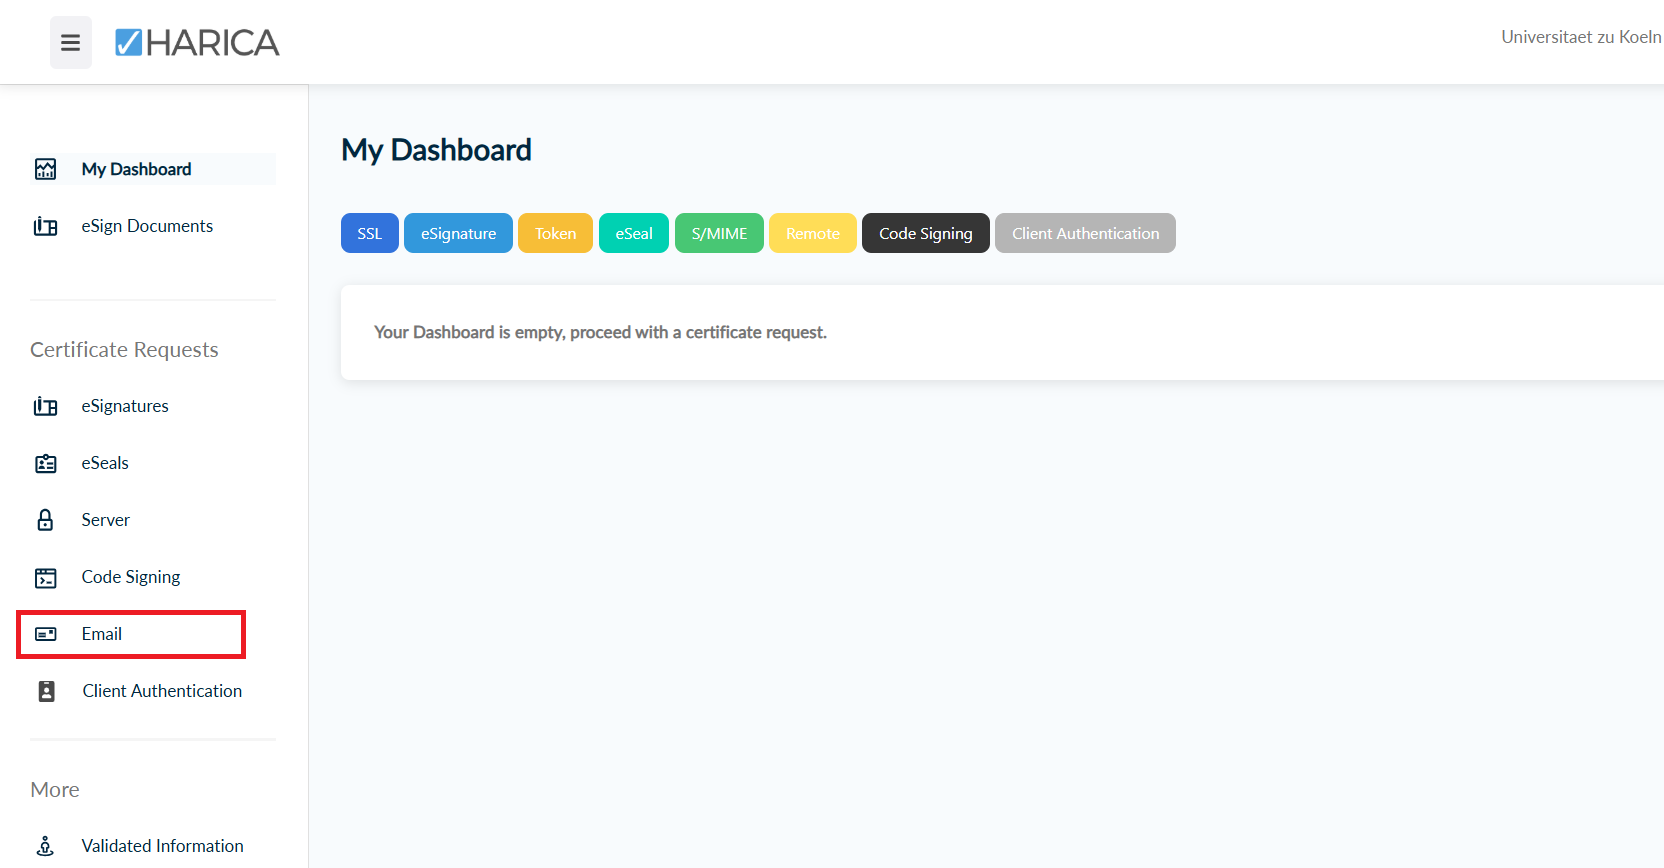
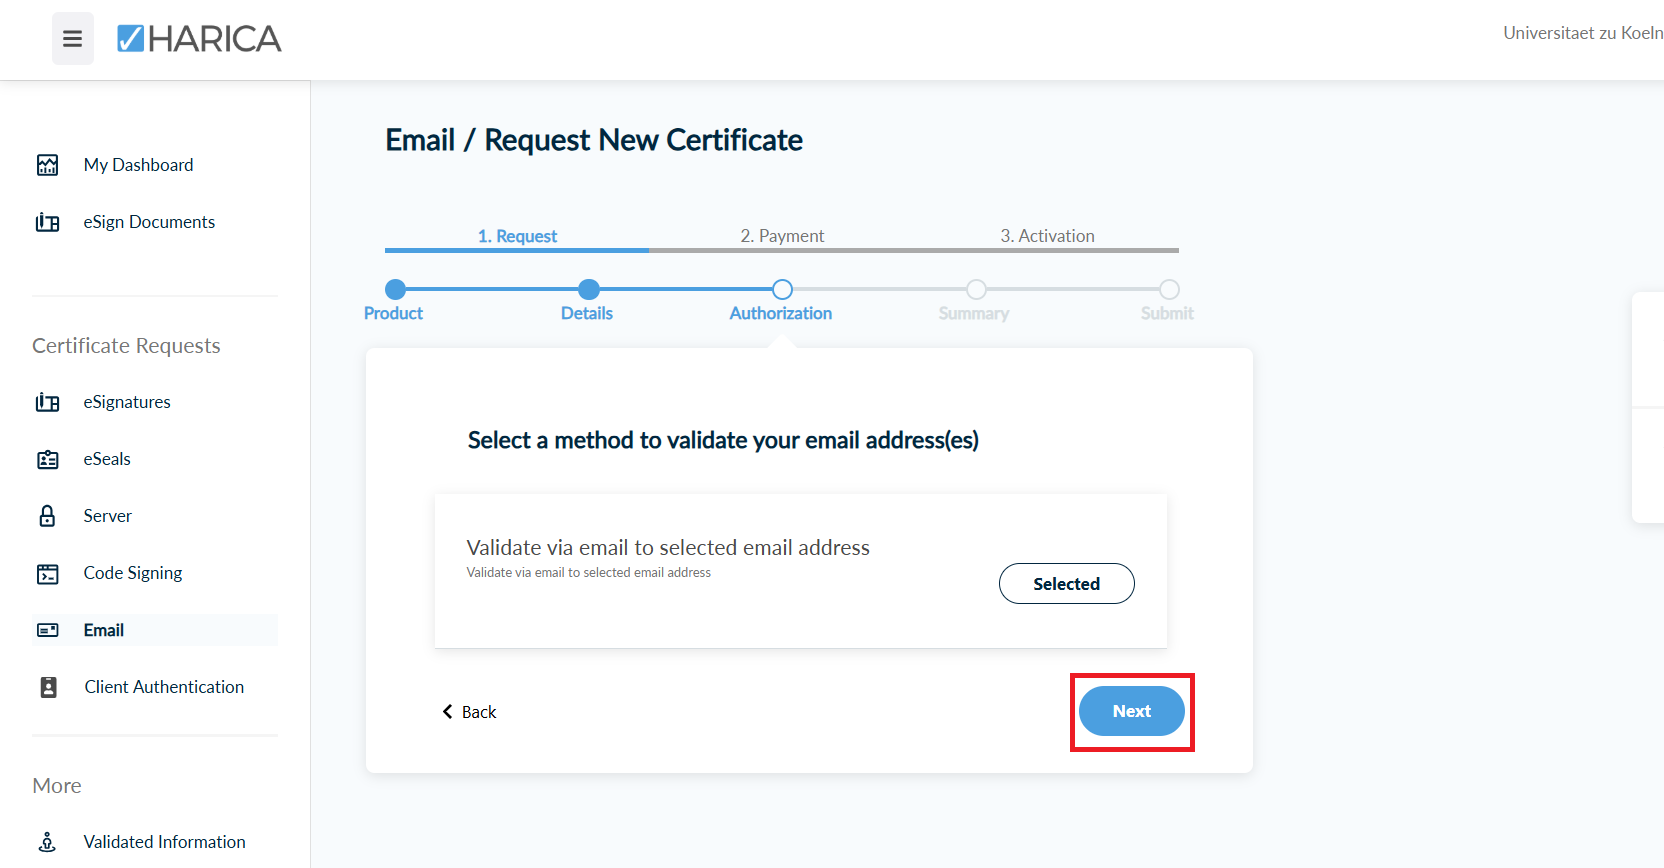
- Select the "E-mail" item in the left-hand navigation menu [Fig. 4] and then the "E-mail only" type [Fig. 5]. Only this type of certificate is currently supported and leads to the desired result. Confirm the selection with "Next" [Fig. 6].
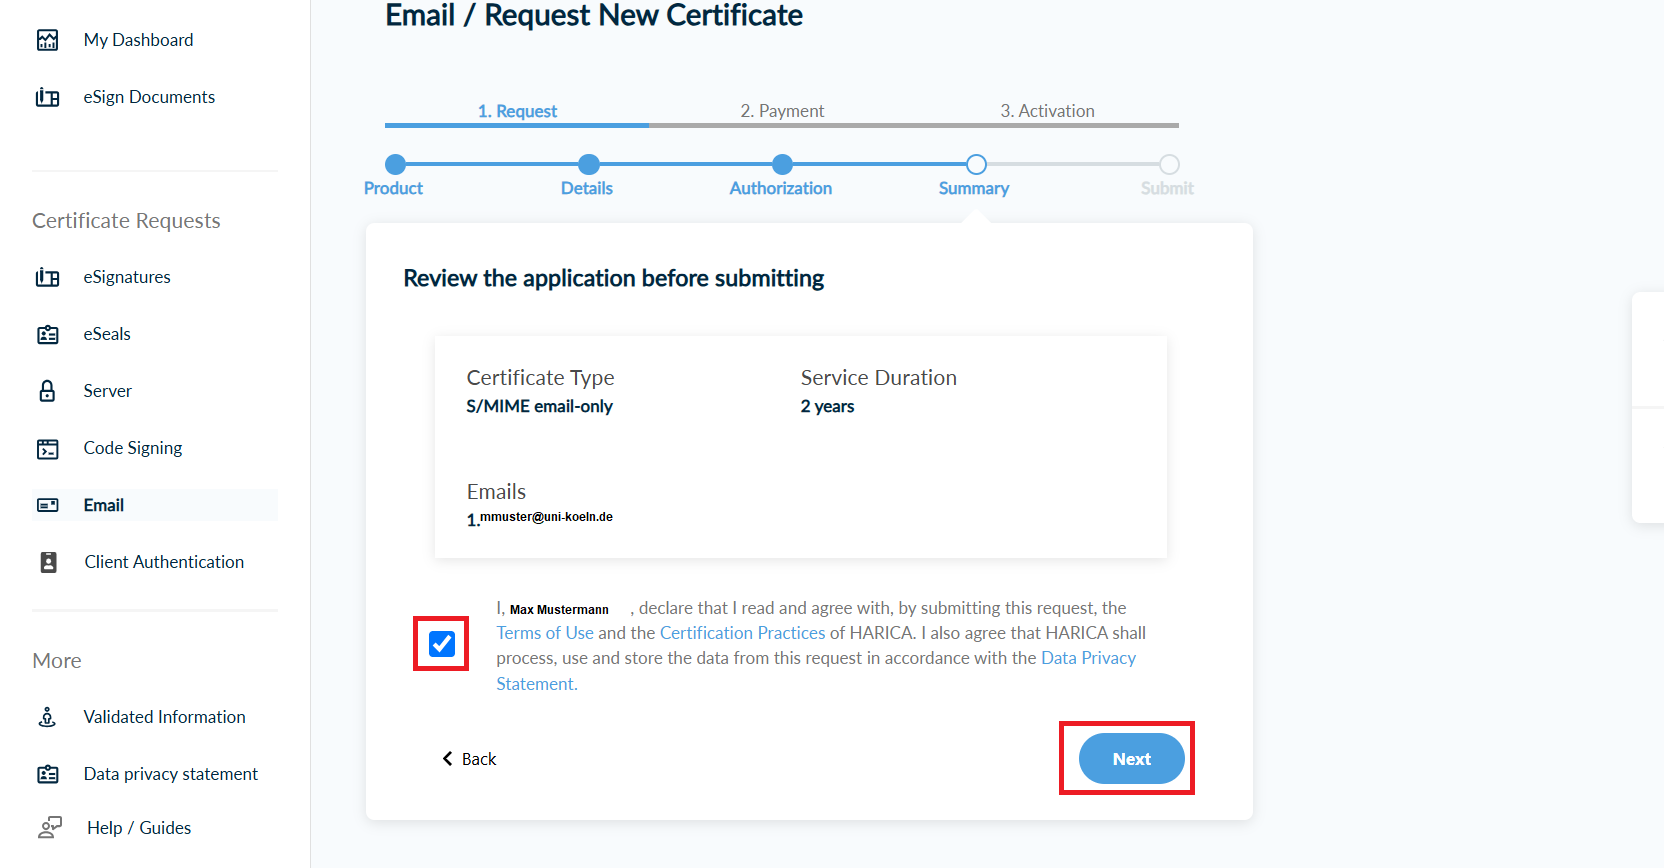
- Confirm the next step with "Next" [Fig. 7] and accept the terms of use by ticking the box and clicking on "Submit" [Fig. 8].
- You will now see your dashboard and your requested certificate. Click on "Enroll your Certificate" [Fig. 9].
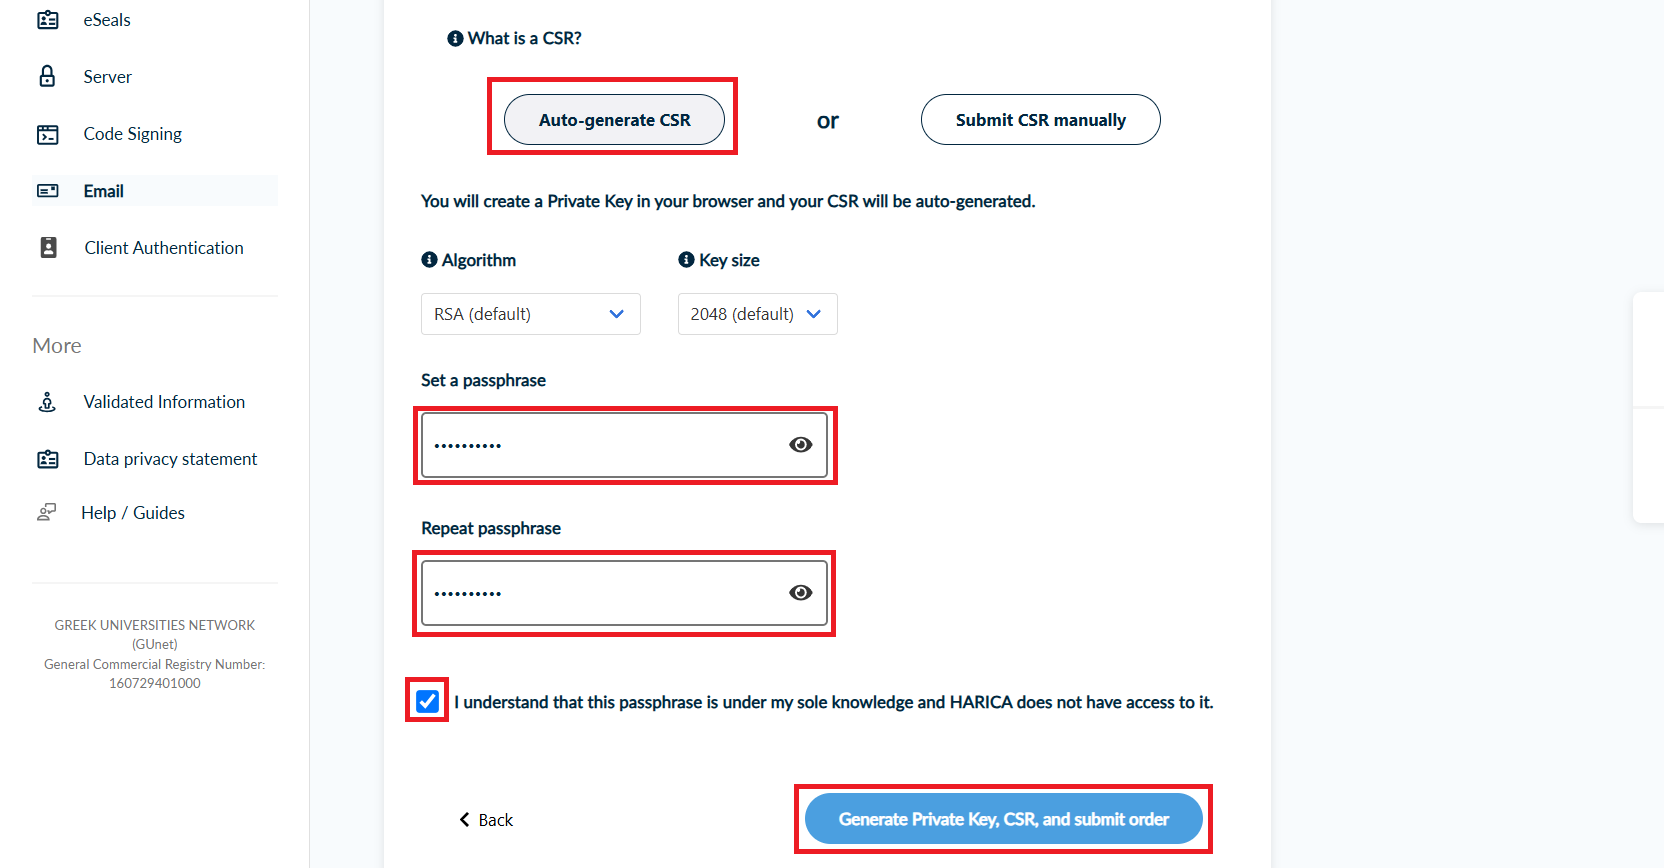
- Leave the default settings and now set a password for your certificate. Confirm the message and click on "Enroll Certificate" [Fig. 10].
- Click on "Download" in the window that opens and save your certificate file in an easily accessible location [Fig. 11].
Your certificate file has been successfully generated and downloaded.
Contact
If you have any questions or problems, please contact the ITCC-Helpdesk

