Linux OpenConnect
As an alternative to Cisco AnyConnect, Linux provides OpenConnect. OpenConnect is freely available via the package sources or is already preinstalled for some distributions.
The following steps have been performed exemplarily under Ubuntu 16.04.2 LTS and may differ slightly in other distributions and versions.
Setting up a VPN connection
To set up the connection, follow these steps:
1. Package installation. Please install the following packages to your system: "openconnect", "network-manager-openconnect" und "network-manager-openconnect-gnome"
If you are using another linux distribution, the package names might differ. You may want to search for openconnect to find the necessary packages. To install the packages via a shell you may use
sudo apt install openconnect network-manager-openconnect network-manager-openconnect-gnome
After finishing the installation, please restart the network-manager by using
sudo service network-manager restart
to load the new plug-in or just reboot the whole system.

1. Click on the network icon in the upper right corner of the bar and select "Edit connections...".
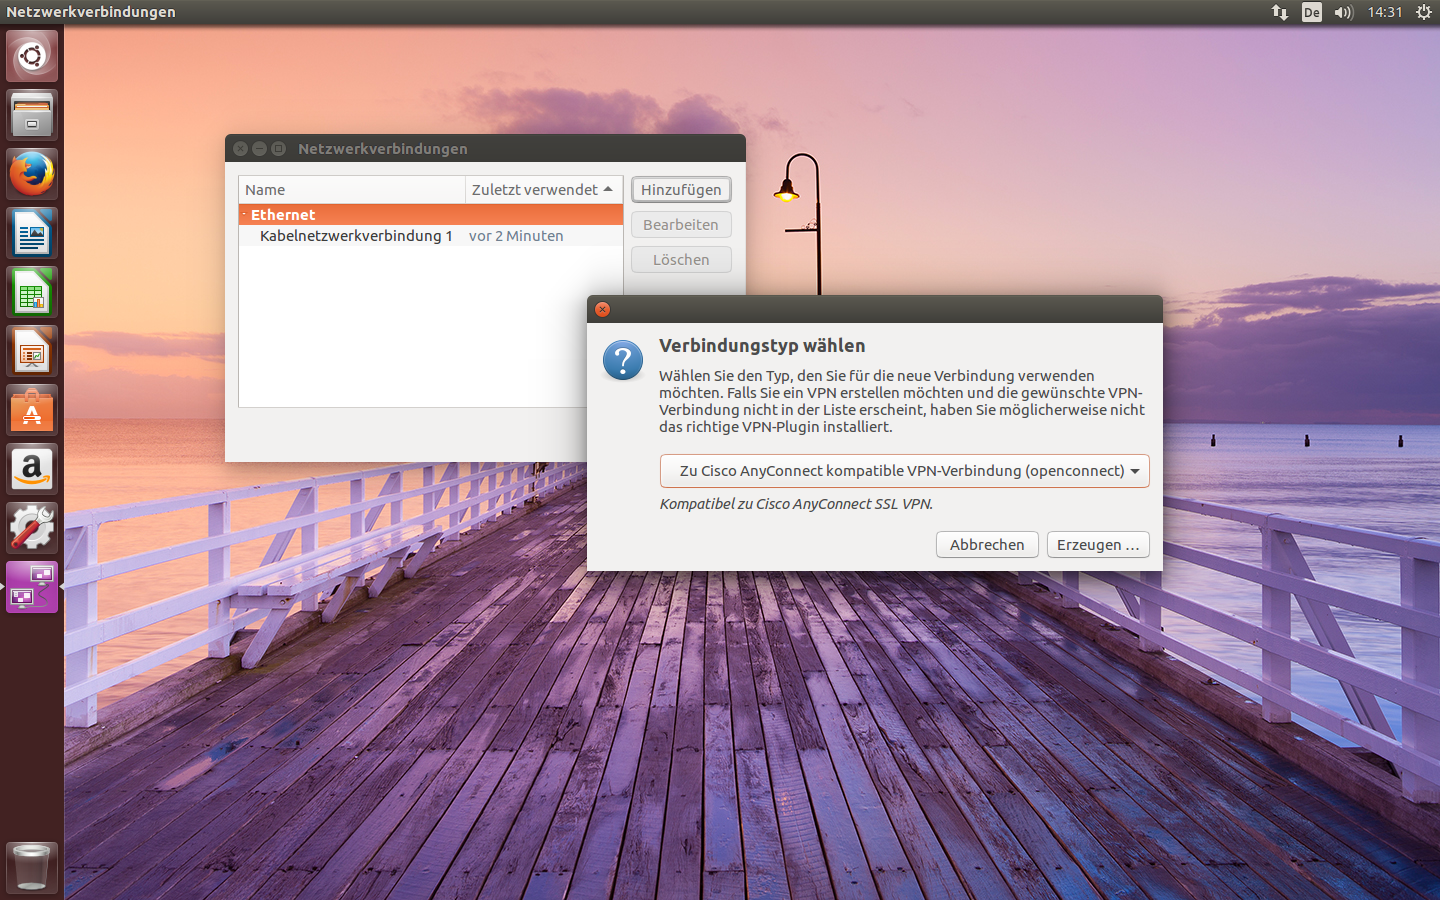
2. Select "Add". In the new window, click on "To Cisco AnyConnect compatible VPN-connection" and confirm the input with "Create...".
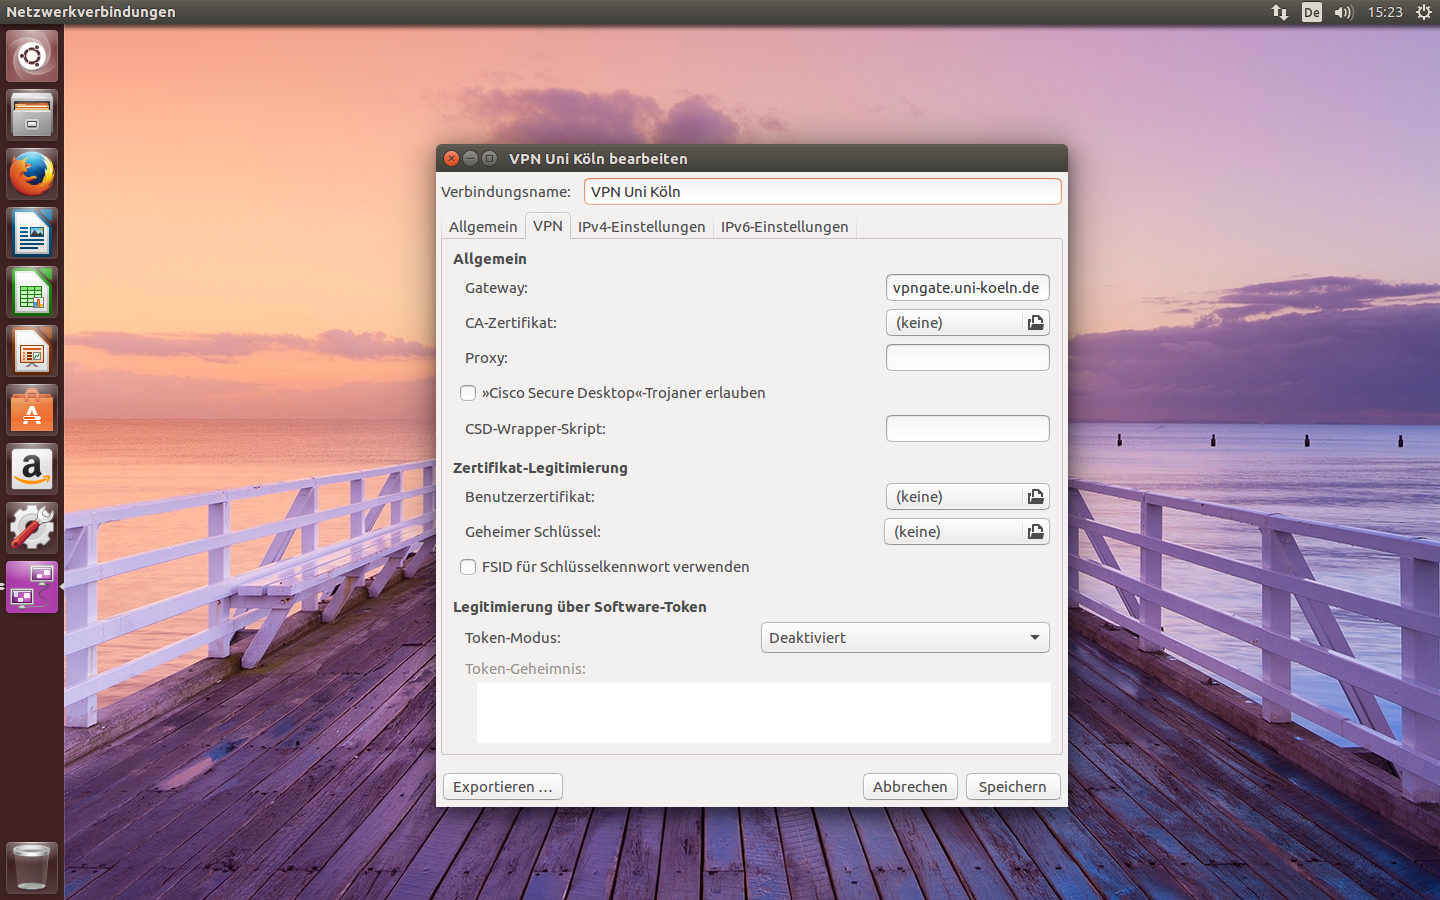
3. In the field "Connection Name", you can choose the name. The gateway is "vpngate.uni-koeln.de". Confirm with "Save".

4. The connection is ready. You can start it with the network icon.
5. In the section "VPN Connections", select the connection that you have established.

6. Enter the data of your student or personal account in the following field and connect with "Login". (Informations about the tunnel versions)
7. You are connected to the VPN tunnel.
Trouble shooting
Connection via terminal without GUI
Contact
If you have any questions or problems, please contact the RRZK-Helpdesk