Calendar synchronisation with Thunderbird
Your webmail calendar can be synchronized easily with Thunderbird. So you can keep an overiew over all events in different calendars.
Adding the webmail calendar
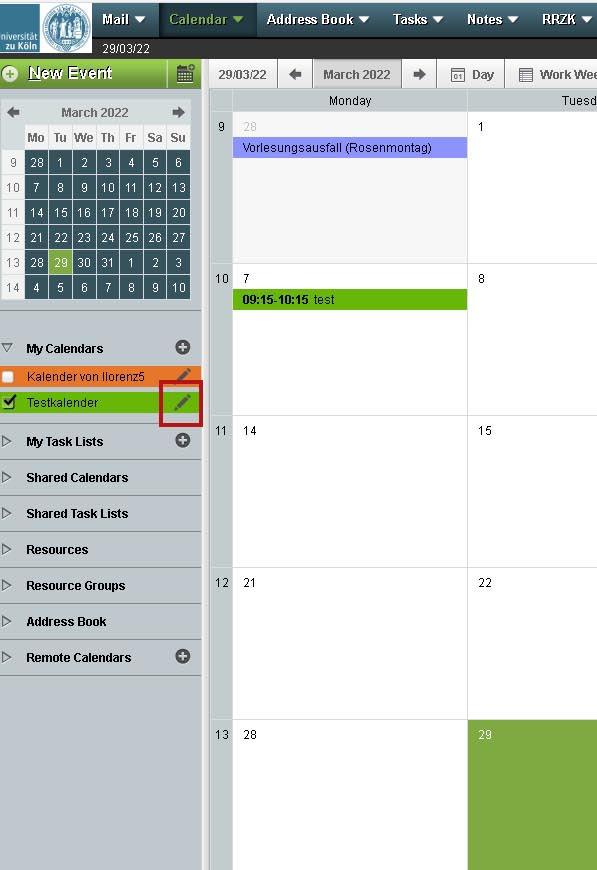
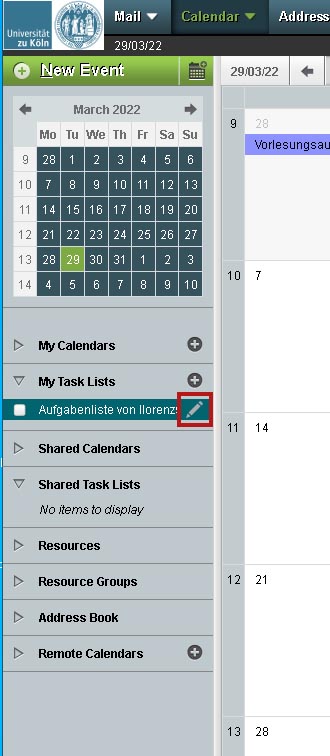
1. Open your webmail calendar in your browser. Click on the pencil-symbol to open the preferences of the chosen calendar.
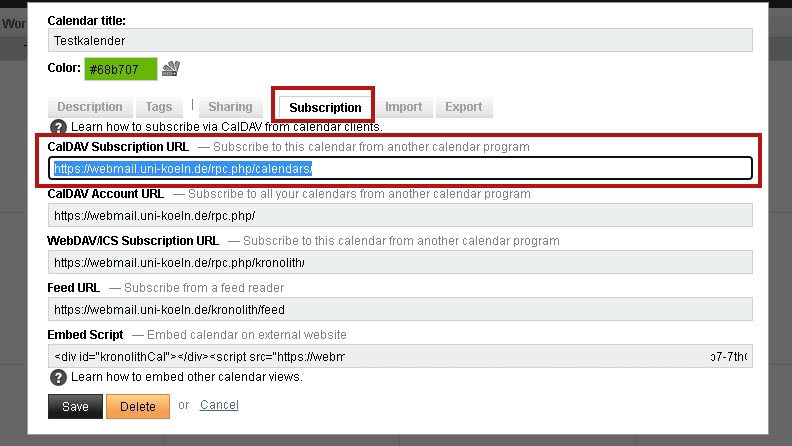
2. Switch to the tab "Subscription" and copy the first link in the top field ("CalDAV Subscription URL").
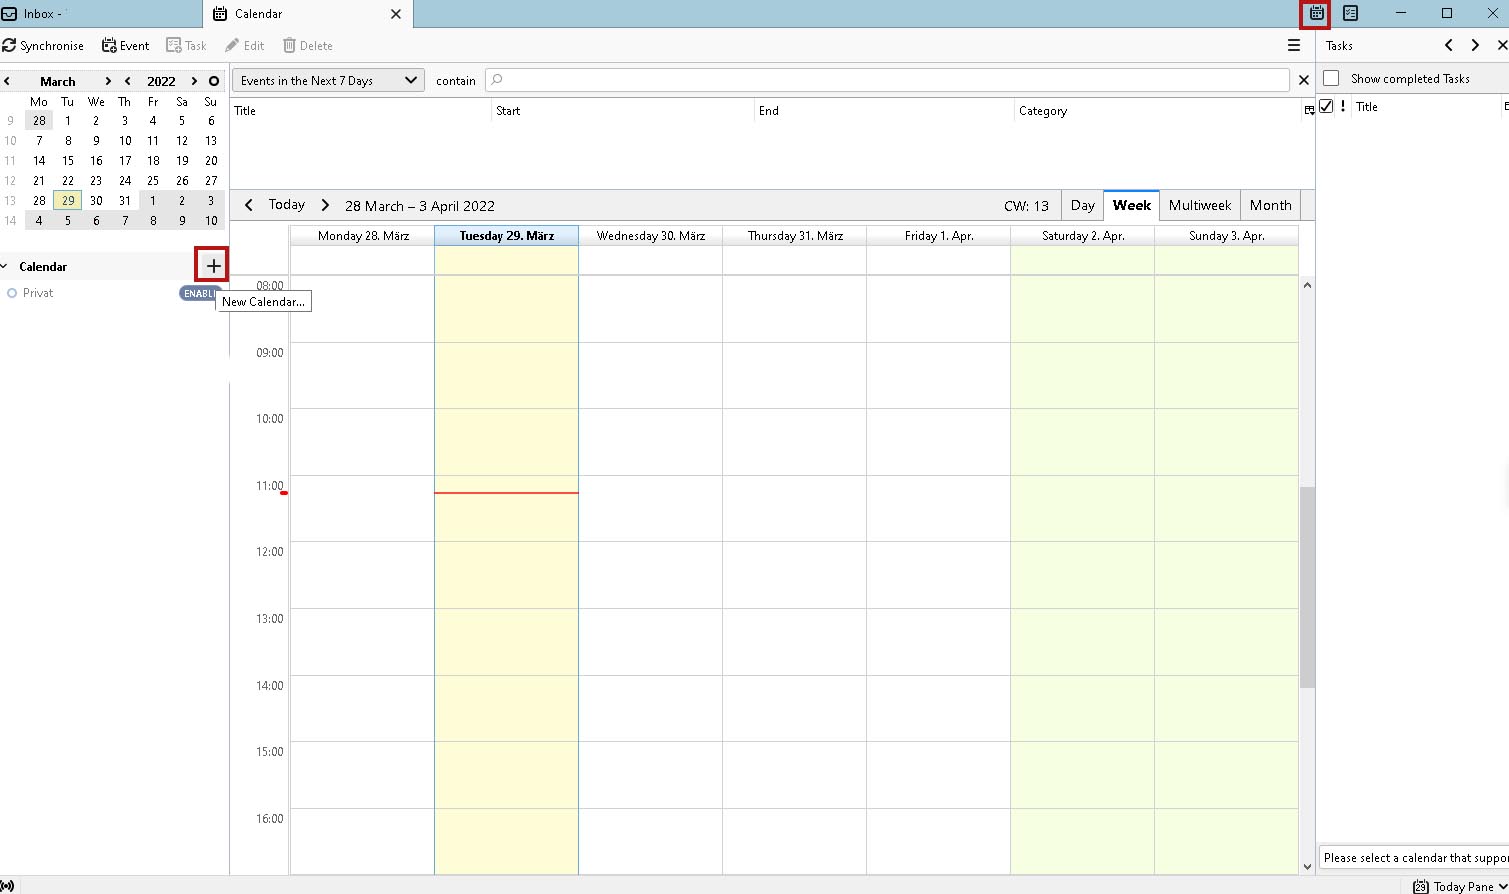
3. Open Thunderbird and switch to the calendar view via the calendar-tab over the calendar-symbol in the top-left-corner.
4.Click on the Add-Symbol to add a new calendar.
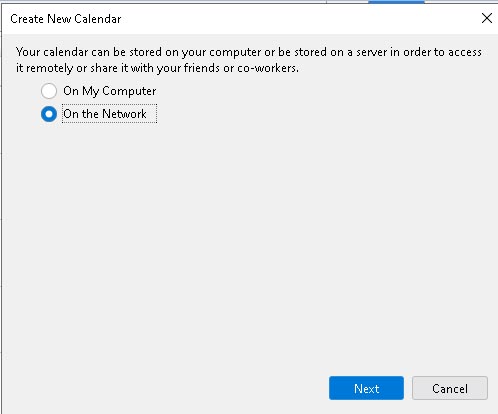
5. In the new window you check the option "On the network" and accept it with "Next".
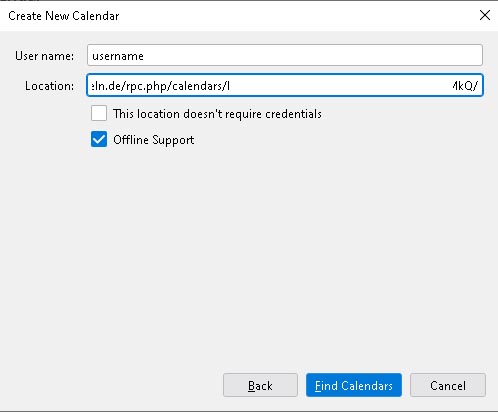
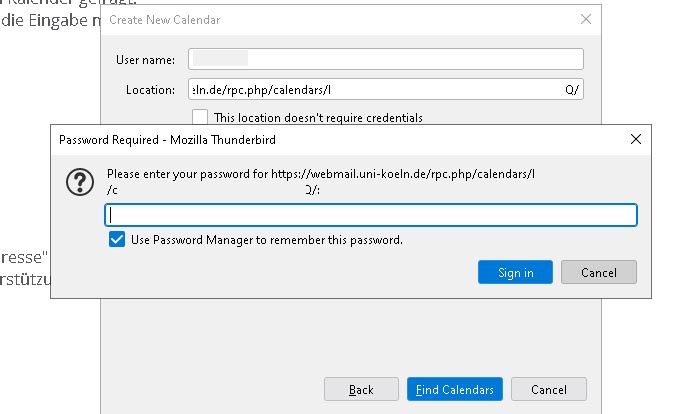
6. Enter your account name in the first field and paste the Cal-Dav-Link from step two in the second field. Then click on "Find calendars". Then you will be asked for the password. Enter it and click on "Sign in".
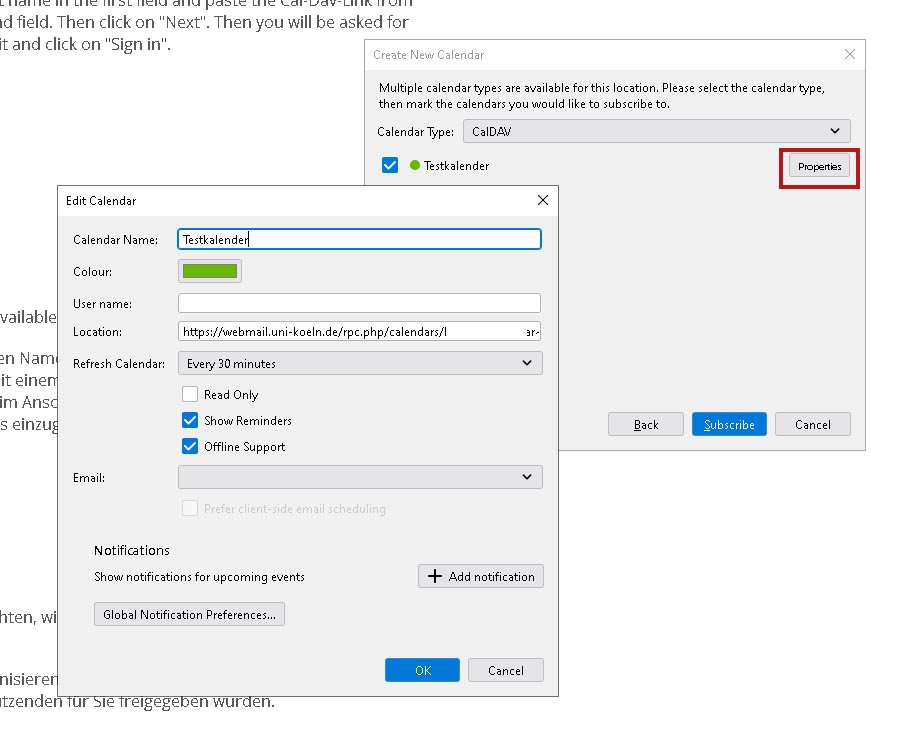
7. If Thdunerbird finds the calendar, you can open the "Preferences" to edit the name of the calendar, change the color or other options. By clicking on Subscribe you add your calendar to webmail.
Adding further calendars
To add more calendars to Thunderbird, just repeat the previous steps for further calendars.
You can both add own calendars with Thunderbird and also add calendars, which are shared by other webmail-users via "Shared calendars" in webmail.
Synchronizing task lists
The task lists in your webmail account can also be synchronized with Thunderbird. Use the function to add a new calendar in Thunderbird to synchronize task lists.
The synchronization of task lists is followed by the same steps you synchronize claendars. In webmail open calendar or tasks.
1. Click on the pencil-symbol to open the preferences for your chosen task list.
2. Open the "Subscription"-tab and copy the "CalDAV Subscription URL" from the task list.

Please pay attention, that you only copy the "CalDAV Subscription URL" and no other displayed adresses.
After copying the "CalDAV Subscription URL" you open Thunderbird and switch to the calendar-mode.
- Click on the Add-symbol to add a new calendar, although you want to add a task list.
- In the new window choose "On the network" and click on "Next".
- Enter your account name in the first field and paste the "CalDAV Subscription URL" in the second field. Then click on "Find calendars". Then you will be asked for the password. Enter it and click on "Sign in".
- If Thunderbird finds the calendar, you can open the "Preferences" to edit the name of the calendar, the chosen color has no relevance. By clicking on Subscribe you add your task list to webmail.
It can take a while until the task list is synchronized. You have access to your task list over the task-tab (in the top-right corner) or over your calendar-view via task, which can be de- or activated with F11 (you can switch via the arrows from task and events or only tasks or only events).
Please note, that Thunderbird in contrast to Webmail makes no entry on the day in the calendar, when the task has to be finished. To get an overview over the deadlines of your tasks in Thunderbird, sort your tasks by due ( if you don't have the column, just add it, with a click on the symbol in the top-right corner of the table.
Note to recurring events
If you have already synchronized your webmail calendar with Thunderbird and activated the function recurring events, it is possible that you get informed every time, even when the event isn't taking place now.
Workaround: Deactivating reminders
If you are struggling with this kind of problem, you can deactivate all reminders for events for a specific calendar.
Advice: It is also helpfull to deactivate these reminders, when you subscribe a calendar from another person, which events are not relevant for you, but only for the owner of the calendar.
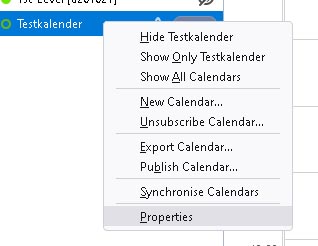
1. Right-click on the concerning calendar and choose "Properties".
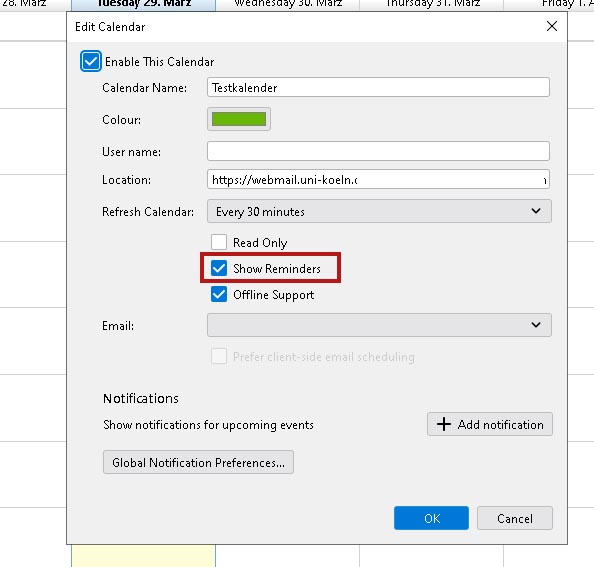
2. Deactivate the reminder function in the new window.
3. Accept the changes by clicking on "OK".
Contact
If you have any questions or problems, please contact the RRZK-Helpdesk