Zoom Whiteboard
Basics of using Zoom Whiteboard
Zoom Whiteboard is a tool available to all teachers, students and university staff at the University of Cologne that is particularly suitable for interactive and collaborative formats. The online tool Zoom Whiteboard enables collaboration on a digital whiteboard. Zoom Whiteboard can be used for workshops, (digital) teaching/learning events, project planning or brainstorming sessions, for example.
The login works via the Zoom portal of the University of Cologne. A separate registration in addition to the Zoom account is not necessary to use the Zoom Whiteboard.
Zoom Whiteboard can be used both within a Zoom call and outside of a Zoom call.
Login and use of Zoom Whiteboard outside of a Zoom call
You can use Zoom Whiteboards outside of a Zoom call in two different ways:
Create and edit Zoom whiteboards via browser

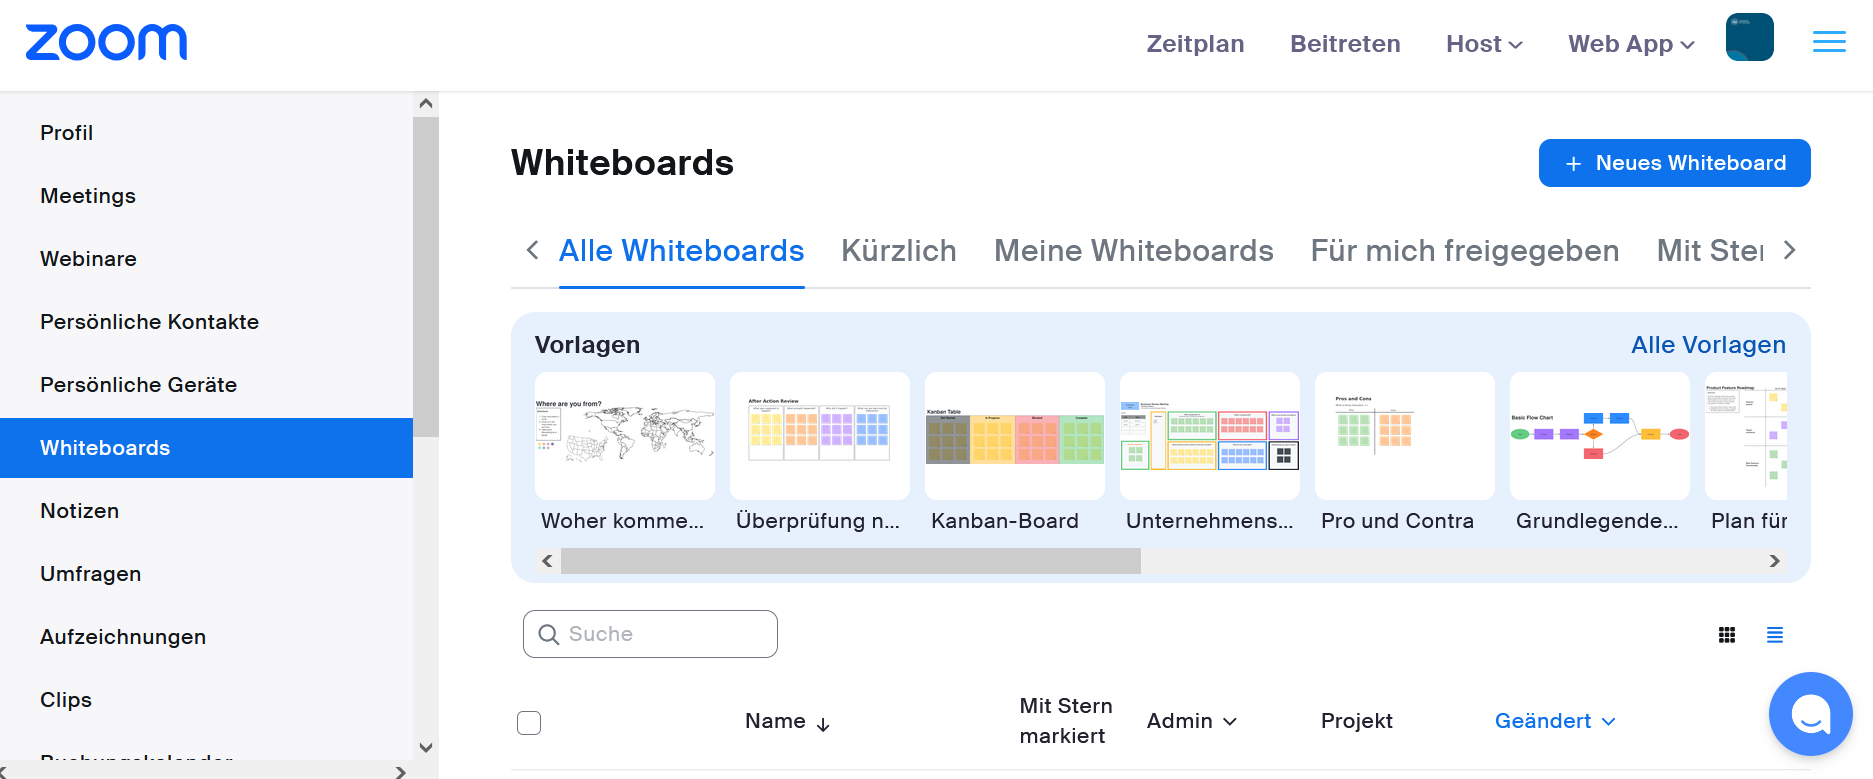
- Registration takes place via the Zoom portal of the University of Cologne. You can log in as usual via Shibboleth with your uniKIM. You can then select "Whiteboards" in the ribbon on the left.
- You will land on the dashboard and Zoom Whiteboard is immediately ready for use. Assignment to workspaces, as you may be familiar with from MURAL, is not necessary.
For instructions on how to use Zoom Whiteboard, please take a look at the Zoom Whiteboard quick guide.
"Playbook" für Zoom Whiteboard in der digitalen Lehre
Die Fernuniversität Hagen hat zu Zoom Whiteboard ein “Playbook” erstellt, welches die Nutzung von Online-Whiteboards als kollaboratives Werkzeug in der digitalen Lehre anschaulich erläutert. Sie finden es unter:
Create and edit whiteboards in the Zoom app
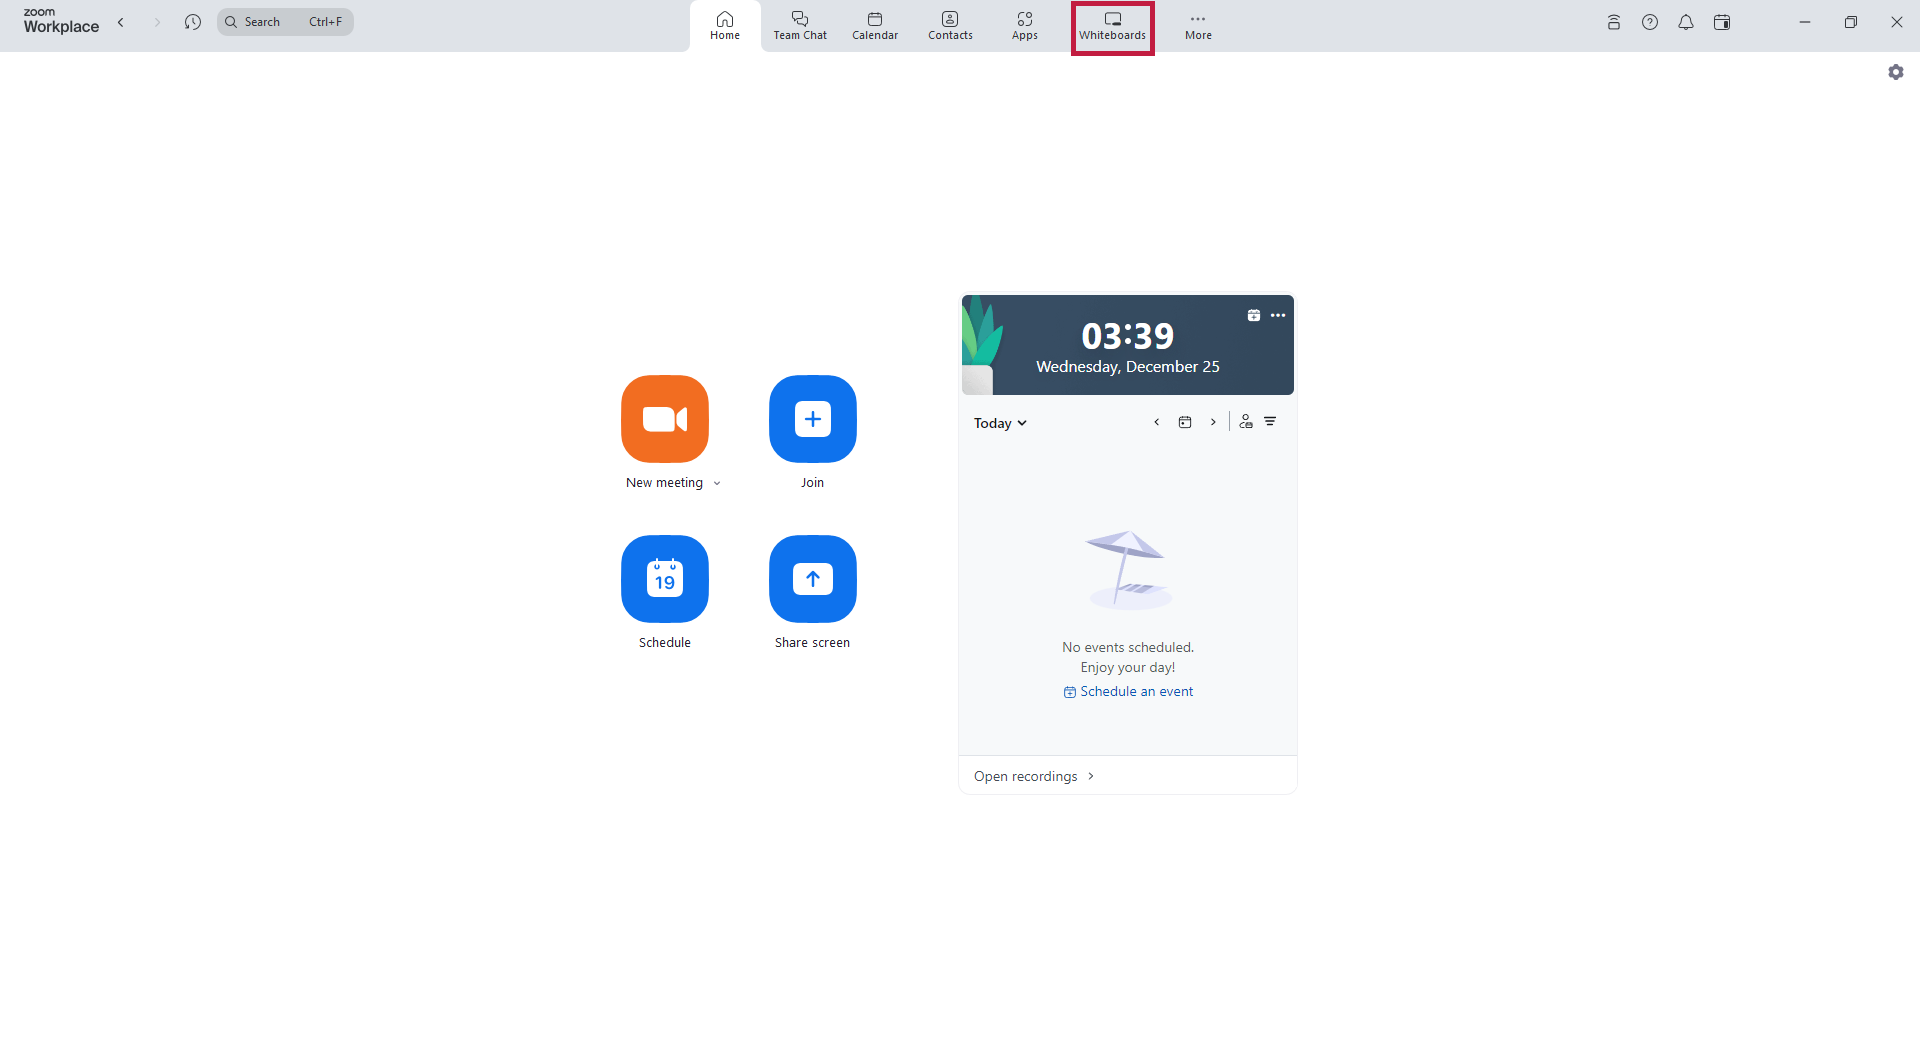
- Click on "Whiteboards" in the menu bar at the top of the app and you will immediately be taken to the whiteboard interface.
For instructions on how to use the app, please refer to the Zoom Whiteboard quick guide.
Using Zoom Whiteboard during a Zoom call
Zoom Whiteboard allows you to,
- open an existing whiteboard in your Zoom call.
- start a new whiteboard directly during your Zoom call and share it with the participants in the Zoom call.
Open an existing whiteboard in a Zoom call
To open an existing whiteboard (as host) and share it with everyone, proceed as follows:
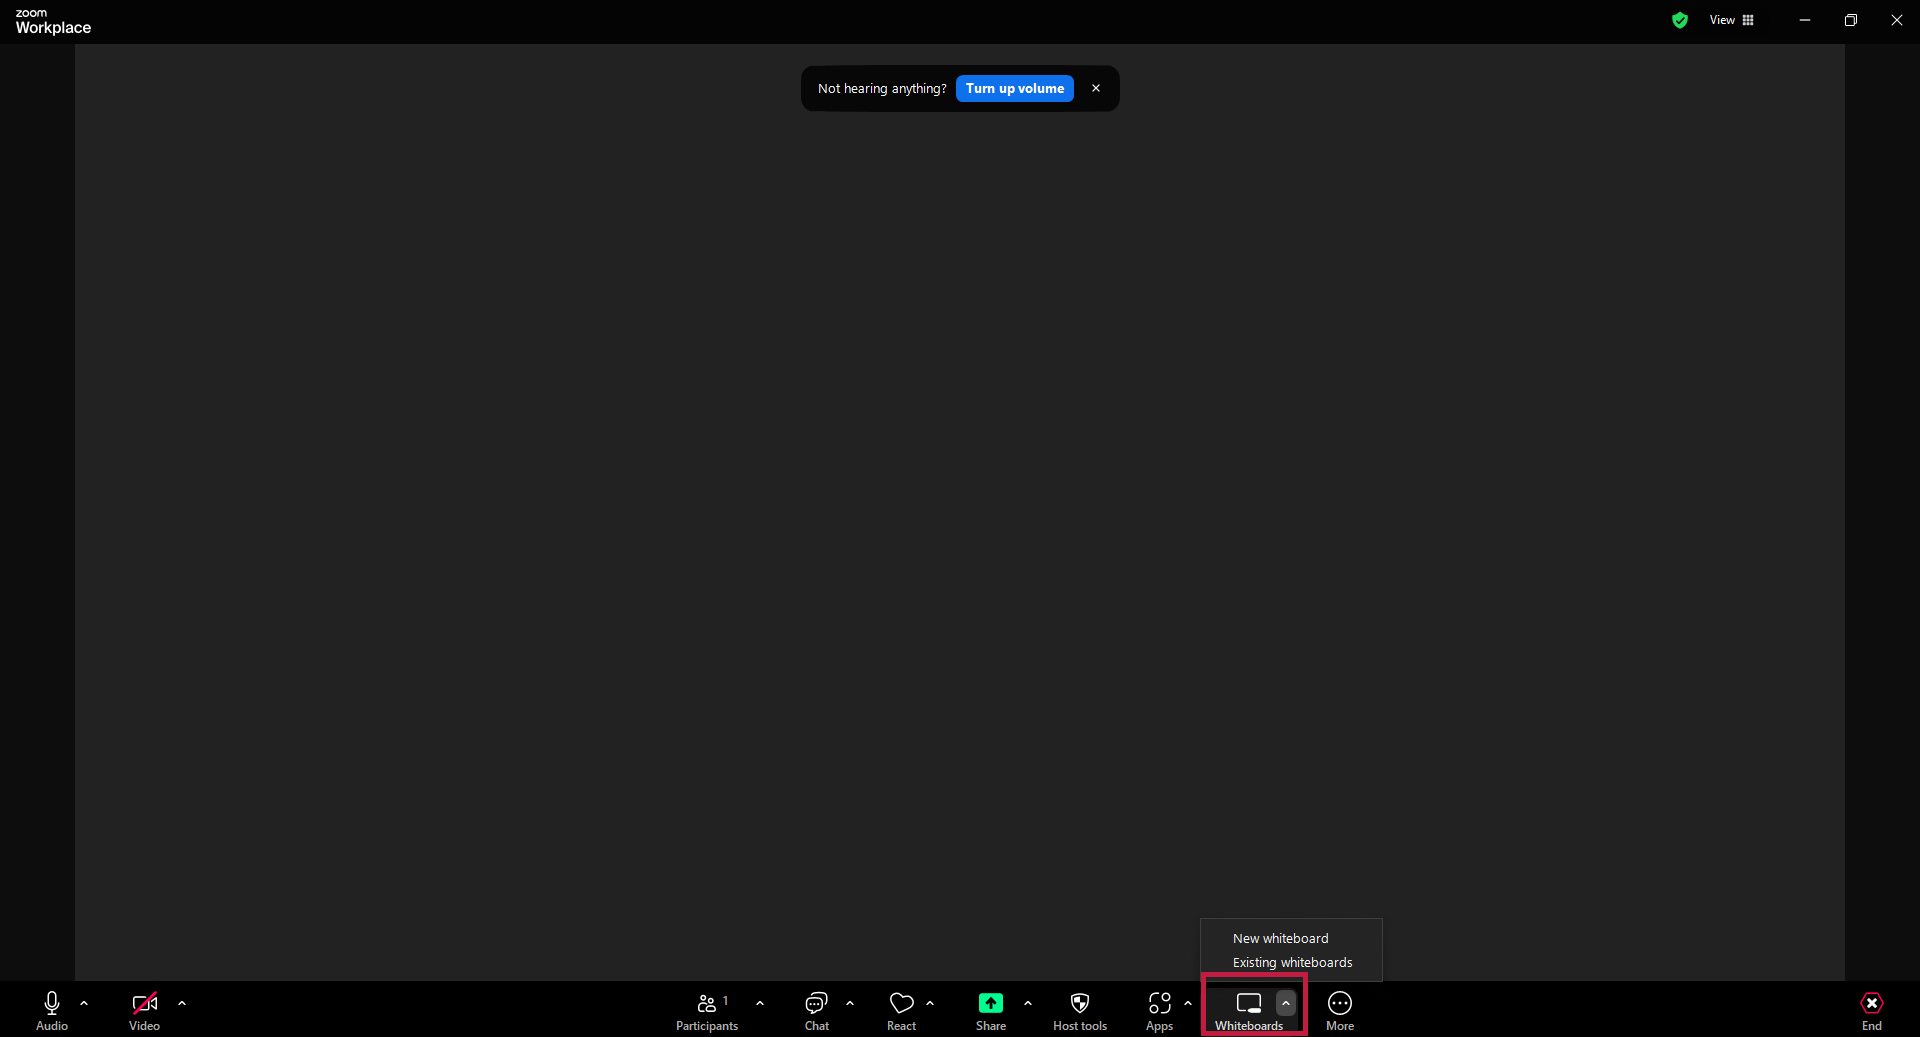
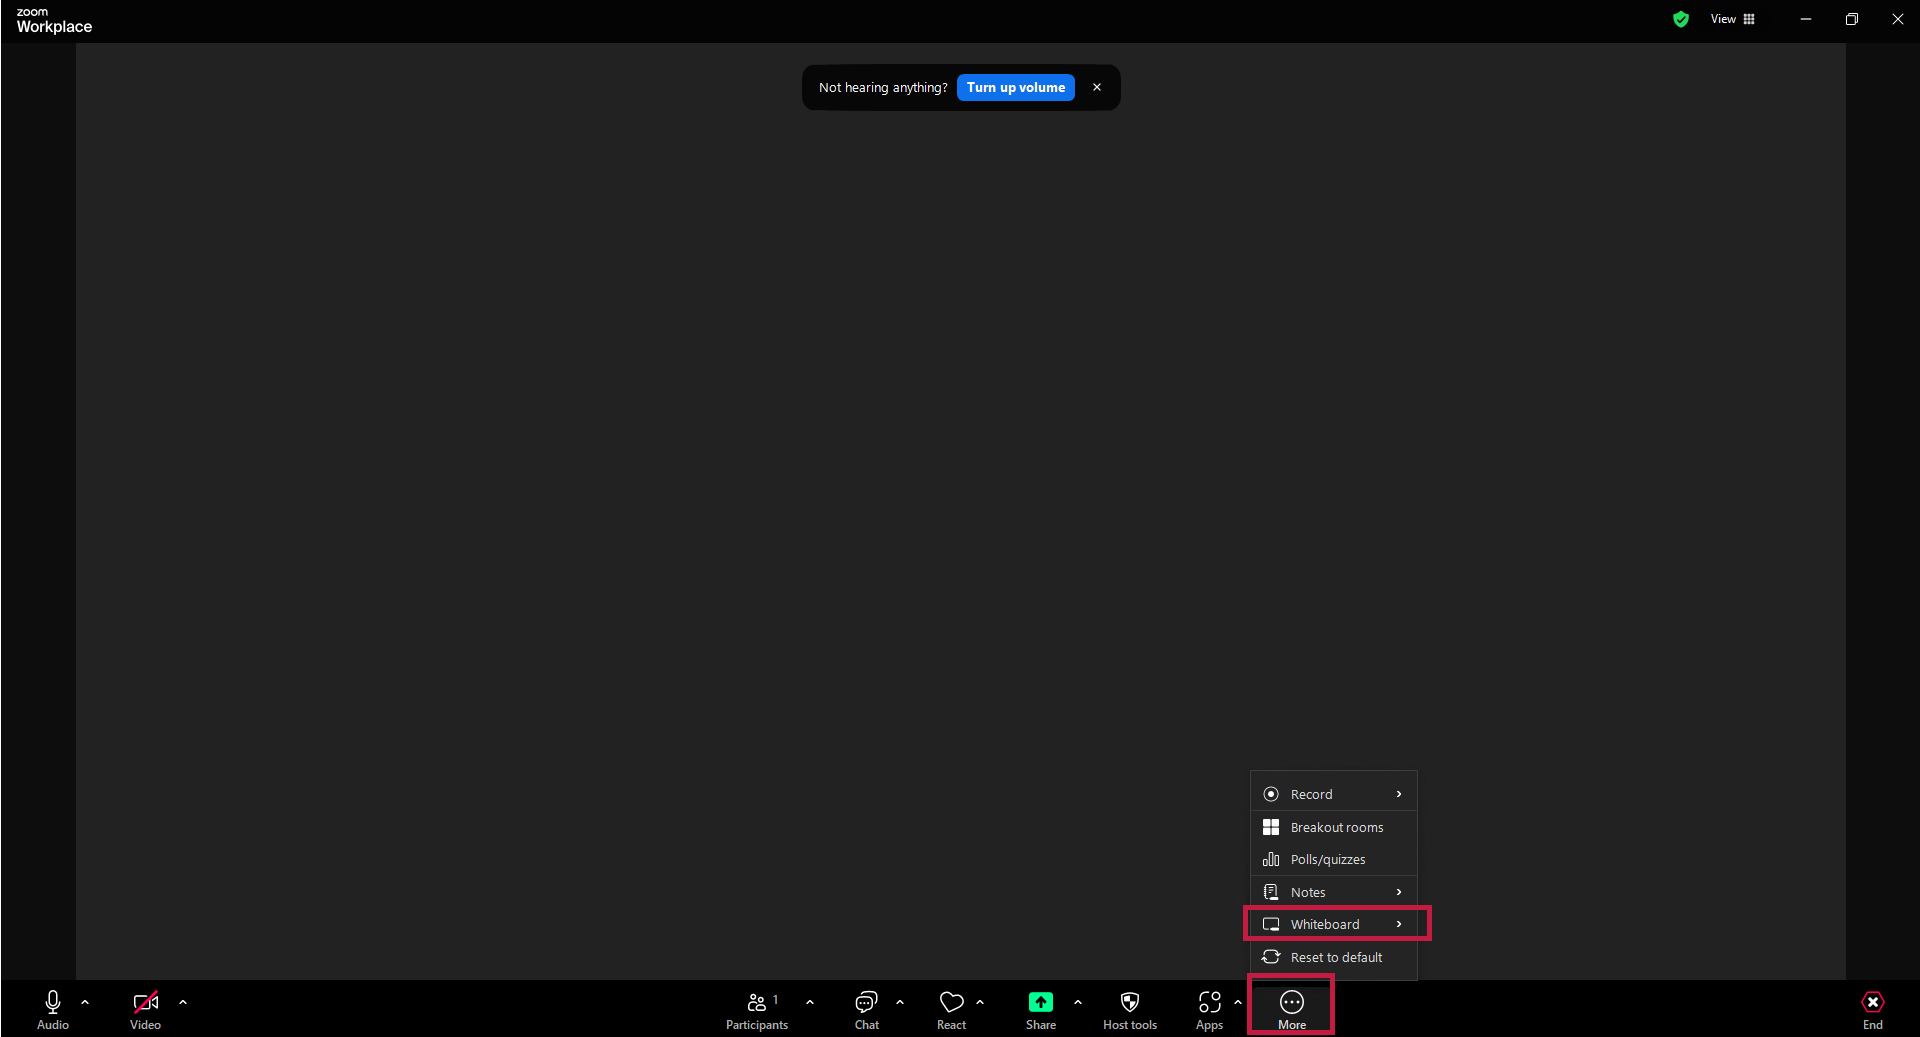
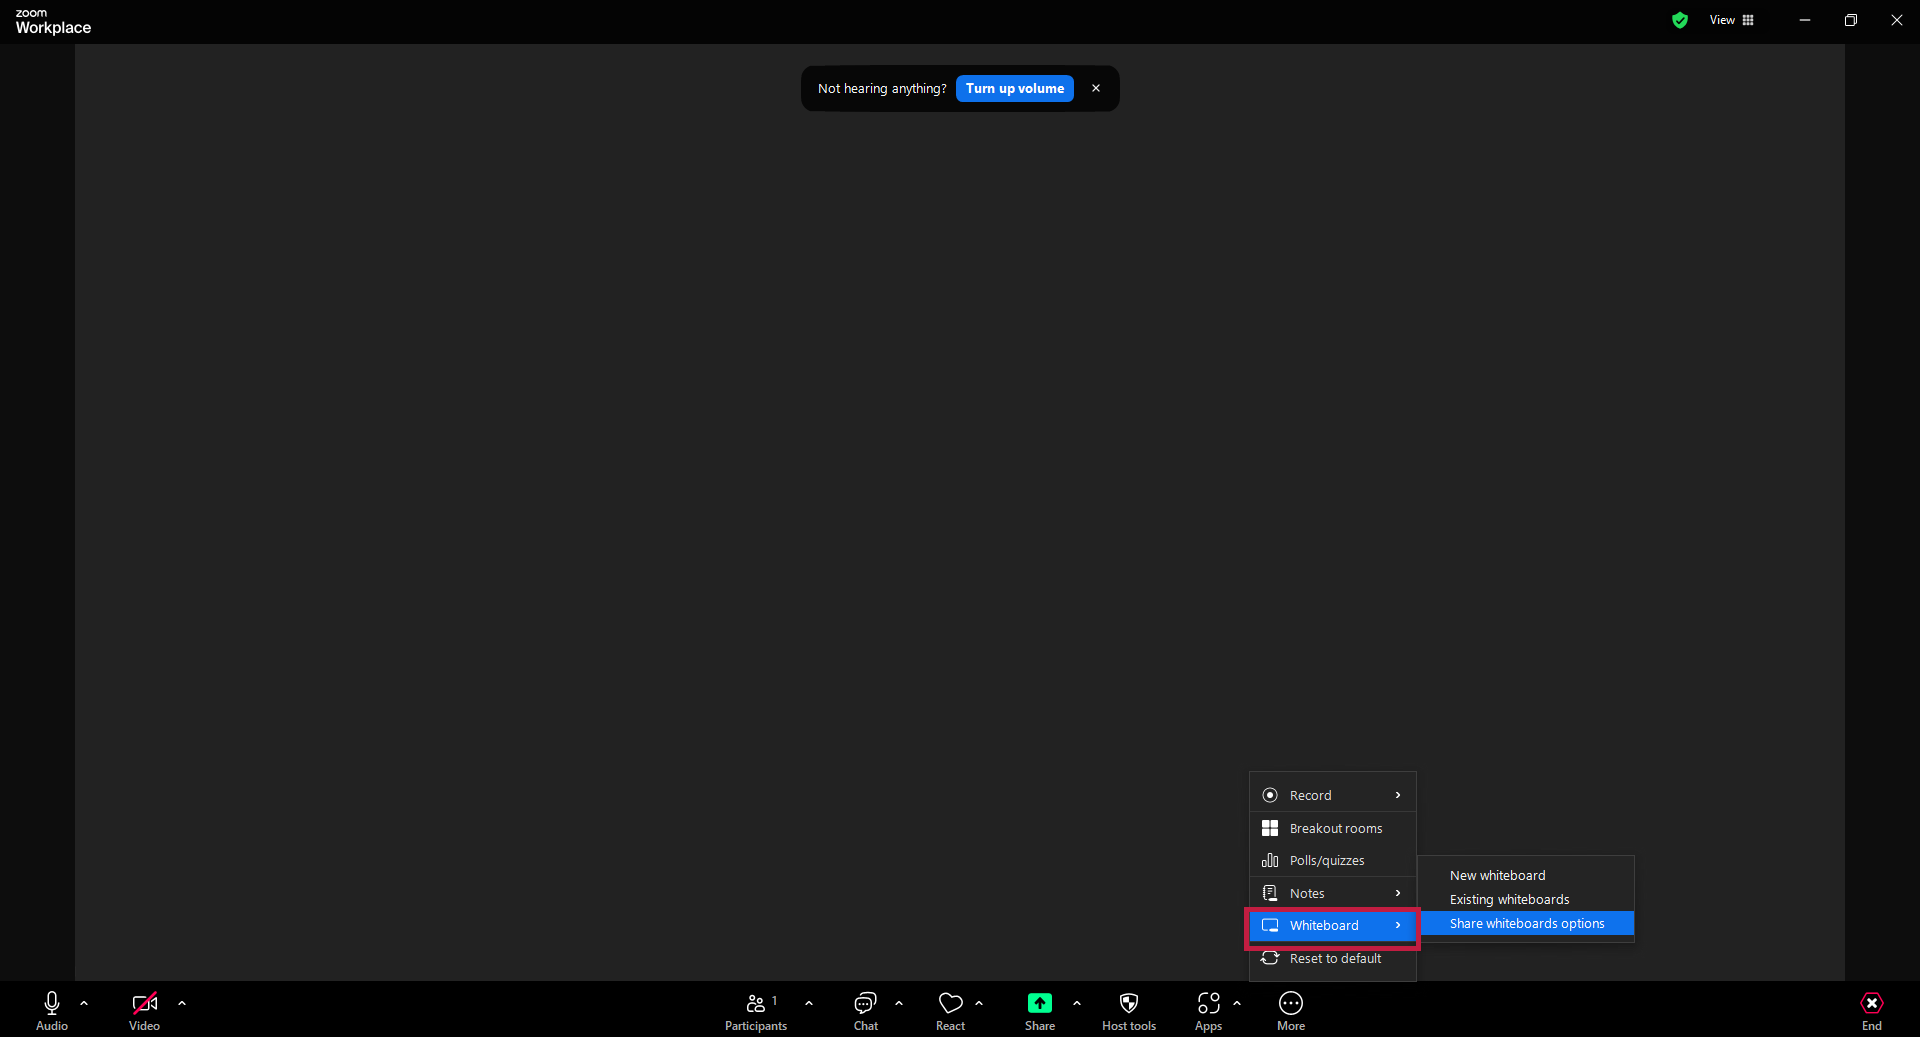
- In the open Zoom call, click on the "Whiteboards" icon [Fig. 1]. If this is not available, click on the three dots ("More") [Fig. 2] and then on the "Whiteboard" tab [Fig. 3].
- To select an existing whiteboard, click on "Existing whiteboards". You can now select a whiteboard that has already been created.
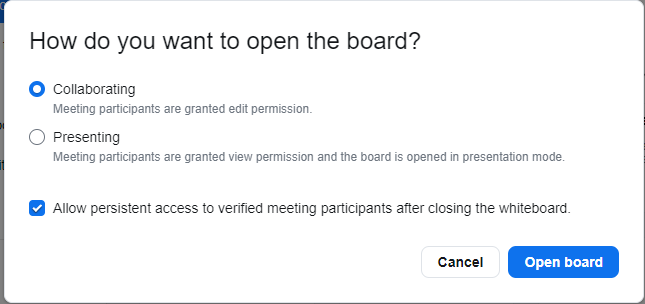
- You can now select the mode in which the whiteboard should be opened. Select "Collaborate" to give other Zoom meeting participants the opportunity to edit the whiteboard. If you only want the participants to watch, select "Present". [Image 4]. You can also decide whether the meeting participants should be granted permanent access after closing the whiteboard (in the zoom call).
- Click on "Open board" to open the whiteboard.
To prevent meeting participants from adding any number of other participants to the whiteboard, you should restrict the sharing setting on the new whiteboard as soon as it is created.
Edit release settings
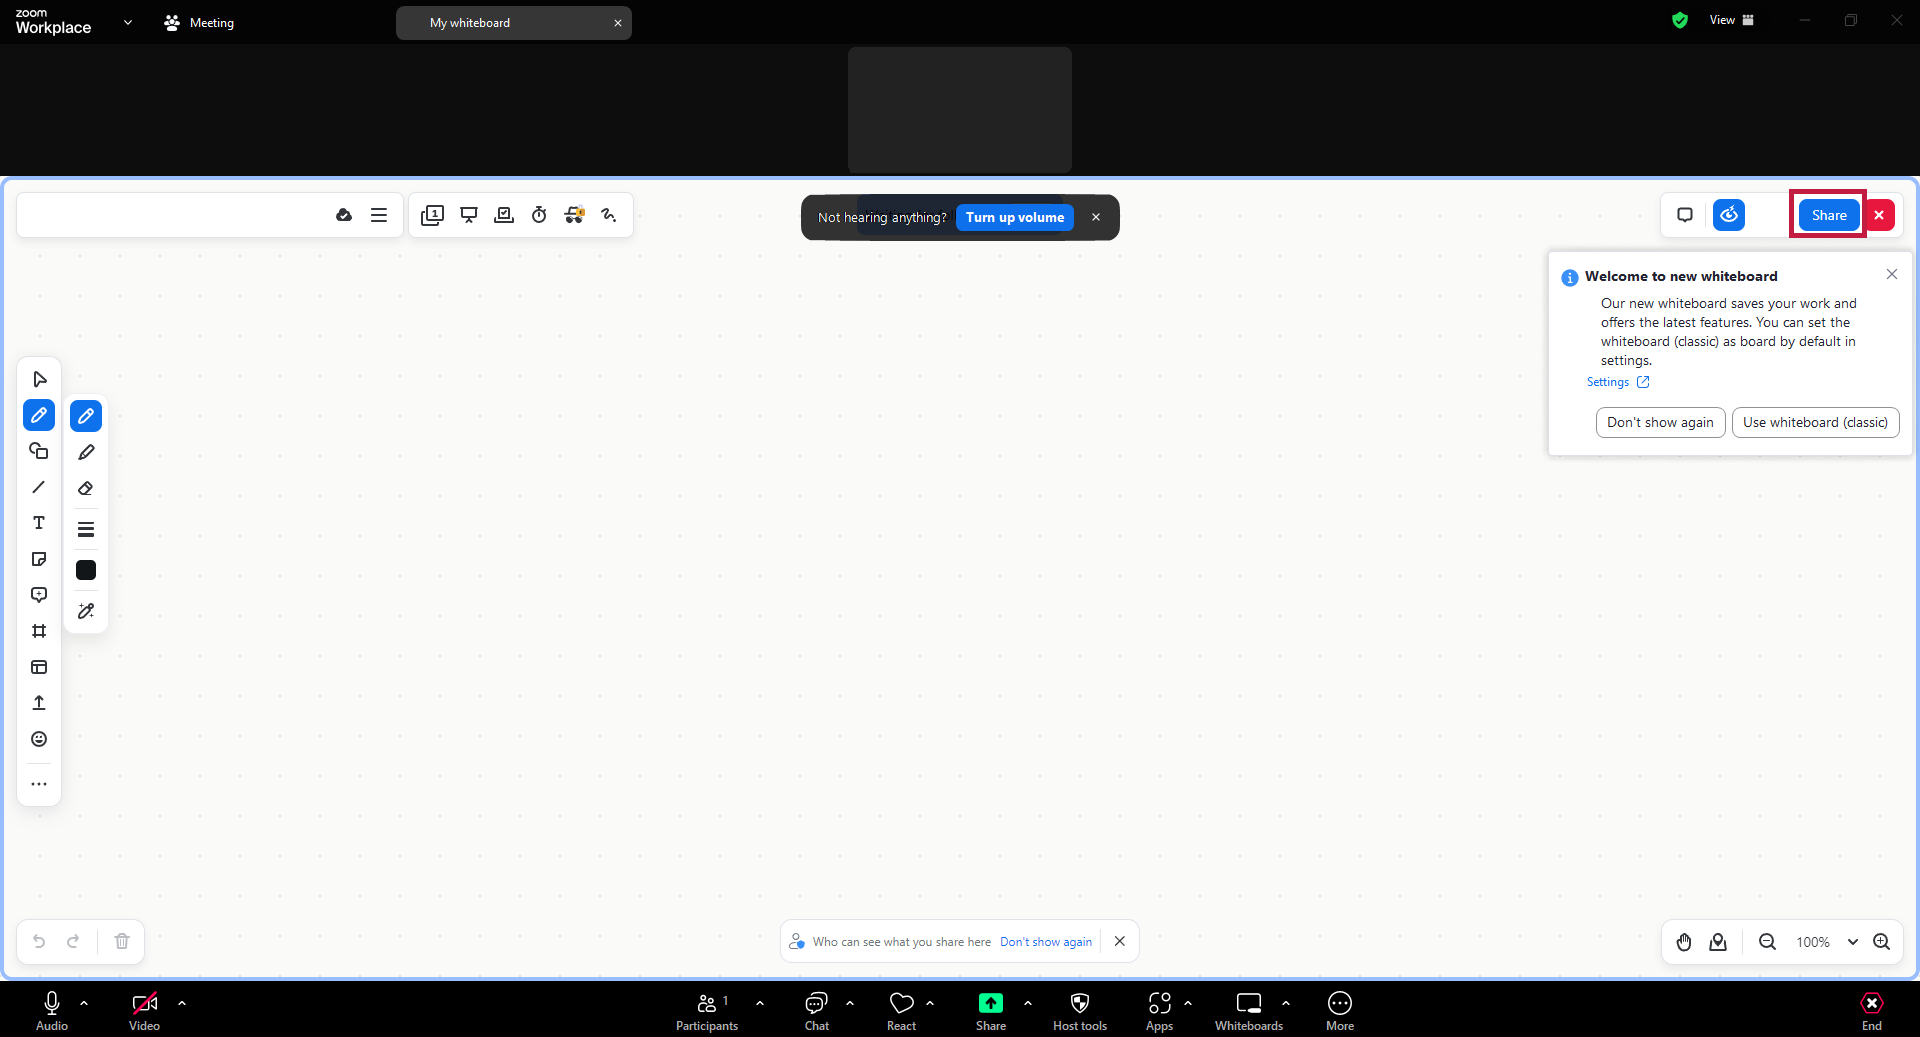
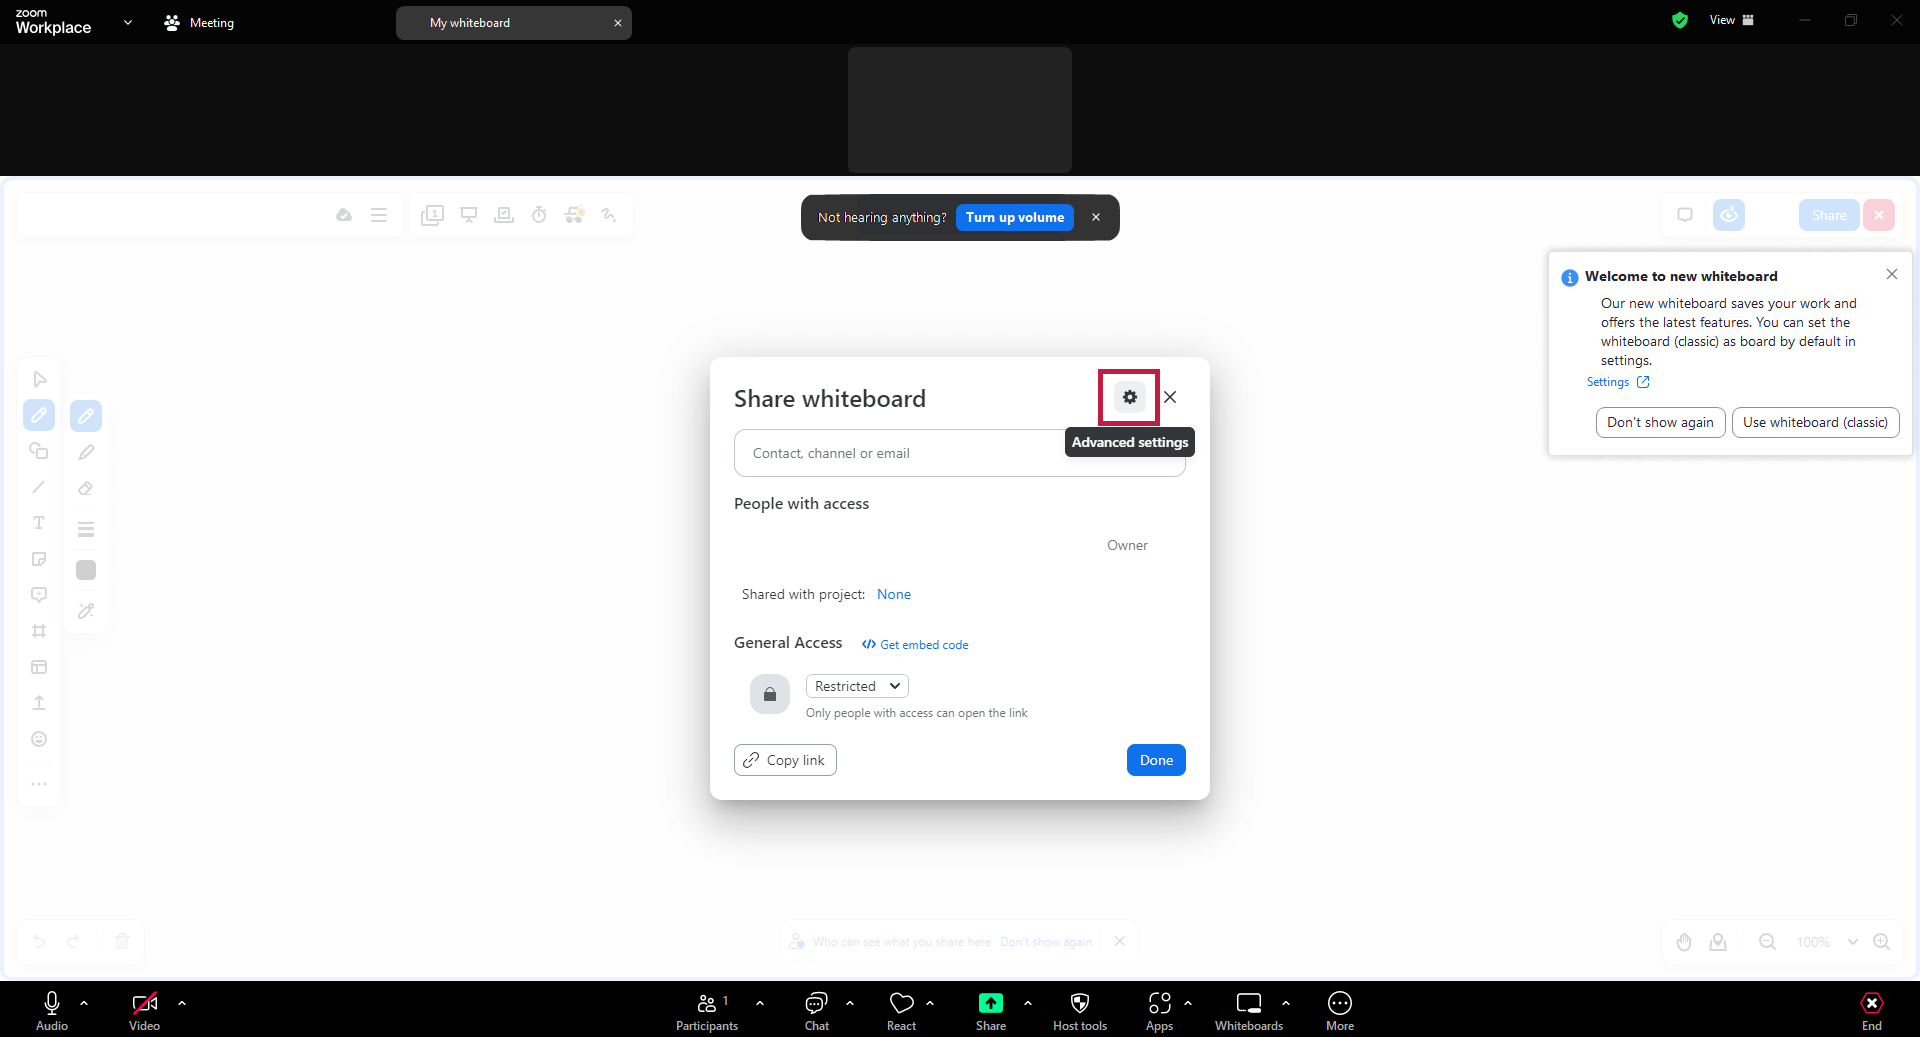
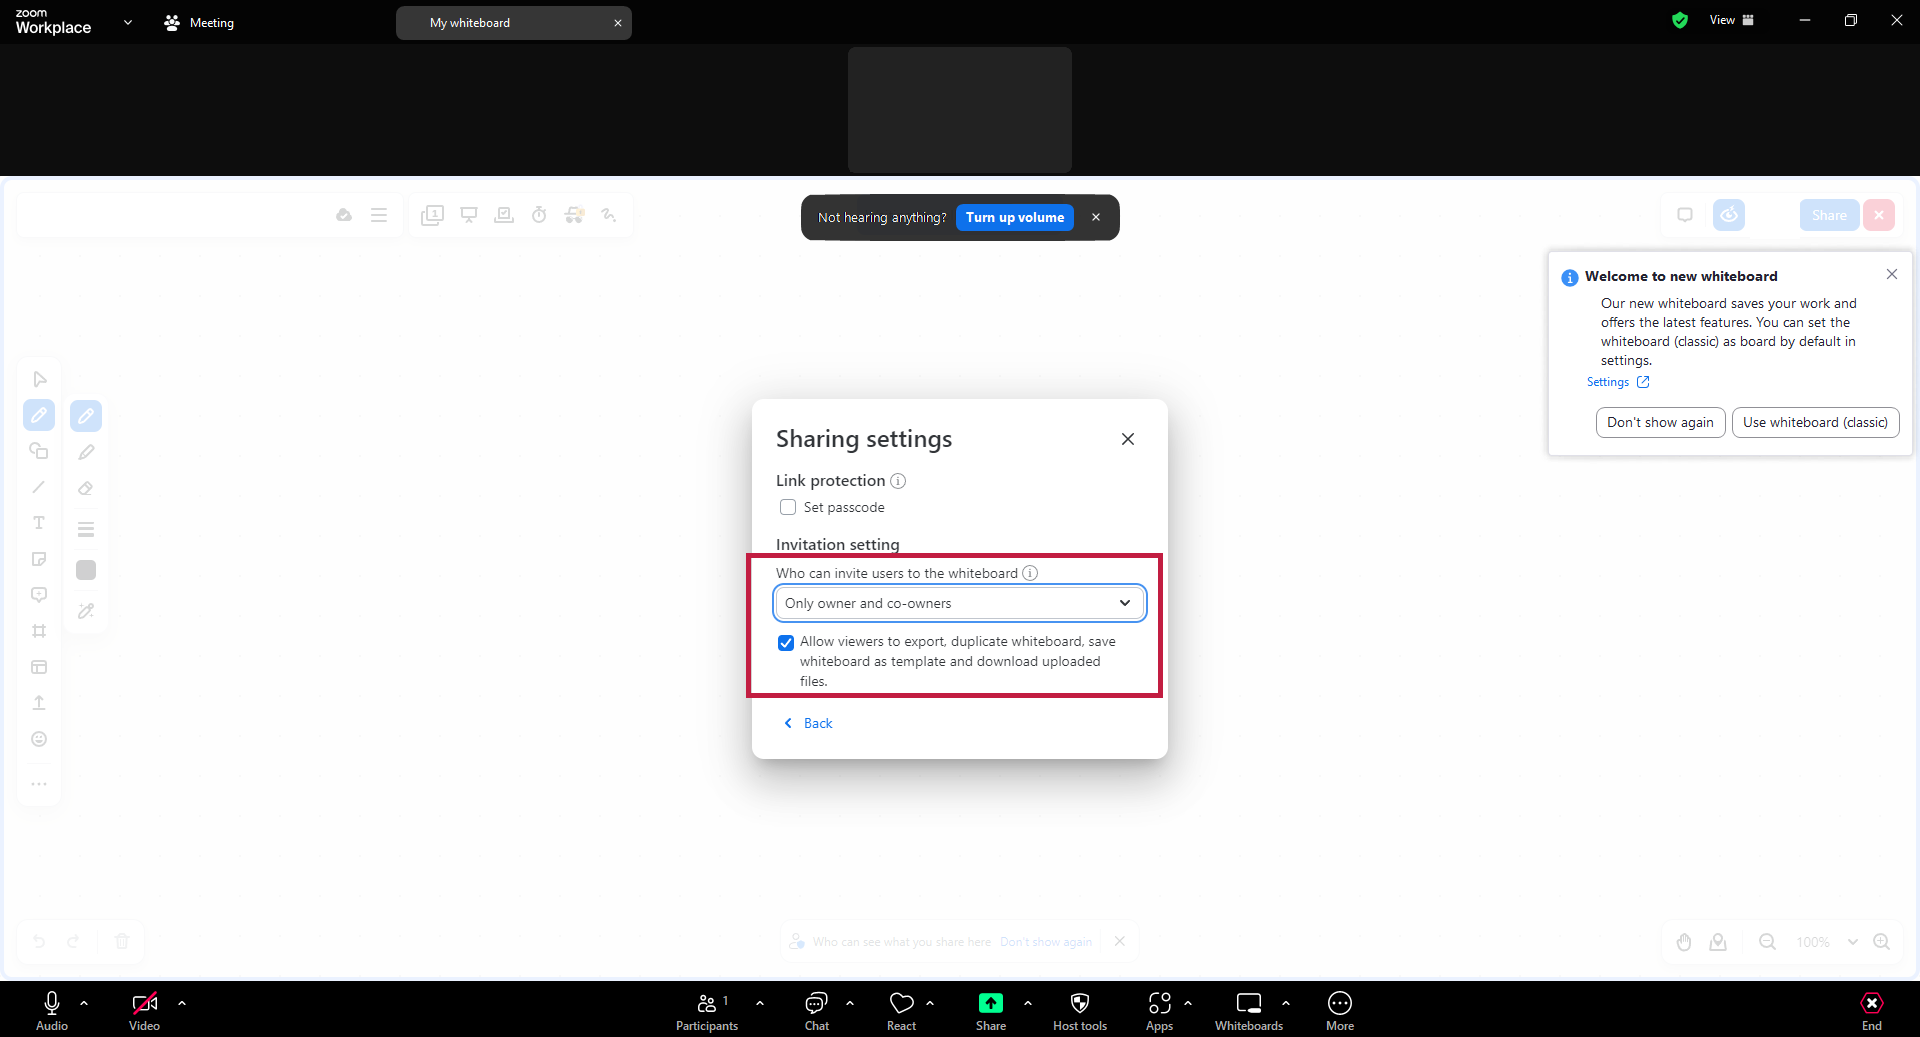
- To prevent meeting participants from adding as many other participants to the whiteboard as they like, you should restrict the sharing settings on the whiteboard beforehand . To do this, click on "Share" in the top right-hand corner [Fig. 1] and then on the "Advanced settings" cogwheel in the window that opens [Fig. 2].
- Now regulate the authorization to give other people access by selecting "Owner and co-owner only" [Fig. 3].
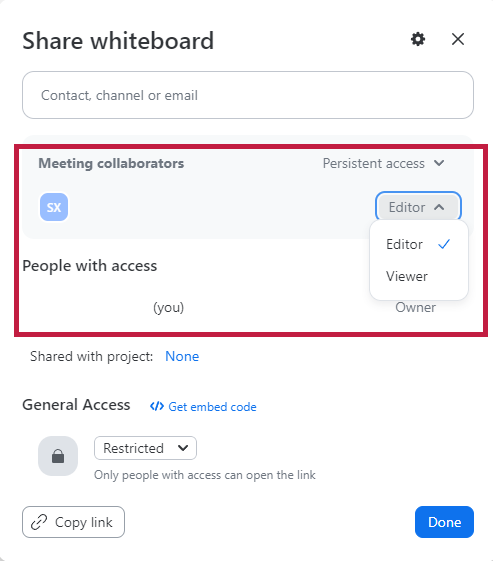
- Under the sharing settings, you can also set which sharing mode the individual users should have [Fig. 4]. For example, should they only be able to view the whiteboard ("Watch") or work on the whiteboard themselves ("Editor"). You can also decide whether the meeting participants should be granted permanent access after closing the whiteboard (in the zoom call).
You and, if approved, the meeting participants can now view the content from the board and continue working on it.
If you close the whiteboard with the red X at the top right, any changes you have made will remain saved on the whiteboard. You can then access them again via your dashboard.
Create a new whiteboard in a Zoom call
To order a new whiteboard directly during your Zoom call, click on "New whiteboard" after clicking on the whiteboard icon [Image 1]. All meeting participants can now help design the whiteboard.
Here, too, you should make sure that the authorization to share the whiteboard with others is not restricted. To do this, follow the same procedure as described above. Do this before you create content on the whiteboard. To prevent meeting participants from adding any number of other participants to the whiteboard, you should immediately after creating it restrict the sharing setting on the new whiteboard.
- To do this, click on "Share" in the top right-hand corner [Fig. 2].
- In the window that opens, click on the "Advanced settings" cogwheel [Fig. 3].
- Now regulate the authorization to give other people access by selecting "Only owner and co-owners" [Fig. 4].
When releasing a new whiteboard all Zoom Call participants automatically have editing access. When you close the whiteboard, it is saved in your dashboard with the title of the Zoom call and remains available for all meeting participants (on their own dashboards), at least as long as they do not change the sharing authorization again in the whiteboard at the top right via "Share".
You and the meeting participants can now view the content from the board and continue working on it.
If you close the whiteboard with the red X at the top right, any changes you have made will remain saved on the whiteboard. You can then access it again via your dashboard (see Login and using the Zoom whiteboard outside of a Zoom call).
Further information & links
Short instructions on pdf
Zoom Portal of the UzK
Contact
If you have any questions or problems, please contact the ITCC-Helpdesk