Setting up the Cisco Secure Client on devices with ARM processors
Devices with an ARM processor cannot run the Cisco client setup provided (this applies in particular to mobile devices such as tablets, smartphones or the Microsoft Surface with a Windows operating system). In this case, Cisco must be installed via the Microsoft Store. You can find detailed instructions here.


- Open the Microsoft Store app on your Surface (symbol: shopping bag with Windows logo).
- Search for: "Cisco Any Connect" in the Microsoft Store app.
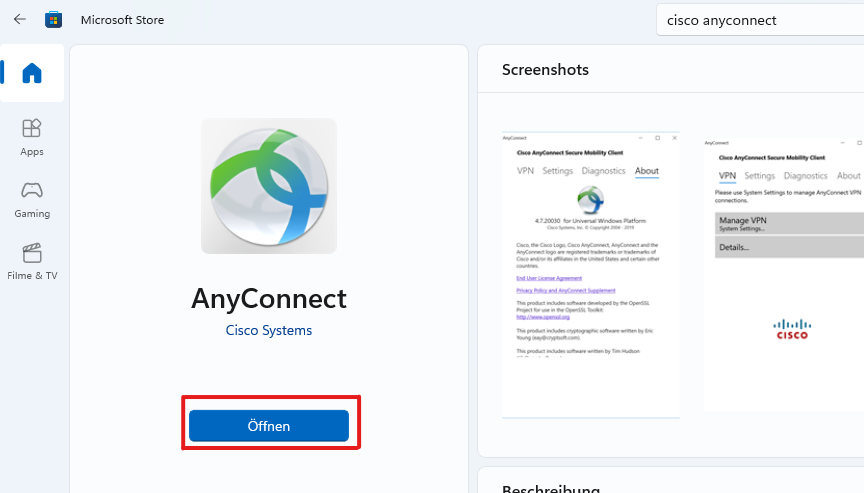
- Select the app: "AnyConnect" from Cisco Systems. And download it.
- Once the installation is complete, open the app: "Cisco Secure Client".
- Select the "VPN" tab in the app and click on "Manage VPN".
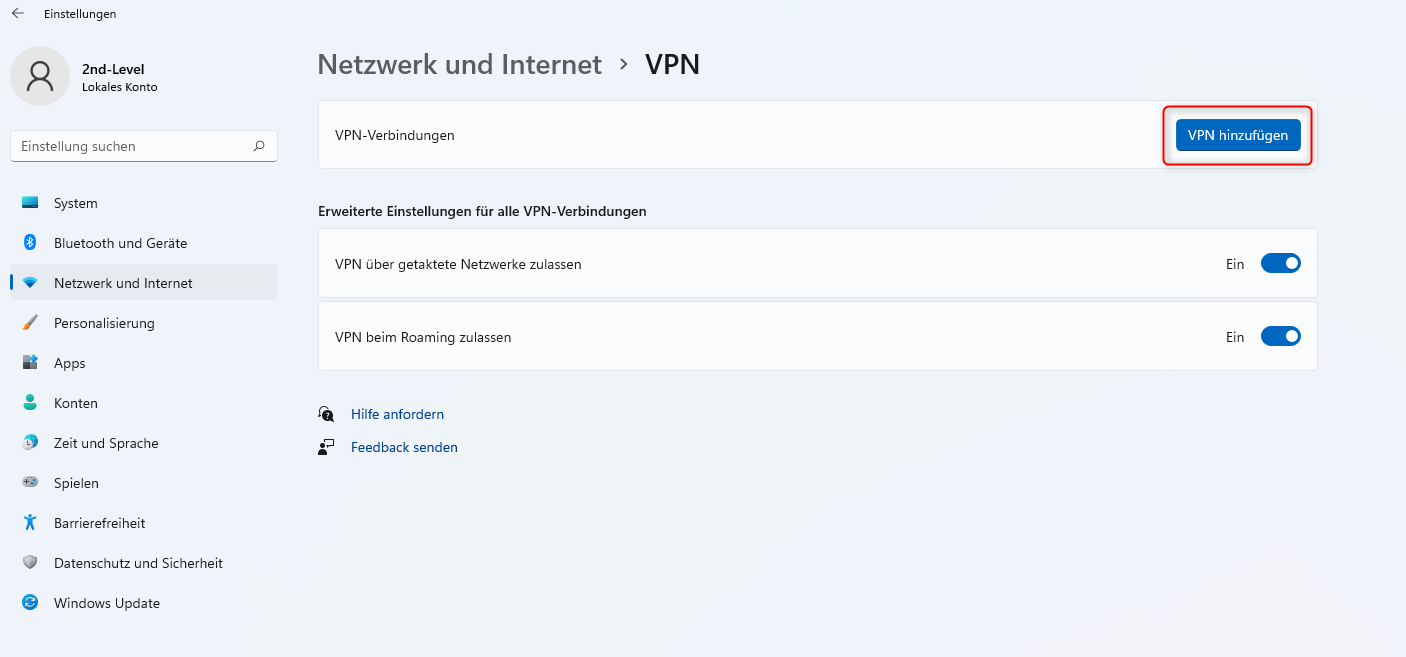
- The window for VPN management of the Windows settings opens.
- Click on: "Add VPN".
- Under: "VPN provider", select the option: "AnyConnect".
- You can freely choose the connection name. We recommend a unique name such as: "CiscoVPN uni-koeln.de".
- For "Server name or IP address", please enter: "vpngate.uni-koeln.de".
- To complete the process, click on: "Save"
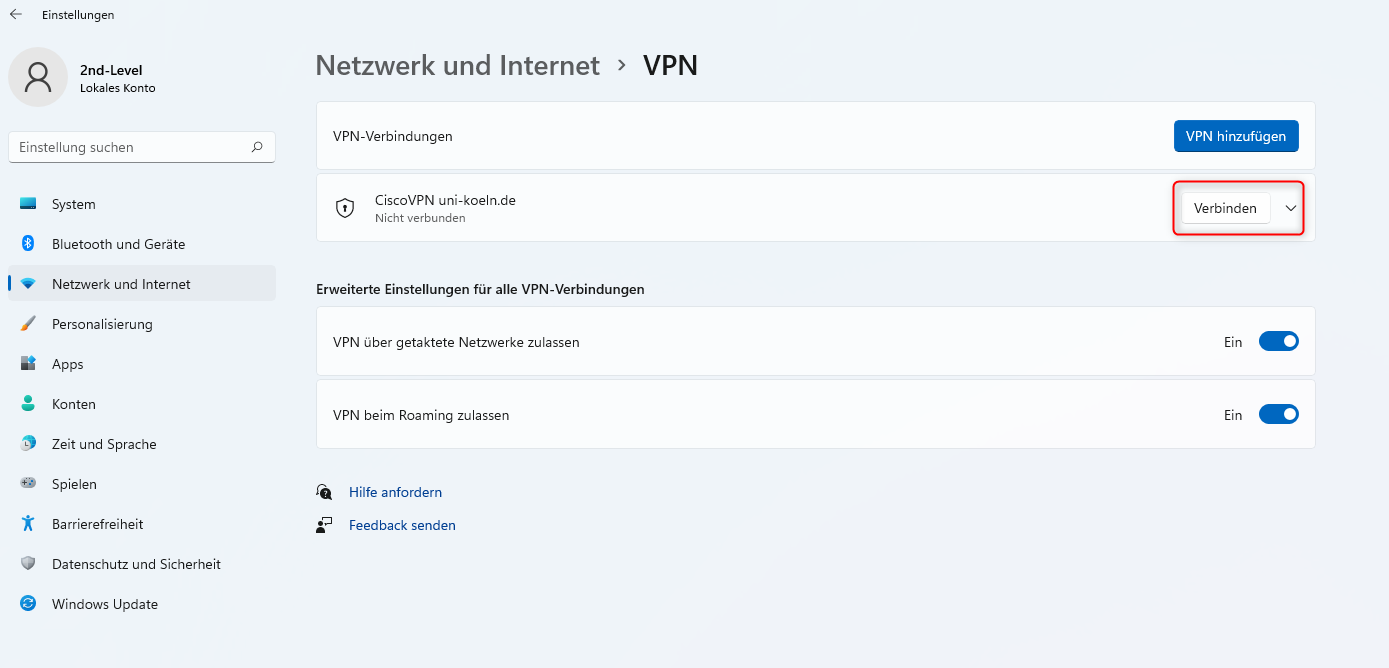
- You will return to the Windows VPN settings page.
- Click on "Connect"
- Select the appropriate tunnel configuration (we recommend 1-Full-Tunnel), further information can be found on our website: https://rrzk.uni-koeln.de/internetzugang-web/netzzugang/vpn/tunneltypen
- Click on "Next".
- Enter your usual University of Cologne log-in data.
- Click on "Next" and wait a moment (approx. 20 seconds) until the connection has been established.
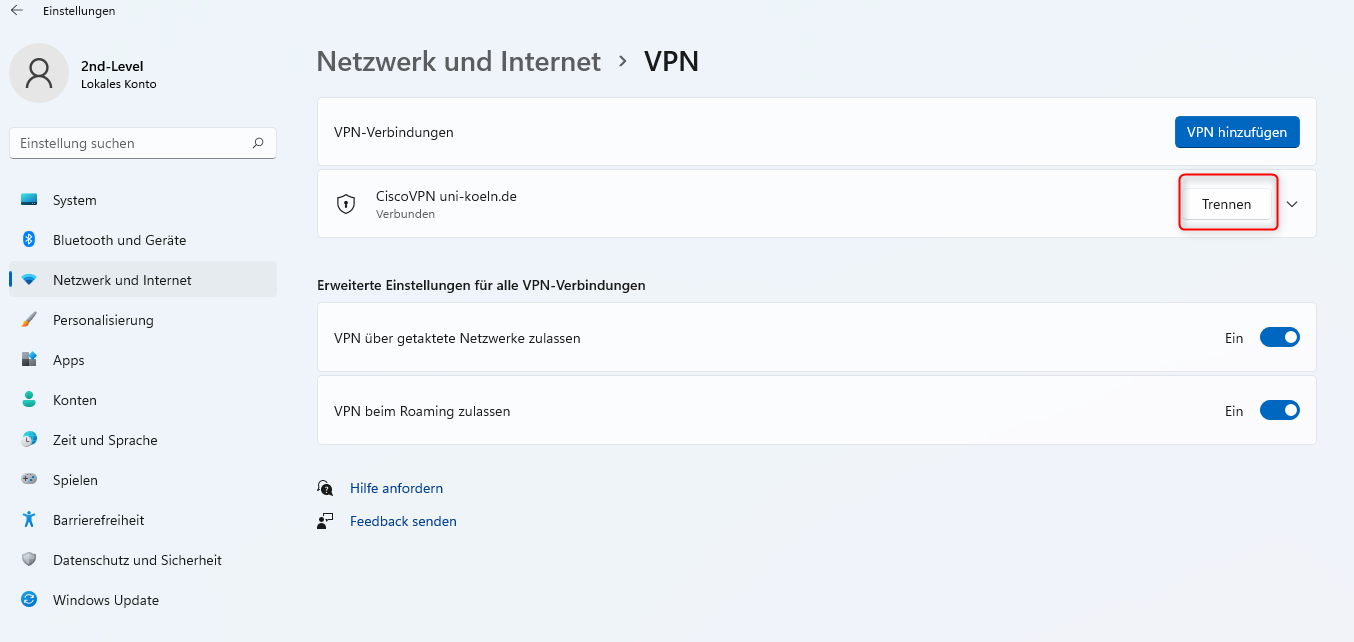
- The input window will then close and you will be back on the Windows VPN settings page.
- You can now close the window. If you want to disconnect, click on "Disconnect".
- If you do not want your account on the Surface to continue to be available for dialing into the VPN of the University of Cologne, click on the small arrow next to the "Connect" button after disconnecting and then on "Remove".
Contact
If you have any questions or problems, please contact the RRZK-Helpdesk