Installation and setup of the Cisco Secure Client for Linux
Installation of the Cisco client
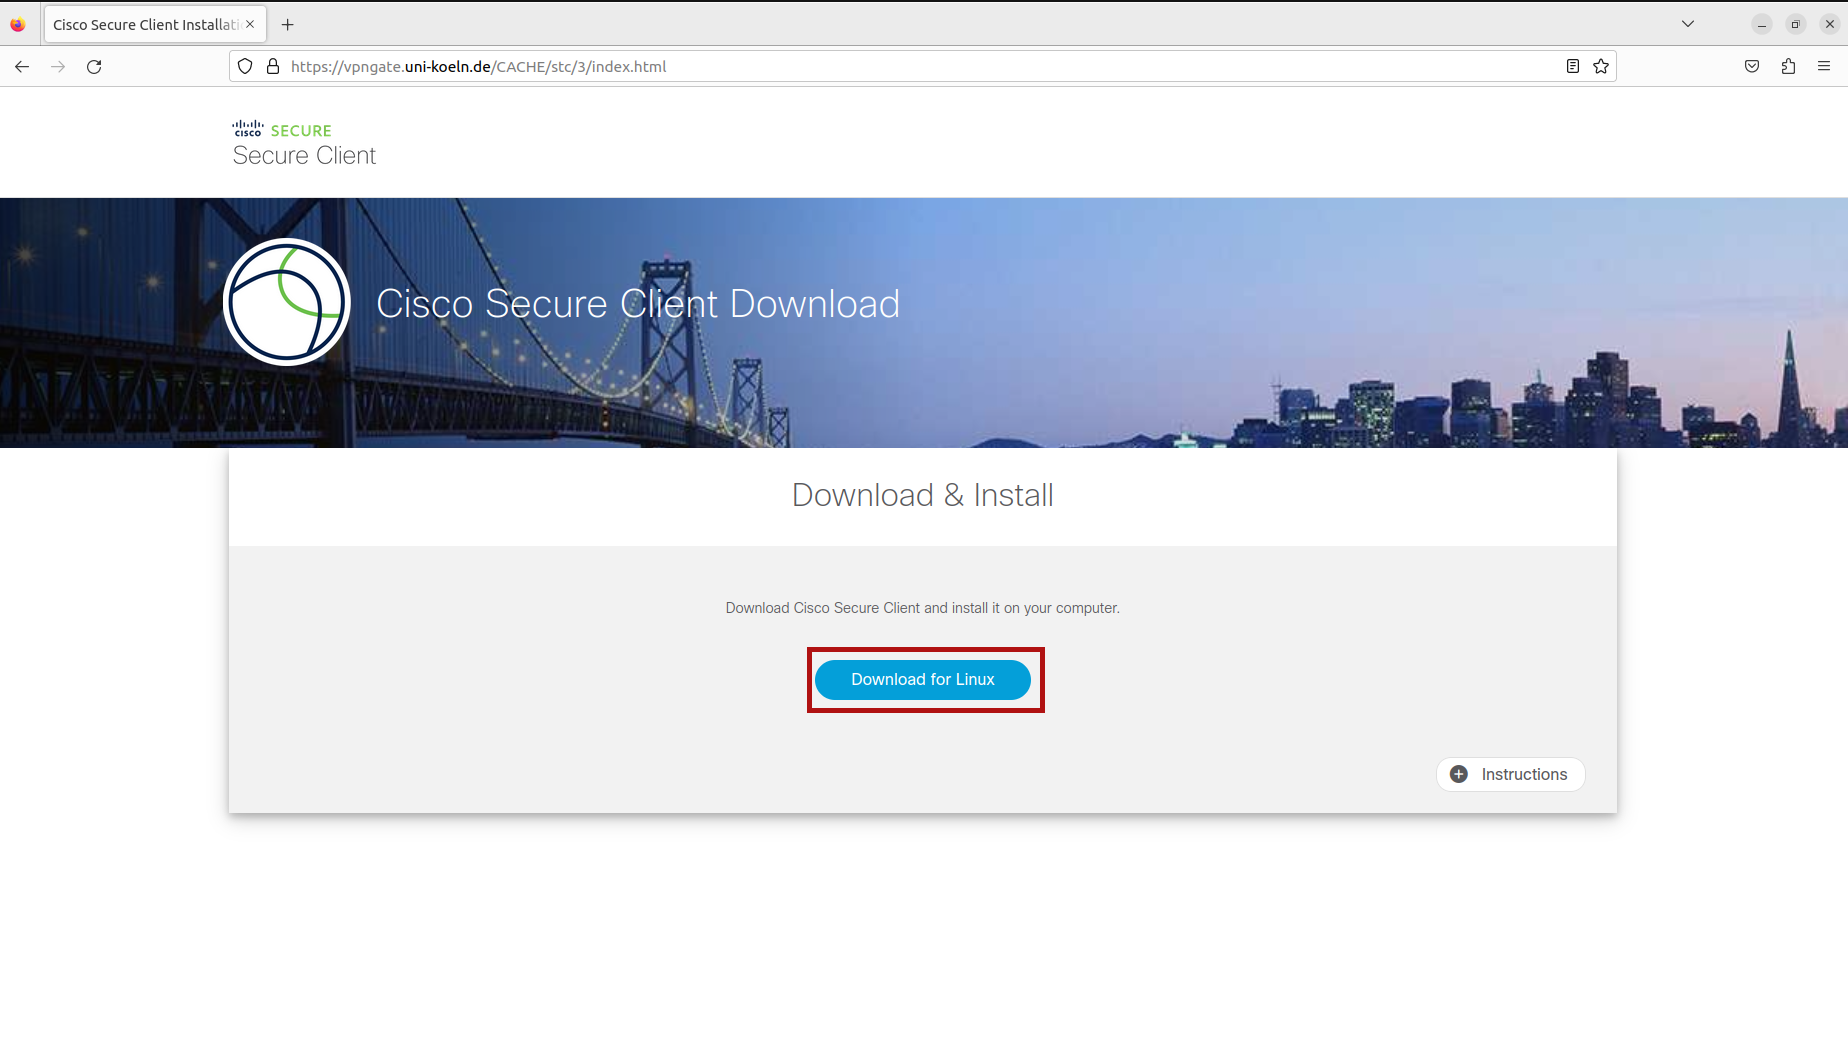

First go to vpngate.uni-koeln.de and log in with your student, staff or guest account and the corresponding password.
- Click on "Download for Linux" to download the script.
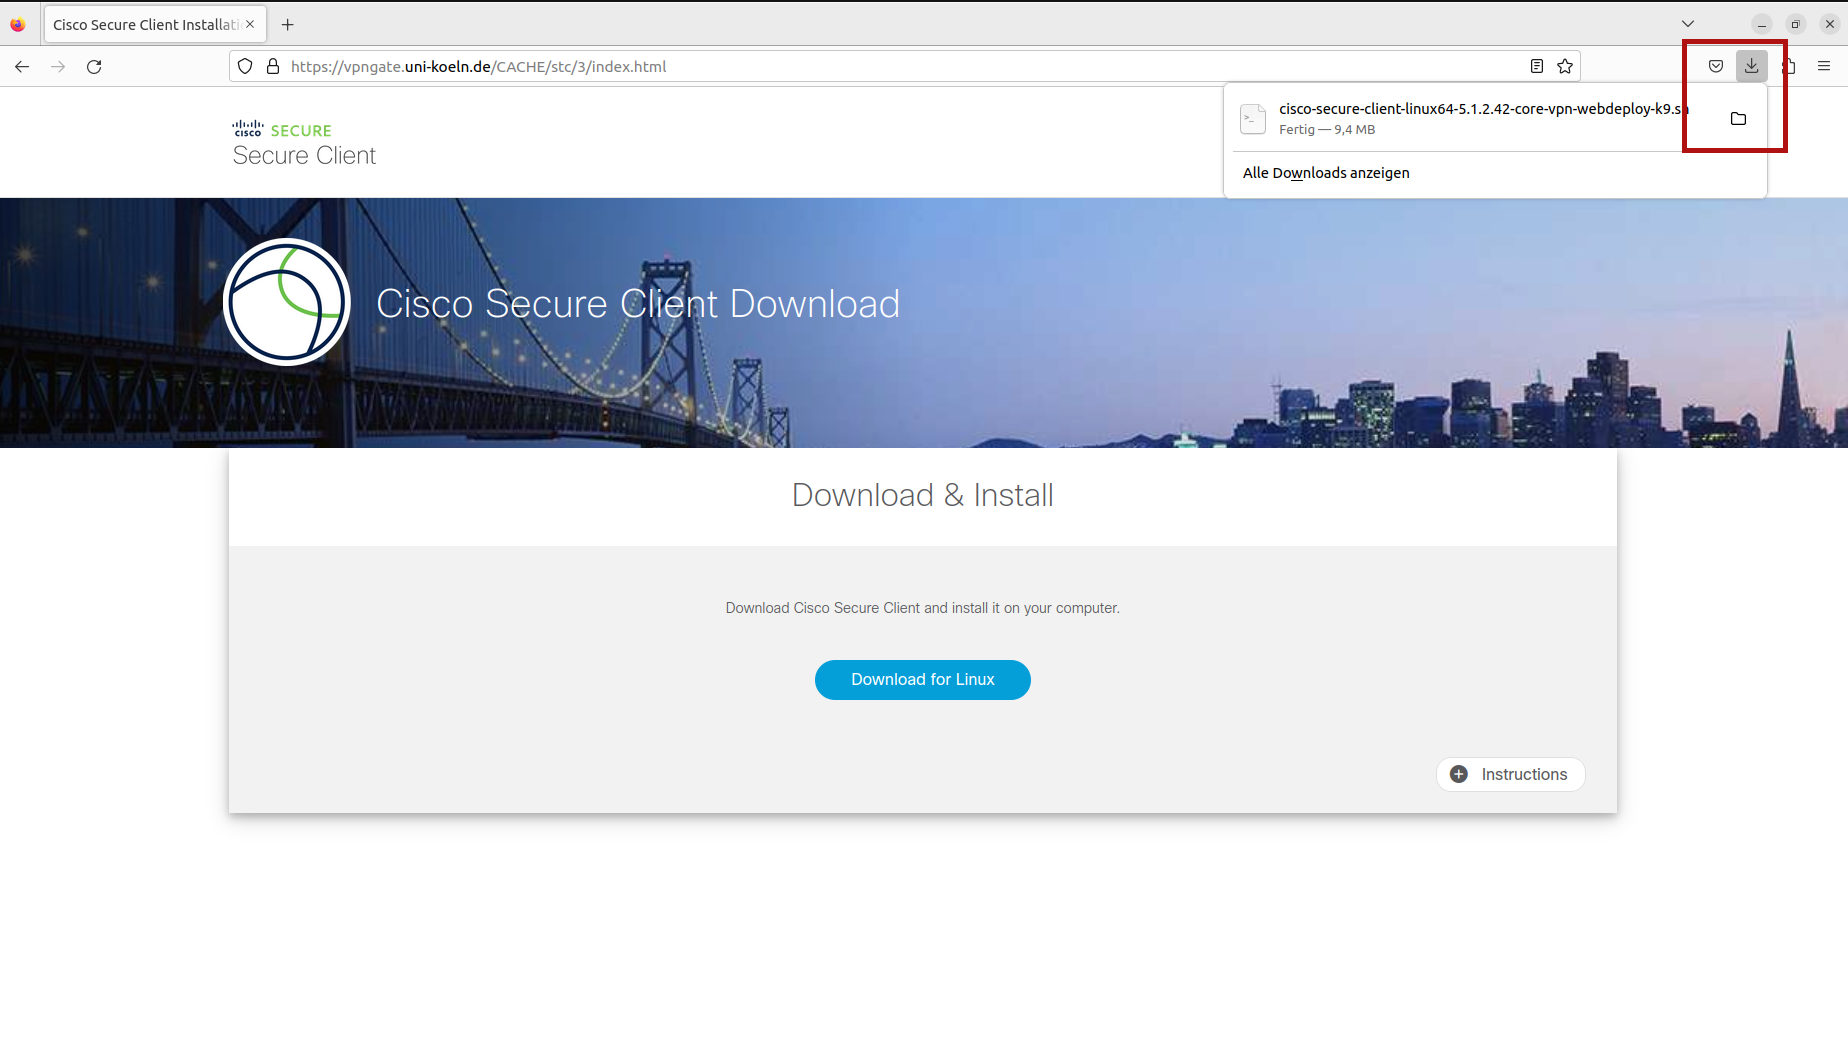
- If the download was successful, display the downloads and open the folder in which the script was downloaded by clicking on the folder symbol (under Mozilla Firefox).
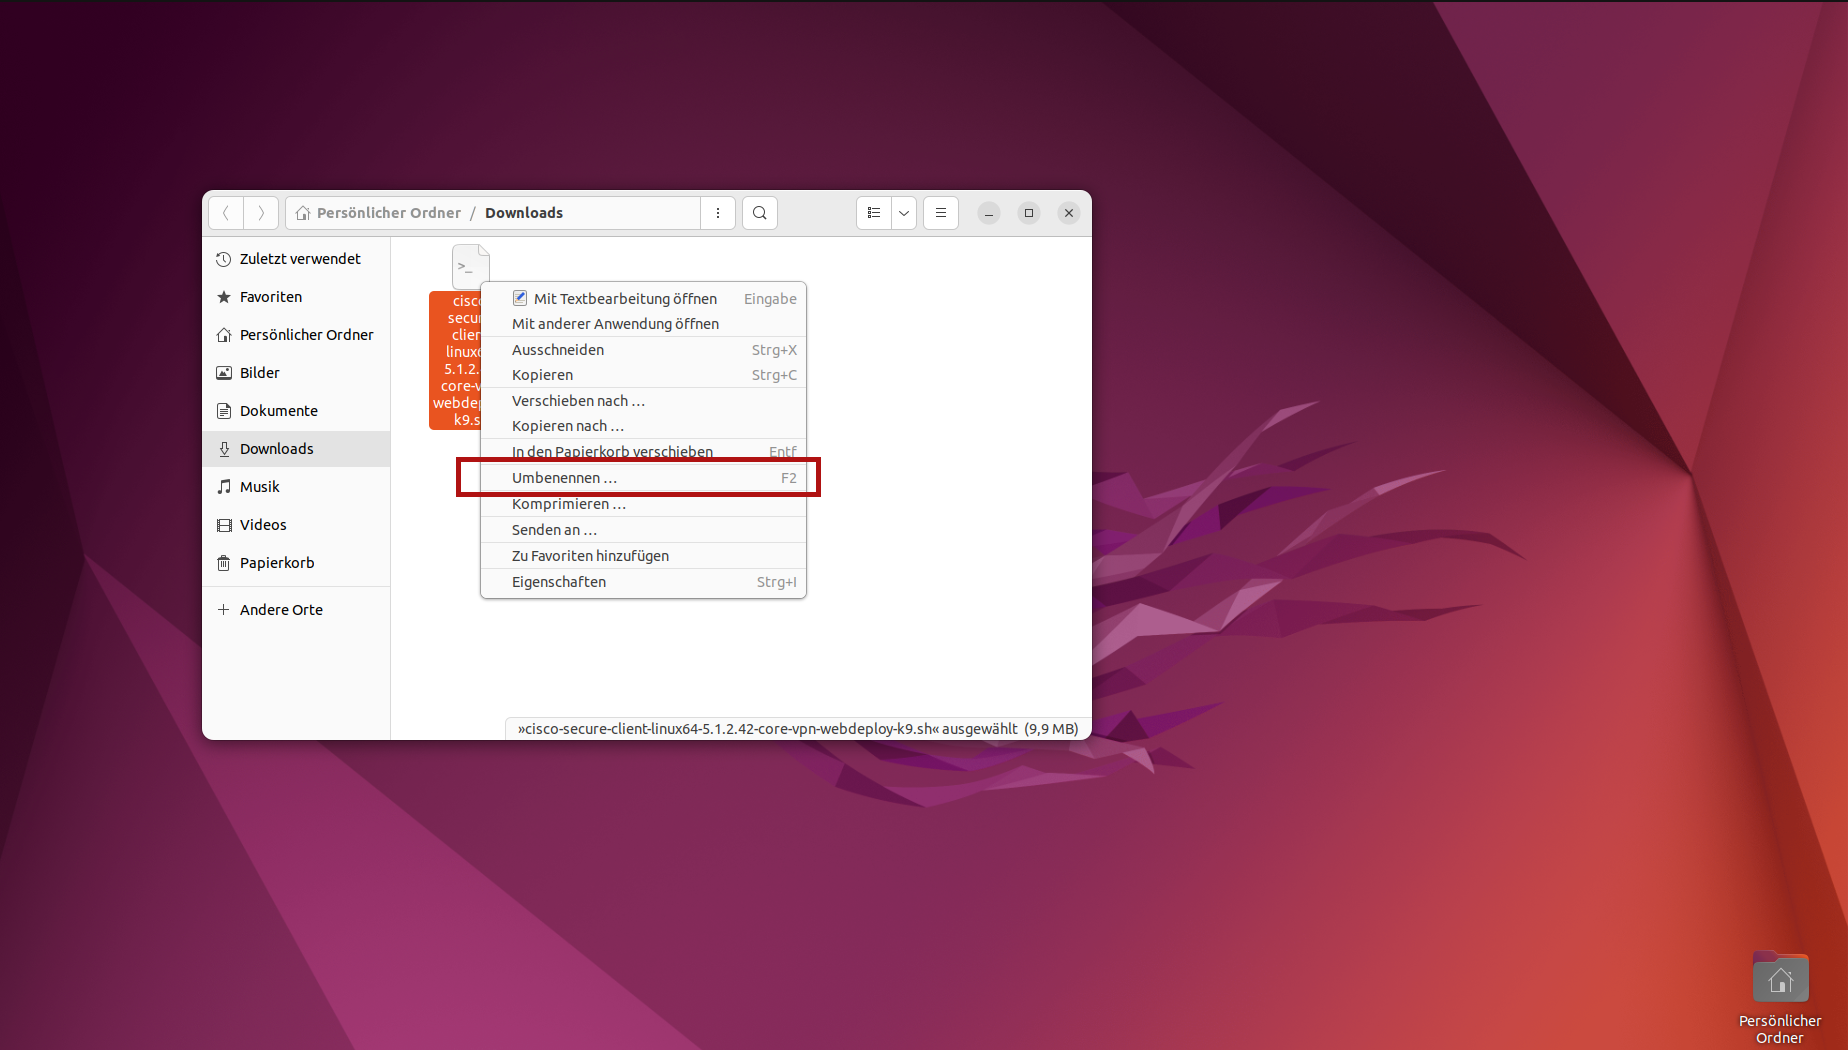
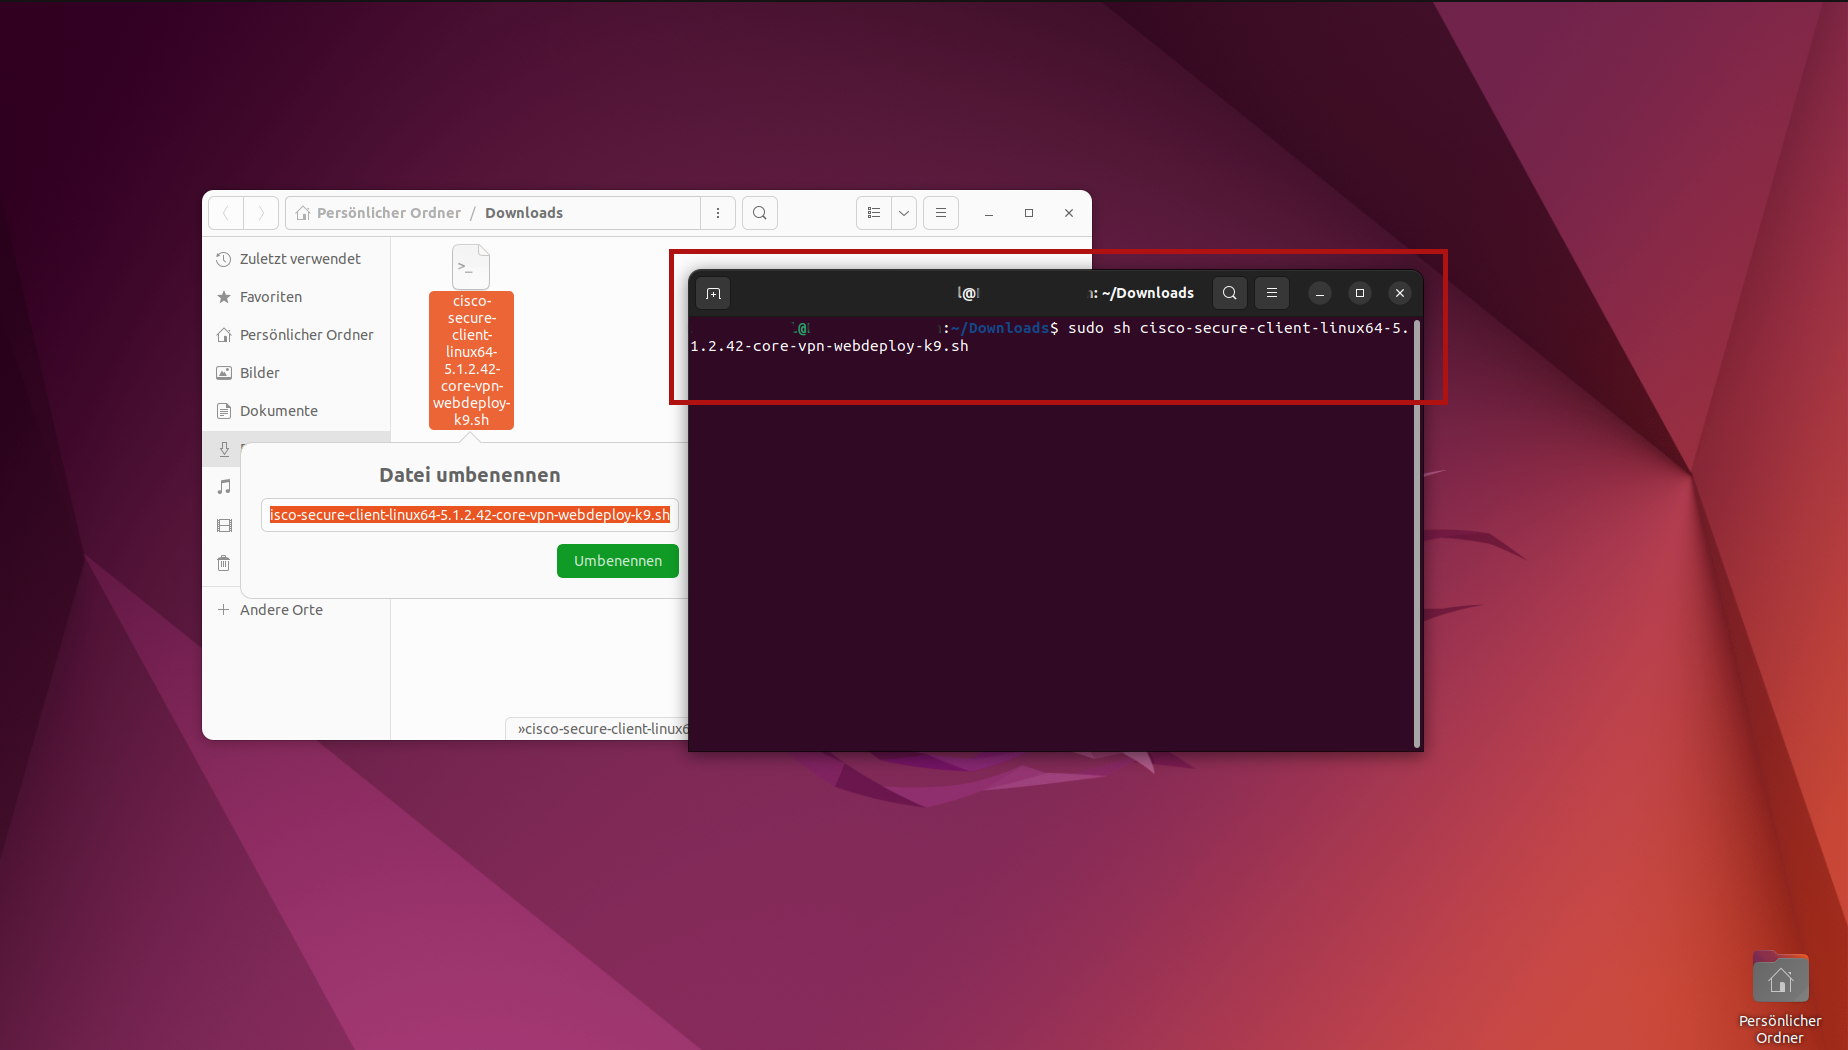
- Right-click on the script and then select Rename.
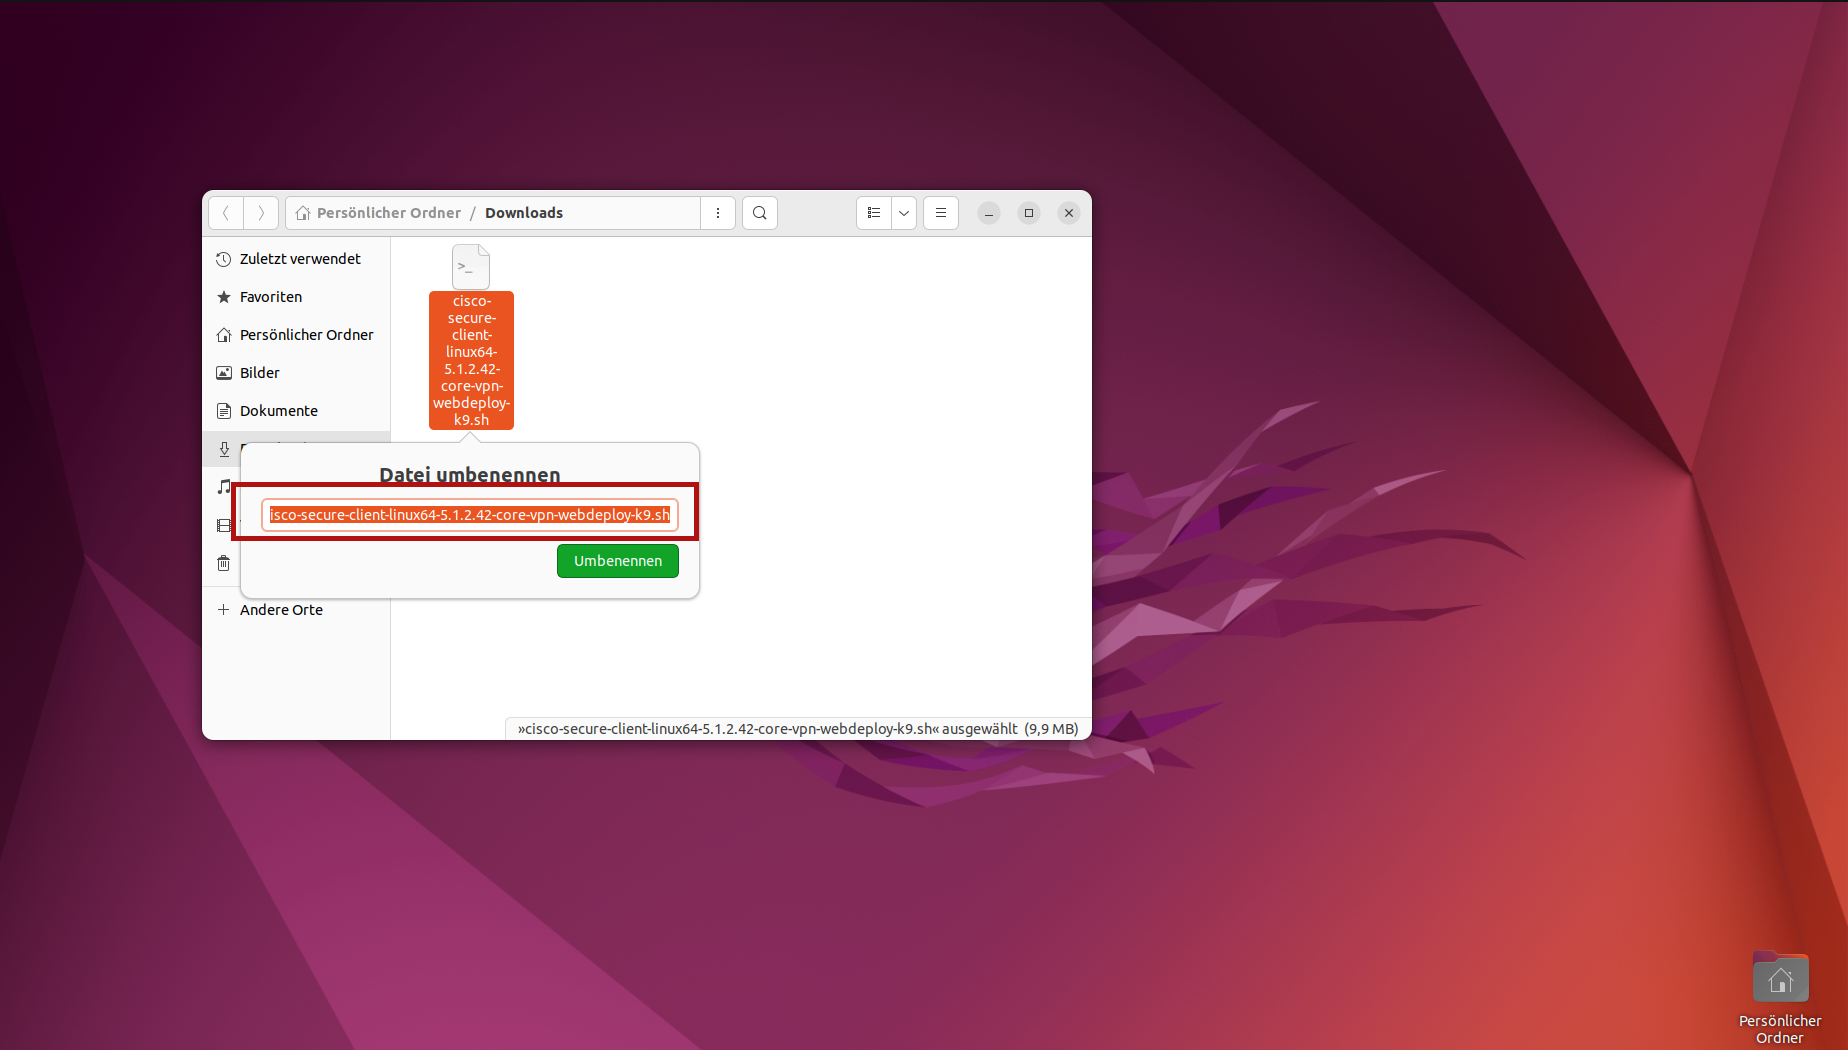
- Select the entire name with Ctrl + A and copy it to the clipboard with Ctrl + C.
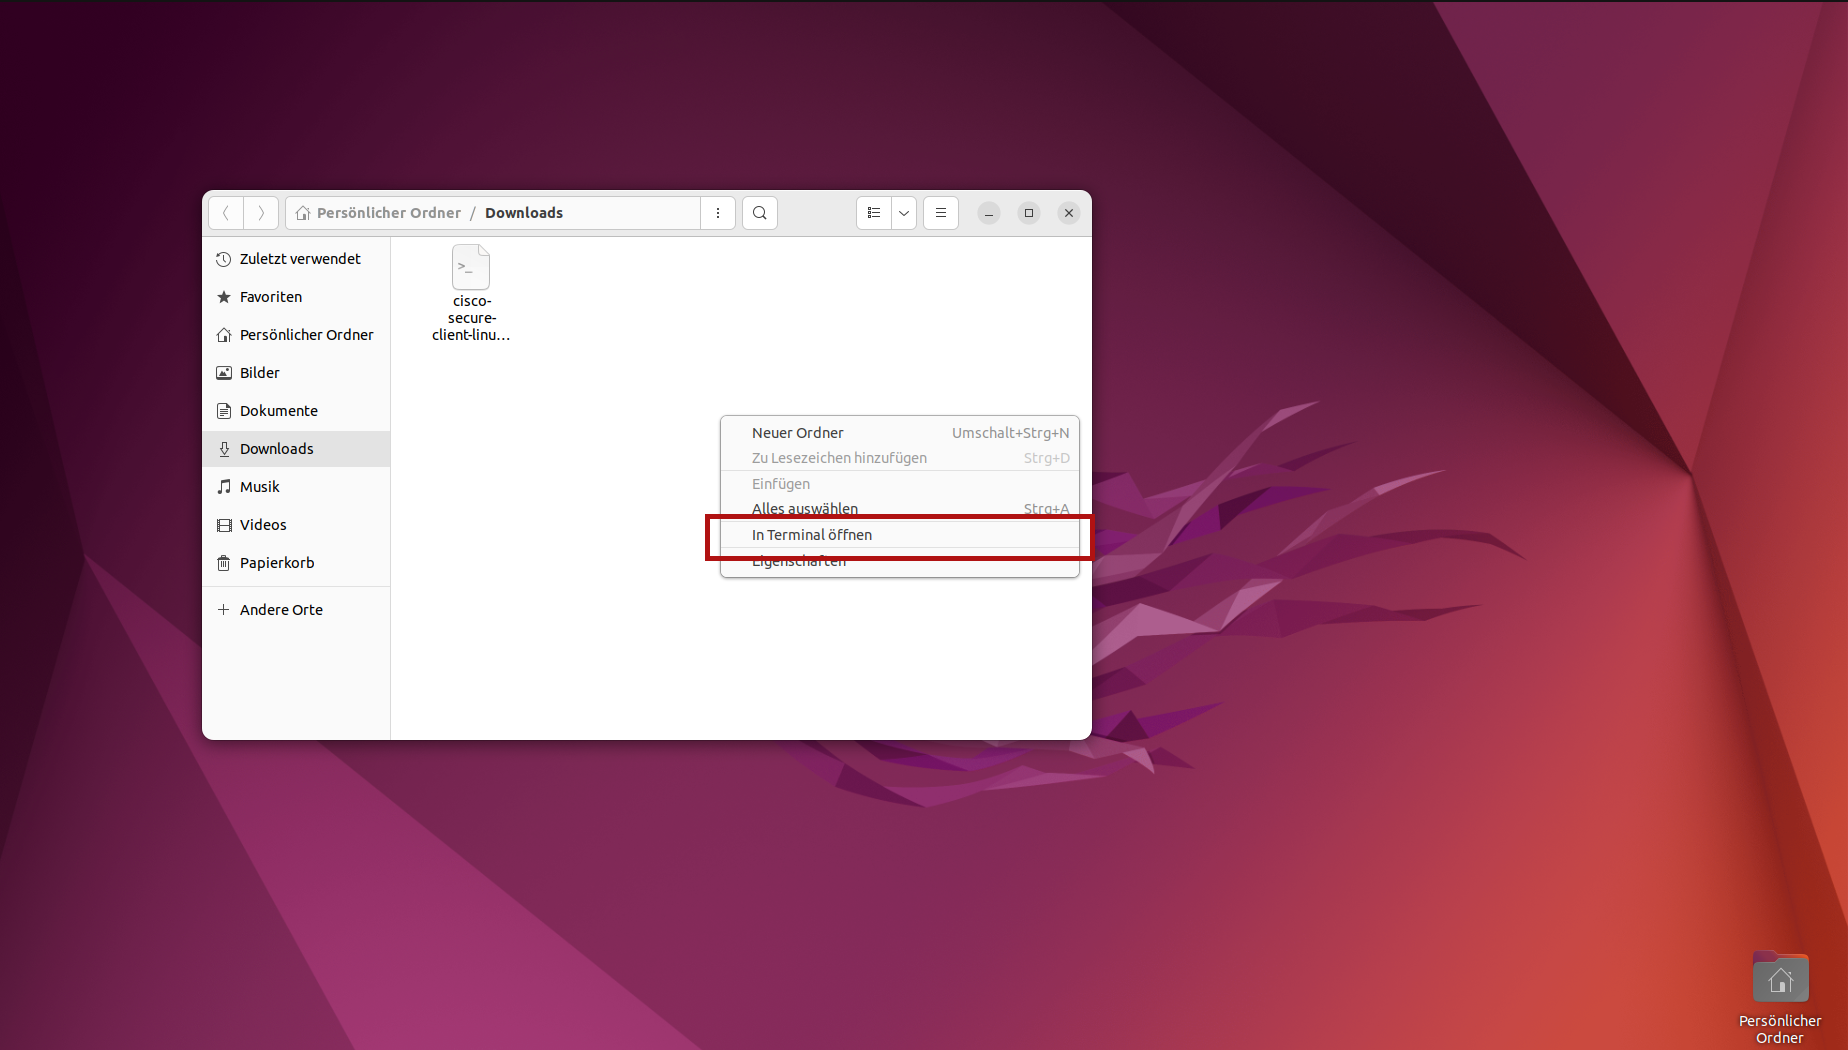
- Right-click in the empty area of the folder and click on "Open in terminal".
- Now enter the following command: "sudo sh " and then press Ctrl + Shift + V to append the copied file name. Make sure that there is a space between the sh and the file name. Press Enter and you will be asked for the administration password of the computer, which you now enter and confirm with Enter.
- The installation is now carried out automatically and should end with the message "Done! Exiting now.".
Configuration and use of the Cisco client

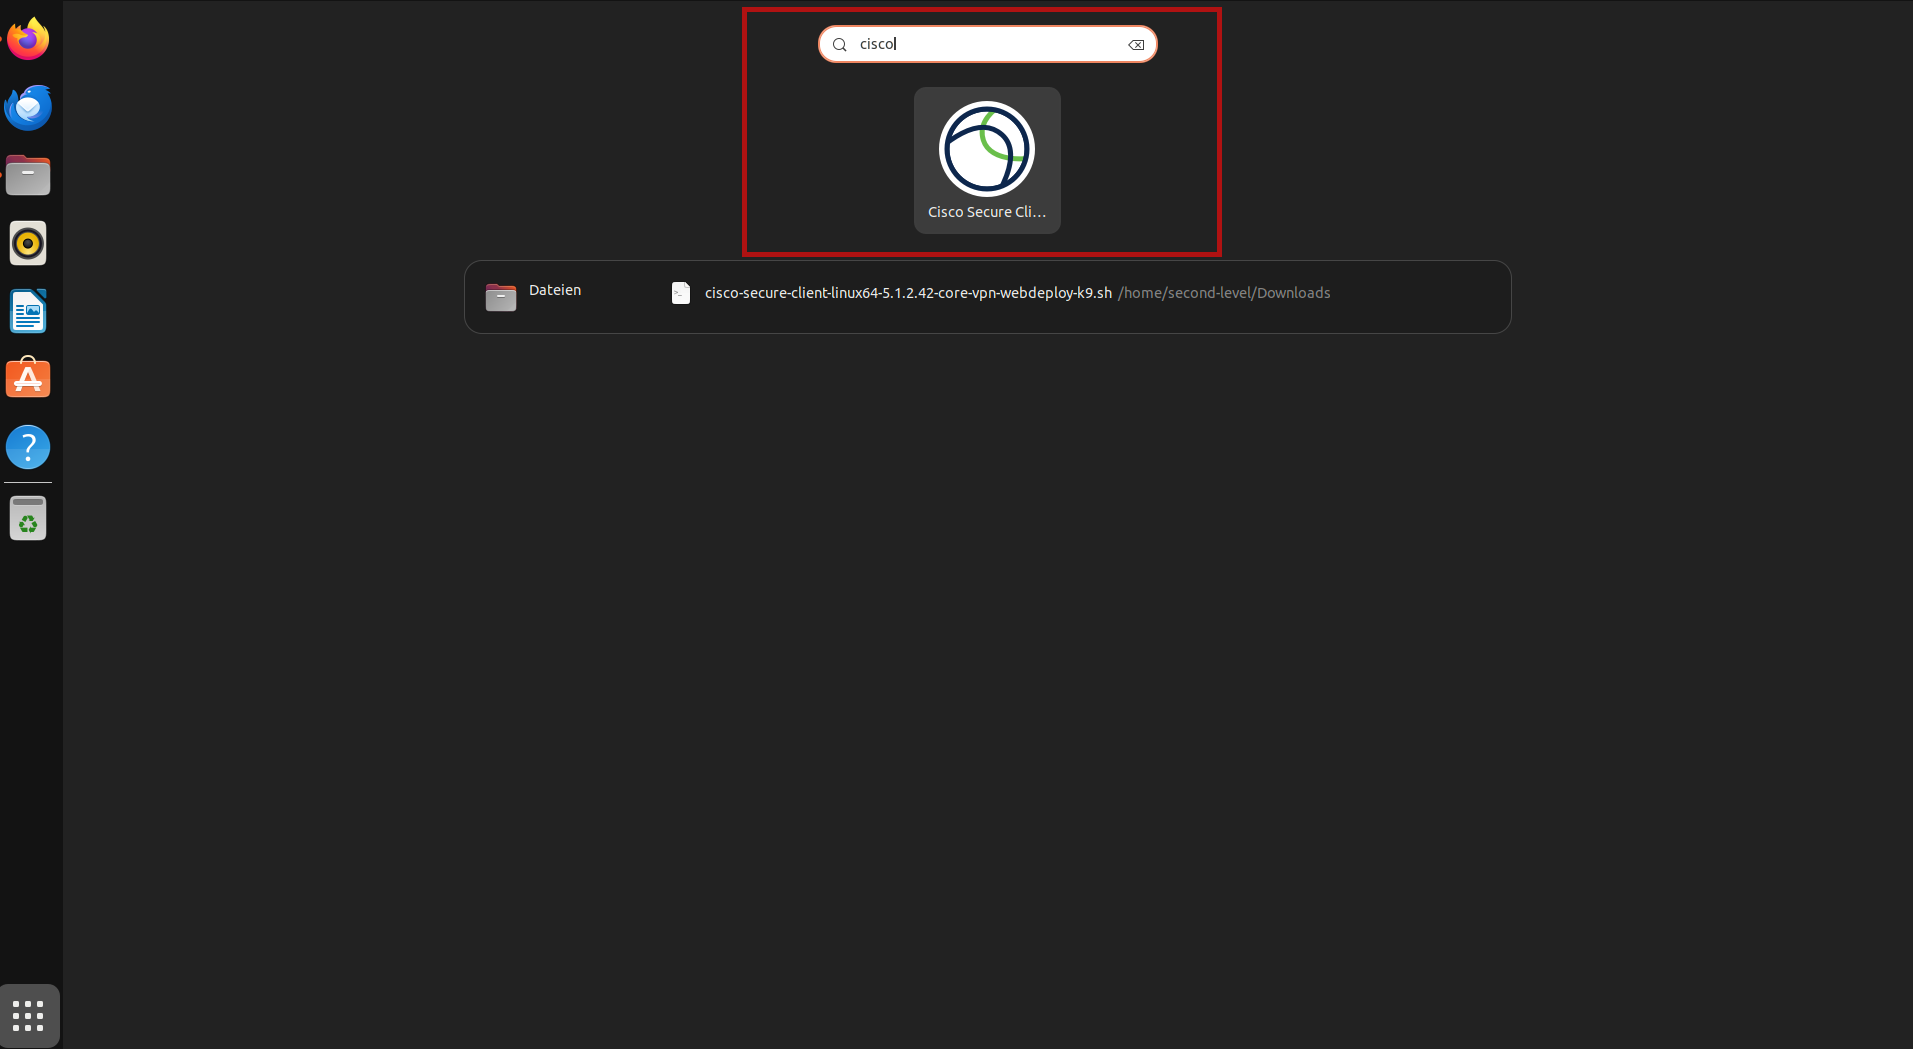
- Under your Linux distribution, search for "Cisco Secure" by clicking on the grid button at the bottom left in the case of Ubuntu (9 dots).
- Now enter "Cisco Secure Client" in the search and click on the corresponding program.
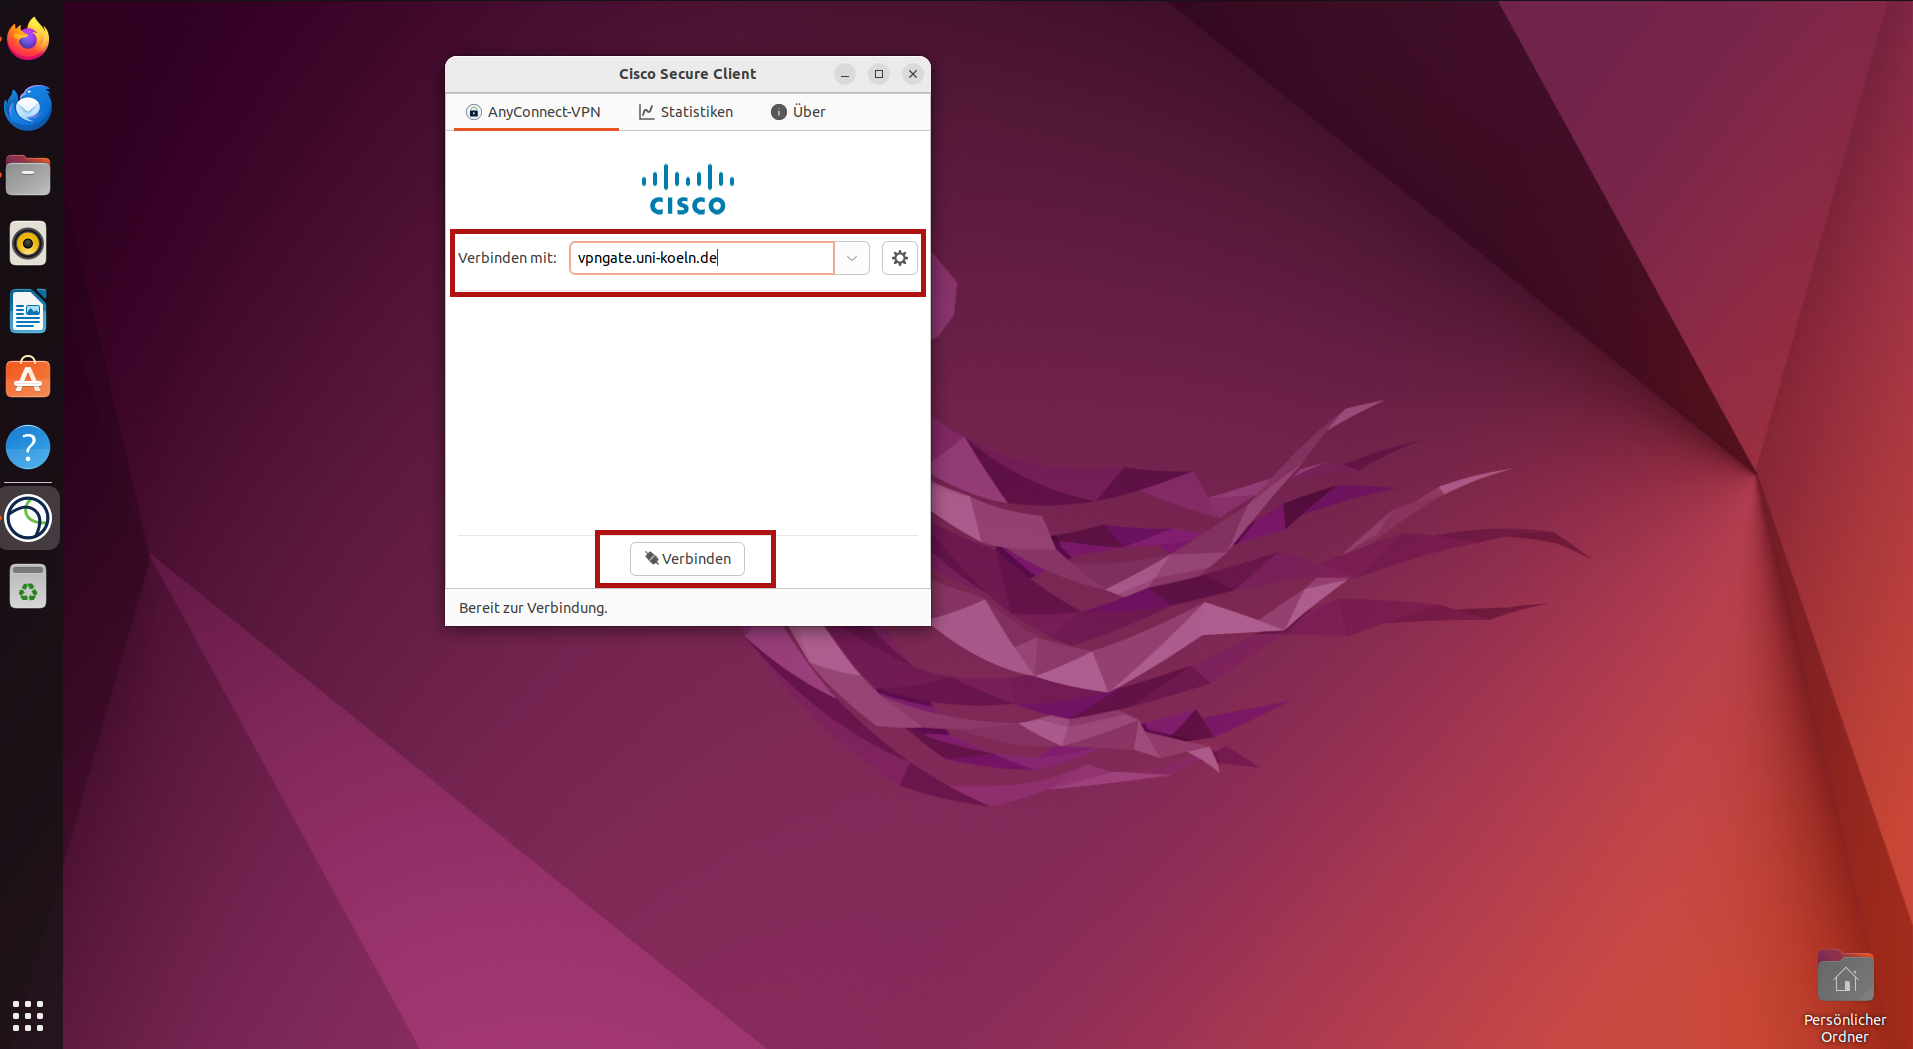
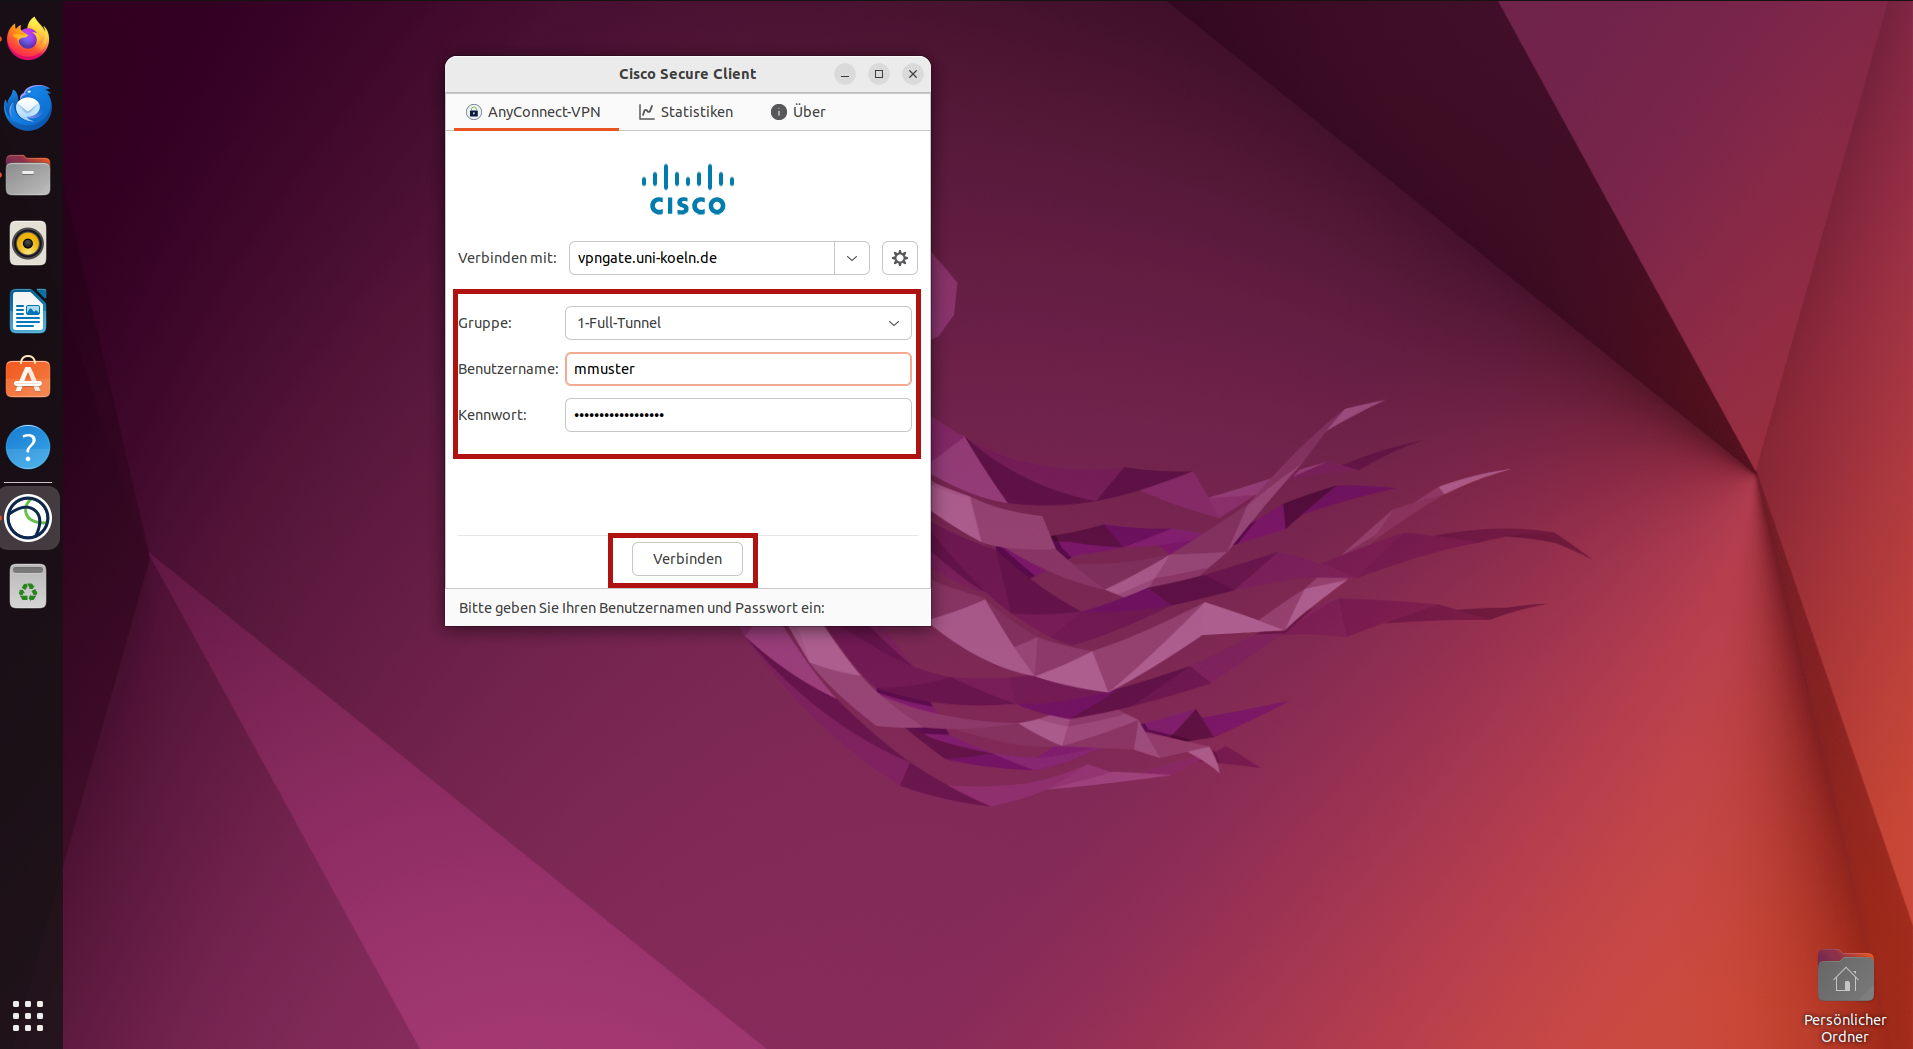
- In the new window, enter "vpngate.uni-koeln.de" as the server address (without quotation marks) and then click on "Connect".
- You can now select a group. Information on this can be found here. If in doubt, you can leave the default setting "1-Full-Tunnel" selected.
- Now enter your student, staff or guest account under user name and the corresponding password underneath. Then click on "Connect" again.
Contact
If you have any questions or problems, please contact the RRZK-Helpdesk